IPplan is a web based, multilingual, IP address management, DNS and tracking tool written in PHP 4. It can be used to simplify the administration of your IP address space. IPplan can handle a single network and as well as large networks with overlapping address space. It makes managing ip addresses and managing ip address space simple and easy. IPplan will run on any operating system that supports PHP language and MySQL, PostgresSQL and Oracle databases.
Features
As mentioned in the official website, the main features are:
– Support for IPv6.
– Internationalization
– Importing network definitions from routing tables
– Importing definitions from TAB delimited files and NMAP’s XML format
– Multiple administrators with different access profiles (per group, allowing access per customer, per network etc.)
– Define address space authority boundaries per group
– Finding free address space across a range
– Split and join networks to make them smaller and larger – ip definitions remain intact
– Display overlapping address space between networks
– Search capabilities
– Audit log
– Statistics
– Keeping track of and sending SWIP/RIPE/APNIC registrar information
– DNS administration (forward and reverse zones, import existing zones via zone transfer)
– Template system to extend IPplan to contain site specific information like circuit data, host configuration data, asset information
– Device configuration file management
– Link addresses together via pointers – ideal for NAT
– External stylesheet to change display look
– Triggers – every user event can call a user defined function – useful to execute backend DNS scripts
– External poller – scan subnets for active addresses to gather usage statistics
– IP address request system – allows users to request static IP addresses from the database
Installation
Your server should have installed and configured with Apache, MySQL and PHP(LAMP). Refer any one of the following links to setup LAMP server.
– Install LAMP (Apache, MariaDB, PHP) Server On CentOS 6.4.
or
– Install LAMP (Apache, MySQL, PHP) Server On CentOS 6.4.
Create Database and User for IPplan
For instance, here i am going to create a database called “ipplandb” and database user called “ipplanuser” with password “centos”. You can define database and user as per your liking.
# mysql -u root -p
Enter password:
Welcome to the MariaDB monitor.  Commands end with ; or \g.
Your MariaDB connection id is 3
Server version: 5.5.31-MariaDB MariaDB Server

Copyright (c) 2000, 2013, Oracle, Monty Program Ab and others.

Type 'help;' or '\h' for help. Type '\c' to clear the current input statement.

MariaDB [(none)]> create database ipplandb;
Query OK, 1 row affected (0.02 sec)

MariaDB [(none)]> GRANT ALL ON ipplandb.* TO ipplanuser@localhost IDENTIFIED BY 'centos';
Query OK, 0 rows affected (0.01 sec)

MariaDB [(none)]> flush privileges;
Query OK, 0 rows affected (0.00 sec)

MariaDB [(none)]> exit
Bye
Adjust Firewall/Router Settings
Allow the apache default port “80″ through iptables/router. Edit file /etc/sysconfig/iptables,
# vi /etc/sysconfig/iptables
Add the following line.
-A INPUT -p tcp -m state --state NEW --dport 80 -j ACCEPT
Now restart the iptables service.
# /etc/init.d/iptables restart
Getting IPplan
Download the latest version of IPplan here or enter the following command to download it from your terminal.
# wget http://sourceforge.net/projects/iptrack/files/ipplan/Release%204.92/ipplan-4.92b.tar.gz
Untar the zip file using command:
# tar -zxvf ipplan-4.92b.tar.gz
Move the extracted folder to apache root folder.
# mv ipplan/ /var/www/html/ipplan
Change the ipplan directory ownership and permissions using the following commands:
# chown -R root.nobody /var/www/html/ipplan/
# chmod -R 777 /var/www/html/ipplan/
Edit the config.php file,
# nano /var/www/html/ipplan/config.php
Set the mysql details.
// the database user and password is NOT the same user and password
 // used to access IPplan as a regular user.
 define("DBF_TYPE", 'maxsql');
 define("DBF_HOST", 'localhost');
 define("DBF_USER", 'ipplanuser);
 define("DBF_NAME", 'ipplandb');
 define("DBF_PASSWORD", 'centos');
Scroll down further and set your country and state code.
// default country code ("" for none)
 define("DEFAULTCOUNTRY", 'IN');

// default state code ("" for none)
 define("DEFAULTSTATE", 'TN');
Save and exit the file.
Begin Installation
Open up the browser and type “http://domain-name/ipplan/admin/install.php” or “http://ip-address/ipplan/admin/install.php” in the address bar.
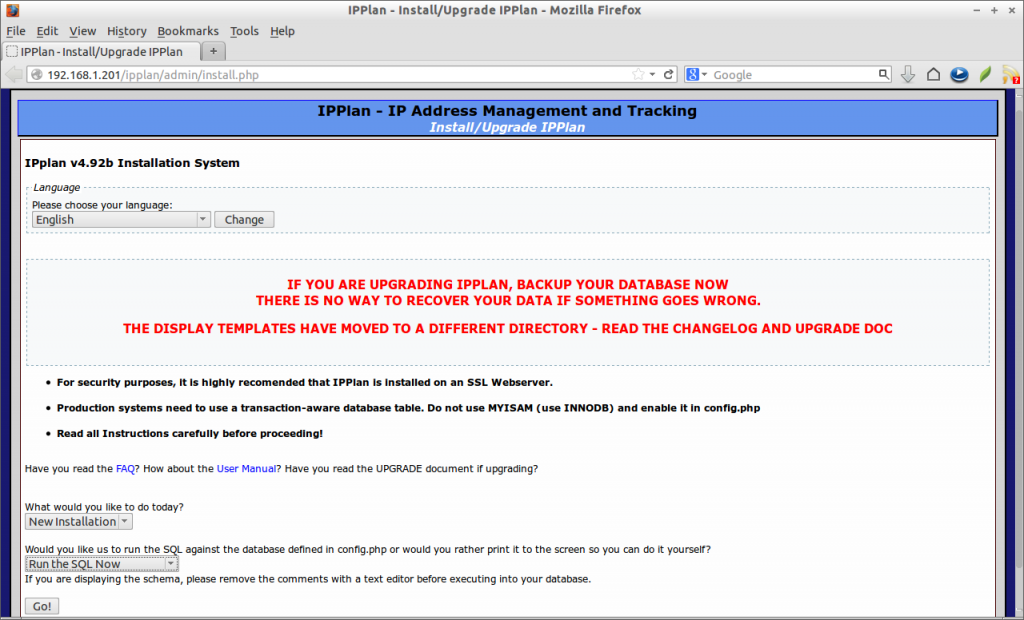
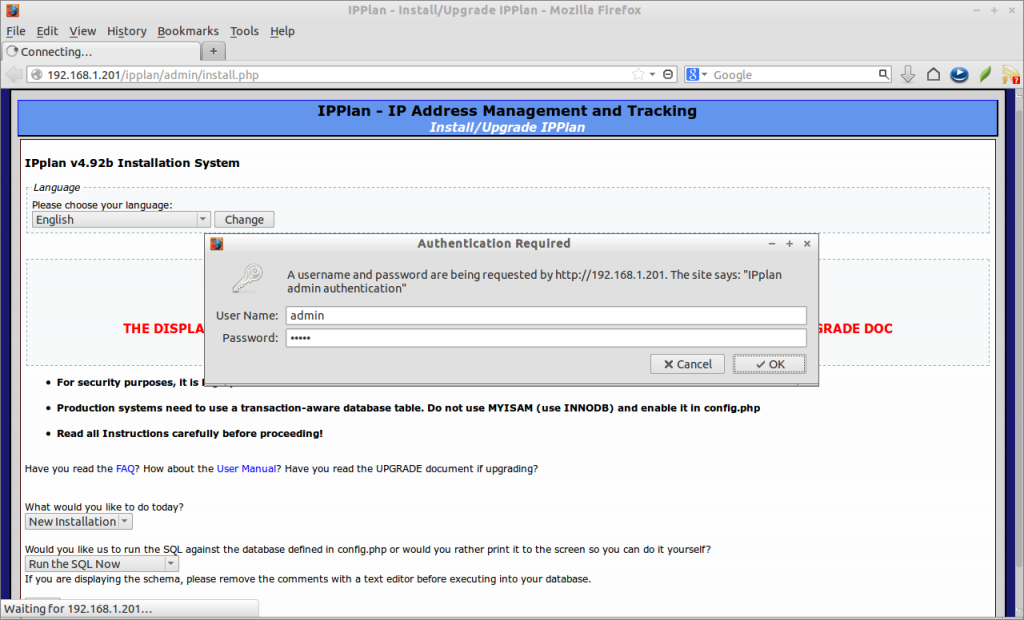
The following screen should appear. Select New installation and click Go.


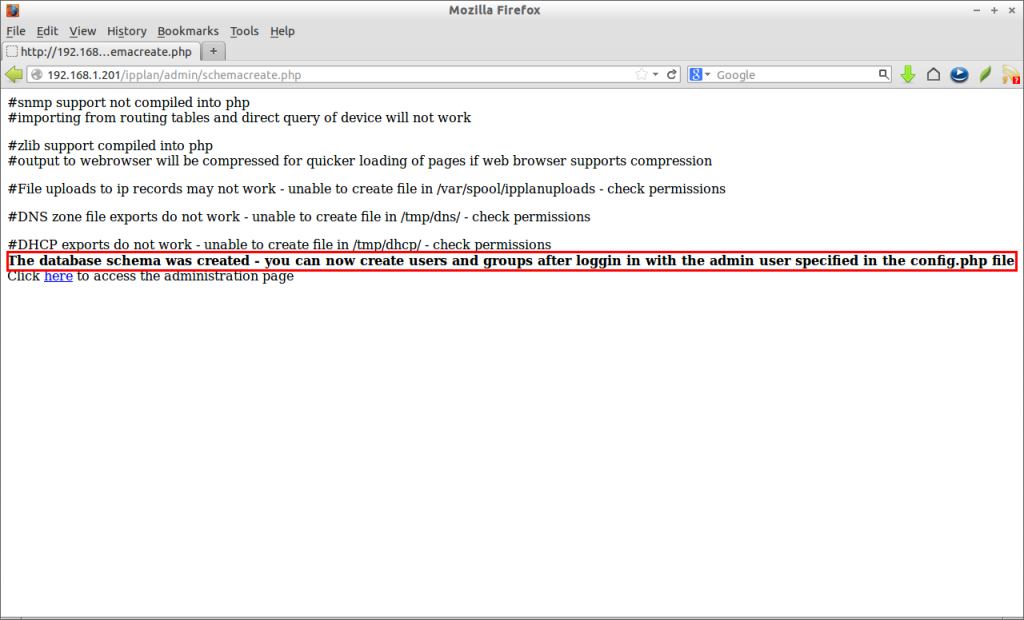
Now it is time to further administration and configuration. Head over to IPPlan documentation section to read about further configuration and administration details.


