In the last artical we known about How to install jenkins in Linux, In this we will known about the Jenkins management, Jenkins System configuration and Plugin installation.
Read also: Jenkins Installation in Linux
Jenkins management
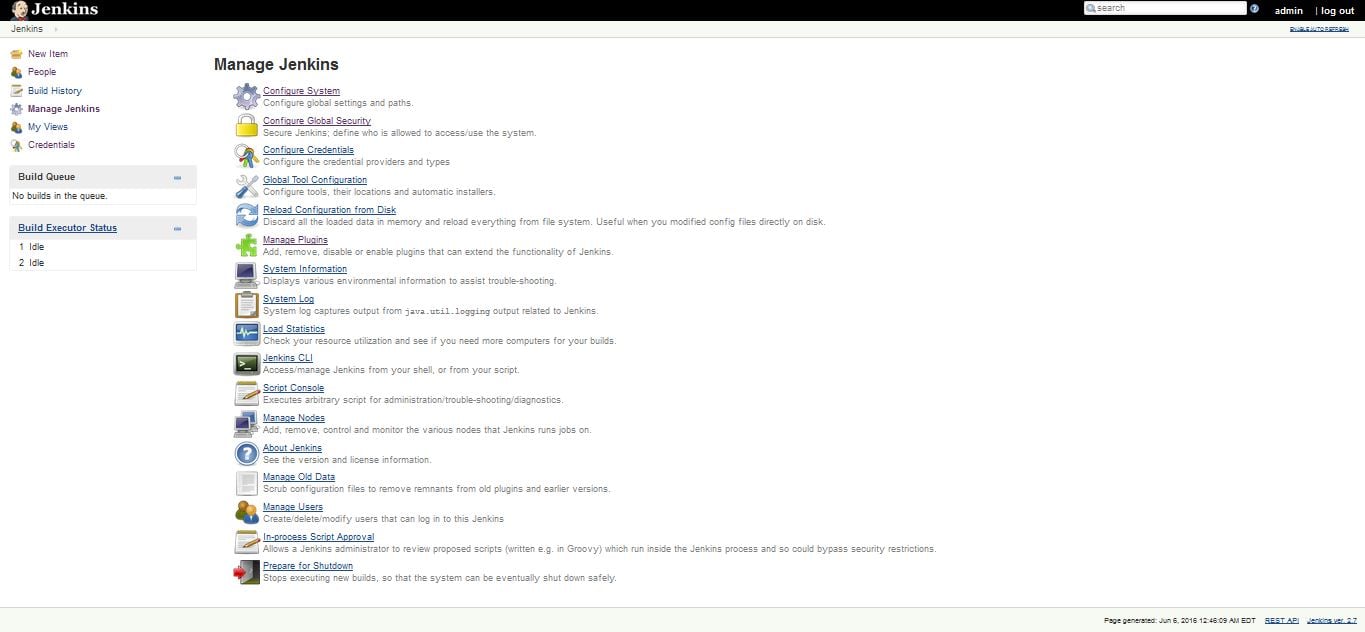
We can access the Jenkins webpage by using the Address: http://ipaddress of server:8080 or http://localhost:8080. we get the Jenkins management page by clicking on manage jenkins in home page or just type manage in search bar, we can also get it by using the address http://ipaddress of server:8080/manage. Even in the another system we can easily manage all the system configuration by using web interface.
We have a lot of options in Jenkins management window like Configure System, Configure global Security, Configure Credentials, Global Tool Configuration, Reload Configuration from Disk, Manage Plugins, System Information, System Log, Load Statistics, Jenkins CLI, Manage Nodes, Manage Users and Prepare for Shutdown.
Configure System
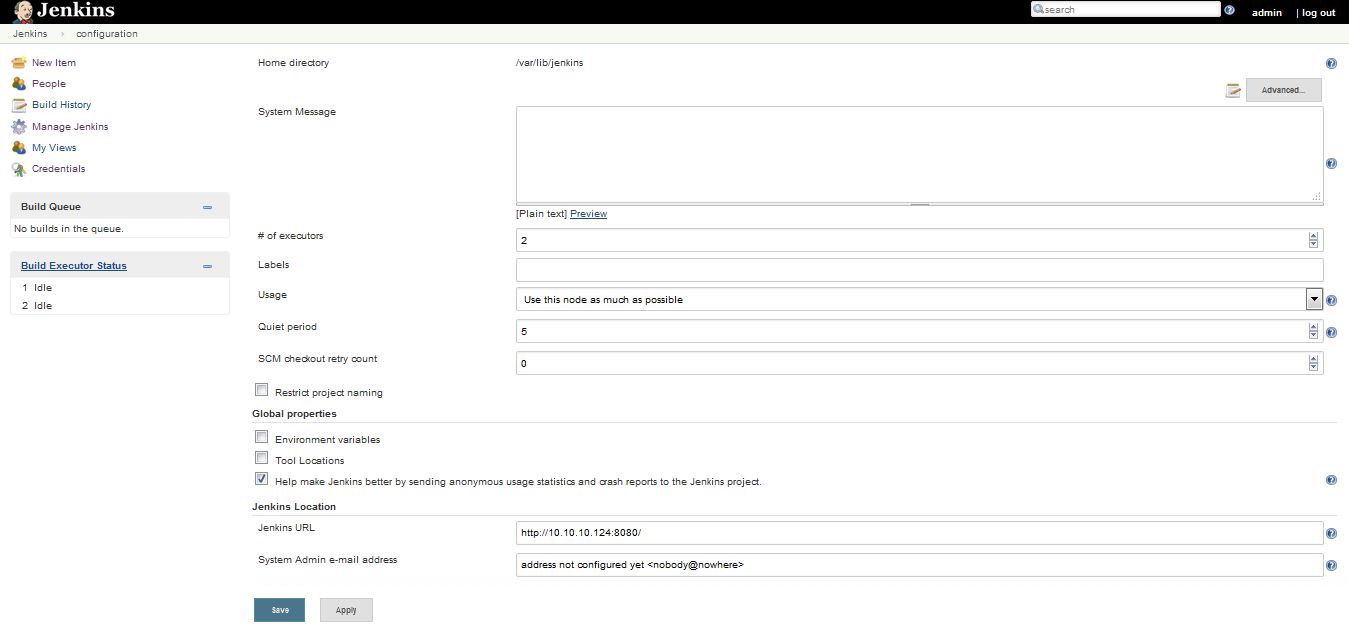
In this we have options to change or manage paths to various tools in Jenkins i.e JDK, Maven, Ant, mail Servers, Security Options and Plugins. In this the fields are added dynamically when new plugins are installed.
Home directory
By default, Jenkins stores all of its data in this directory on the file system. Default Home directory is set to /var/lib/jenkins. Under the Advanced section, you can choose to store build work spaces and build records elsewhere. This value cannot be changed while Jenkins is running.
No. of Executors
This field defines the number of concurrent job executions, we can change as per our system configuration and for process management. By default the number of executors always be the same number of cpus for best performance.
Global properties
Here we have a options like Environment Variables, Tool locations etc. By click on the Environment variables Box we ahev option to add the Environment variables and it is same for tools Box also.
Jenkins Location
Here we have also options to change the Accessing path of Jenkins. By default Jenkins URL is http://localhost:8080/ we can change it , if we want to setup domain environment.
Manage Plugins
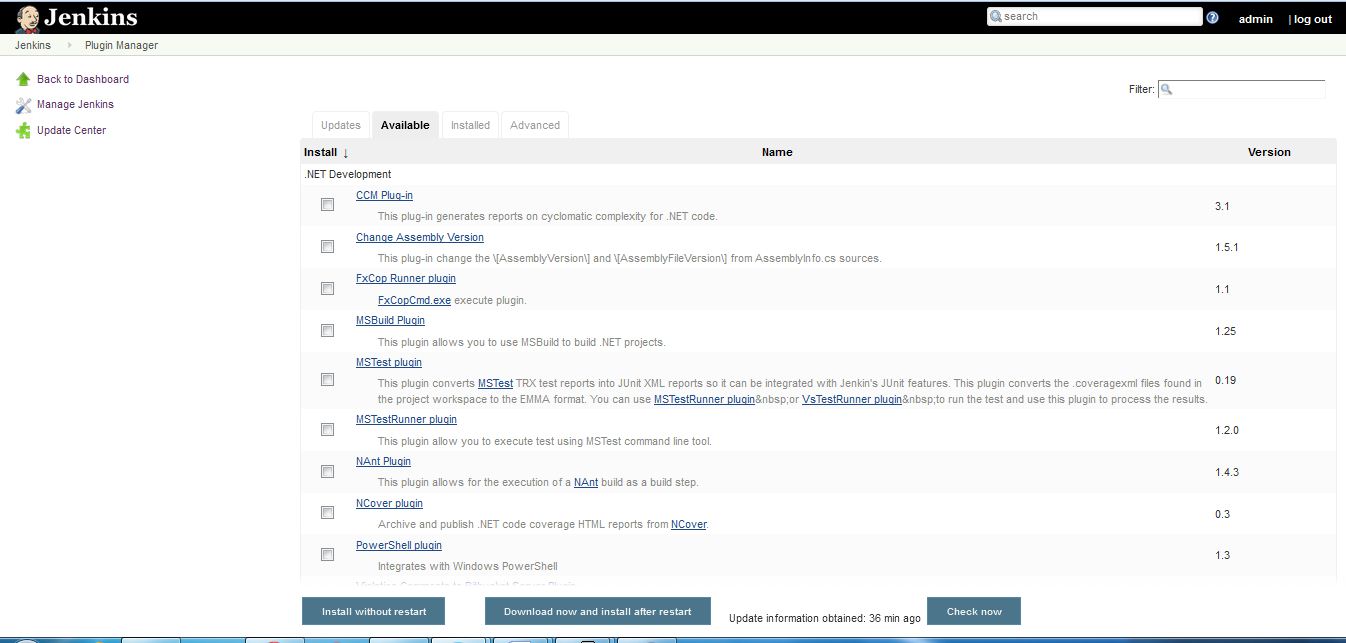
The simplest way to install plugins is going to your installation’s management screen and clicking Manage Plugins and go to the Available tab.
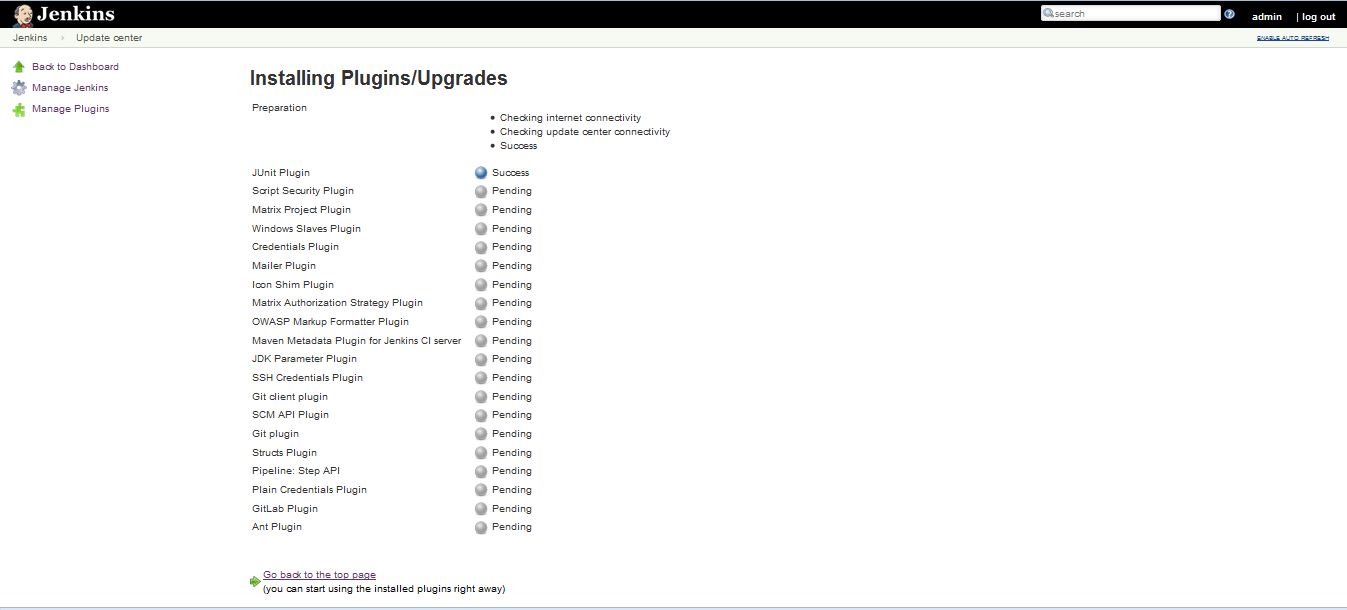
You’ll find the plugin you’d like to install, select the checkbox, and then either select to Install without restart or Download now and install after restart. The web interface will then download *.hpi files from here. If you Install without restart the interface will show you progress and provide the results of the install.
Once the installation completes, all of the above shows status success.
We can get the details of the installed plugins by selecting the installed plugins tab. we can also check it by changing the directory /var/lib/jenkins
[root@localhost jenkins]# ls plugins/
ant                            JDK_Parameter_Plugin       plain-credentials.jpi
antisamy-markup-formatter      JDK_Parameter_Plugin.jpi   scm-api
antisamy-markup-formatter.jpi  junit                      scm-api.jpi
ant.jpi                        junit.jpi                  script-security
credentials                    mailer                     script-security.jpi
credentials.jpi                mailer.jpi                 ssh-credentials
git                            matrix-auth                ssh-credentials.jpi
git-client                     matrix-auth.jpi            structs
git-client.jpi                 matrix-project             structs.jpi
git.jpi                        matrix-project.jpi         windows-slaves
gitlab-plugin                  maven-metadata-plugin      windows-slaves.jpi
icon-shim                      maven-metadata-plugin.jpi  workflow-step-api
icon-shim.jpi                  plain-credentials          workflow-step-api.jpi
[root@localhost jenkins]#
Manual installation of Jenkins plugin
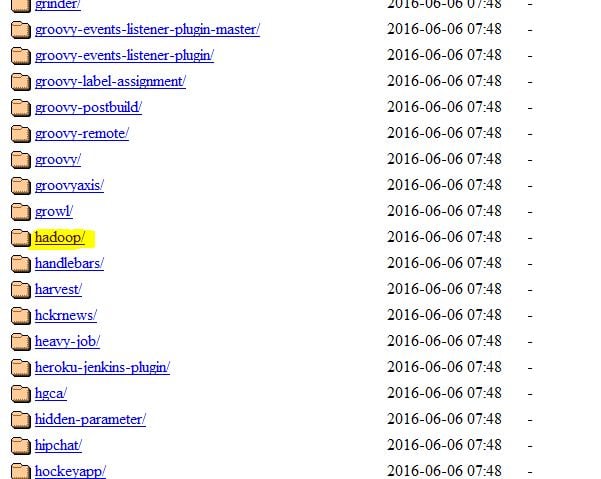
Download the required plugin package from Jenkins officialsite. For example here i used to install hadoop package.
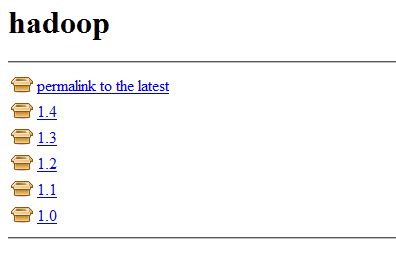
Now select the version , then file will be downloaded
Once the Download completes copy the .hpi file into your $JENKINS_HOME/plugins directory. Now restart Jenkins and you can see the package in the installed list.
HTTP Proxy Configuration
If your Jenkins server sits behind a firewall and does not have the direct access to the internet, and if your server JVM is not configured appropriately to enable internet connection, you can specify the HTTP proxy server name in this field to allow Jenkins to install plugins on behalf of you. Note that Jenkins uses HTTPS to communicate with the update center to download plugins. Leaving this field empty means Jenkins will try to connect to the internet directly. We can configure the proxy server that Jenkins will use by going to Manage Jenkins -> Manage Plugins -> Advanced as follows
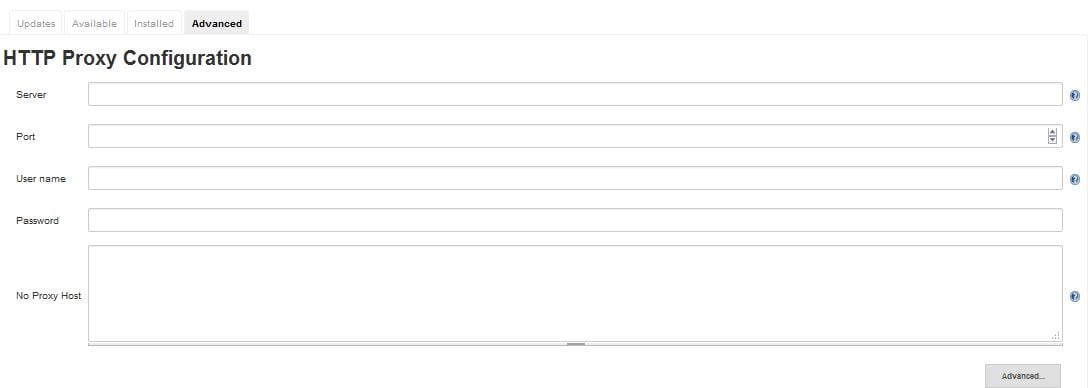
Read also:How to Install and Configure SQUID Proxy server in RHEL/CENTOS
System Information
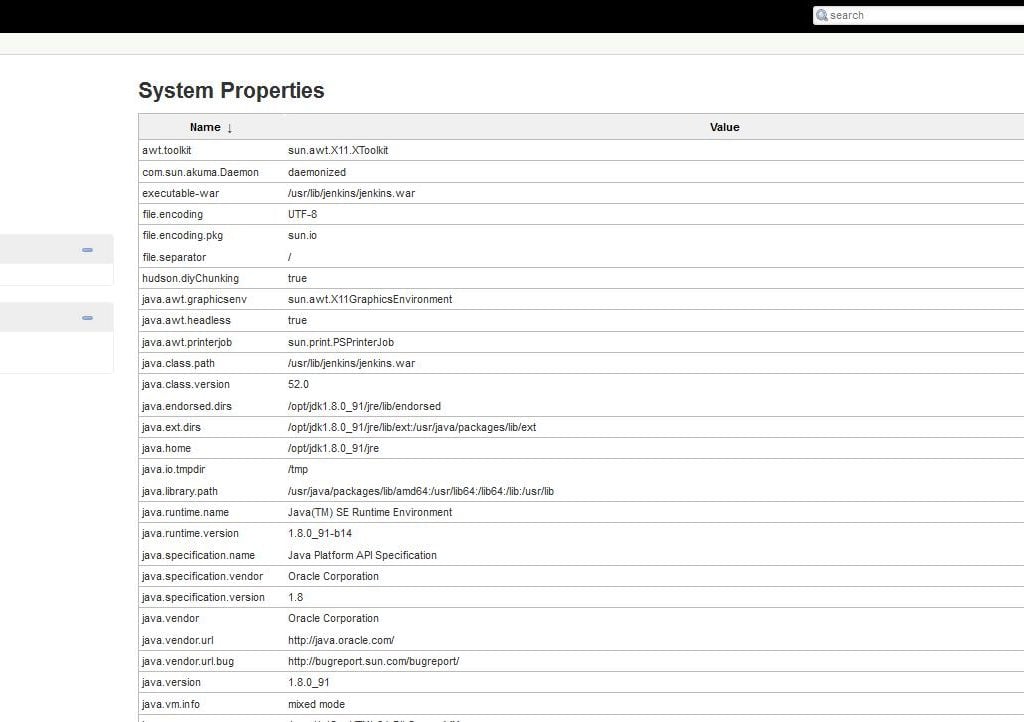
This windows displays a list of all the current Java system properties, Plugins and system environment variables. The main purpose of it is troubleshoot and also check with it’s running with expected or required configuration
The sample output is like:
System Log
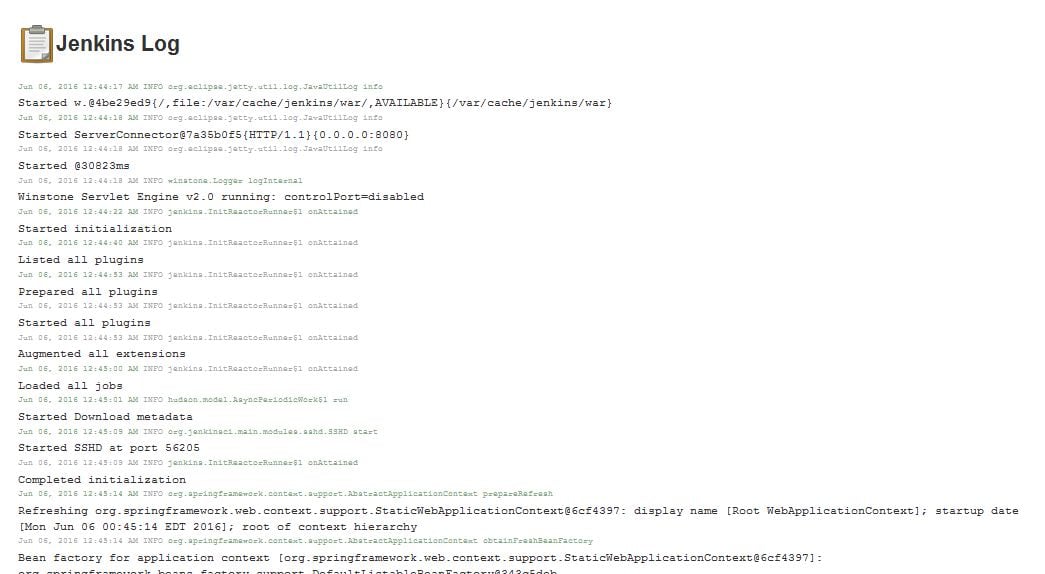
It can also be used fro troubleshooting purpose. The System Log windows offers a convenient way to view the Jenkins log files in real time.
Manage Nodes
Jenkins handles parallel and distributed builds well. In this we can configure how many builds required. A build node is another machine that Jenkins can use to execute its builds. we can also configure master and slave machines as well.
Prepare for Shutdown
In Jenkins management window there is a option to handle Jenkins shutdown, which prevents any new builds from being started. At the same time when all of the current builds have finished.
For the basic configuration, this would be enough, In the next artical we will go through Installation and configuring Jenkin Build Tools like Ant, Tomcat, Maven,shell and jdk & also configuration of Jenkins master and slave nodes.


