So you’re a teacher/an instructor in a computer educational institution or in a college or in a school and tired of watching and controlling the students about what they are doing actually with their computers? Somebody may play games, somebody may view/listen videos/music or may surf unwanted websites without your knowledge. So what you going to do to stop them? Don’t know, Ok, No problem, from now you don’t have to worry about that. We introduce you a powerful didactical tool called iTALC.
iTALC, stands for Intelligent Teaching And Learning with Computers, is a free, multi-platform and open source tool that can be used to view and control other computers in your network in several ways. It supports Linux and Windows XP, Vista and 7 and it even can be used transparently in mixed environments. iTalc has been designed specially for schools, however you can it in your college computer lab.
Features
Using iTalc you can:
– see what’s going on in computer-labs.
– remote control computers to support and help students/staffs.
– show a demo – the teacher’s screen will be shown on all student’s computers in realtime.
– lock workstations for moving undivided attention to teacher.
– send text messages to students.
– powering on/off and rebooting computers per remote.
– remote logon and logoff and remote execution of arbitrary commands/scripts.
– take lessons via VPN connection, so students at home can join lessons via VPN-connections just by installing iTALC client.
Hardware Requirements
Master system:
It should be at least a Pentium III (or similar) with 256 MB or more RAM.
Student system:
You’ll at least need a Pentium Pro and 64 MB of RAM for running the iTALC-client properly. However, it is an advantage to have a graphic-card providing fast access to framebuffer. If you want to do remote shutdown/remote feature, your clients need to have a WOL-capable network-card and an accordingly configured BIOS.
Software Requirements
For running iTALC you either need Linux (Mandriva,Debian or Ubuntu recommended) or MS Windows with following dependencies.
– Qt4 (>= 4.2.3 strongly recommended!)
– libjpeg
– libz
– OpenSSL
– libxtst
All modern Linux distributions provide these packages and should automatically install them as dependency if you install iTALC-packages.
Here let us see how to control students system from a teacher system. I use two systems; one for teacher running with Ubuntu 13.04 and another for student running with Debian 7.
Install iTALC on master system
iTalc packages are found in the Ubuntu/Debian default repositories. If you want to most recent version, head over to the download page , download the tarball and compile it yourself.
Now let us install italc in our Teacher system with commands:
$ sudo apt-get install italc-master italc-client
Install iTALC on student system
Go to your client systems. We need italc-client package only, so let us install it using command:
$ sudo apt-get install italc-client
Create users and groups
Now let us create a group called teachers and assign users to that group.
$ sudo groupadd teachers
$ sudo usermod -a -G teachers sk
The above example shows that we have created a new group called teachers and assign the existing user sk to that group.
Setup iTalc Authentication
iTALC uses a sophisticated authentication concept to make sure only authorized persons are able to access computers using iTALC. So let us create a key pair with the following command:
$ sudo ica -role teacher -createkeypair
The command will create a key pair in /etc/italc/keys/ directory. Under this directory, you’ll find two more folders called public and private with keys inside.
$ sudo ls /etc/italc/keys/
private/ public/
Here is the important part. We have to copy the directory /etc/italc/keys/public to each client. Make sure the whole directory including subdirectories and files are readable but not writable to normal users. If you have network shares (AFS, NFS, Samba etc.) it’s recommended to copy this directory to a network share, set the according permissions and link it on each client to /etc/italc/keys. This way it’s no problem to generate a new key pair (e.g. if the private key was compromised).
Then (the most important thing!) make sure only the users which should be allowed to use iTALC have (only!) read access to /etc/italc/keys/private including sub directories and files. In most cases you would have to create a group “teachers”, add all teachers etc. to it and set permissions, so that only this group has read permissions.
This can be achieved by the following commands:
$ sudo chgrp -R teachers /etc/italc/keys/private/
$ sudo chmod -R 640 /etc/italc/keys/private/
$ sudo chmod -R ug+x /etc/italc/keys/private/
Now the private keys are readable only by the users who are in the teachers groups and make sure public folder is readable by all.
$ sudo chmod -R 640 /etc/italc/keys/public
Now copy the /etc/italc/keys/public folder to all clients to the same location. If the folder is not present in the client systems, then create it.
# mkdir -p /etc/italc/keys/
From your Master system, copy the public keys to your client systems using command:
$ sudo scp -r /etc/italc/keys/public/ root@192.168.1.150:/etc/italc/keys/public
Here 192.168.1.150 is my client system running with Debian 7 os.
Start iTALC Master
Before opening iTALC, you have to start ica service both on Master and client systems.
To do that open Terminal and run the following command:
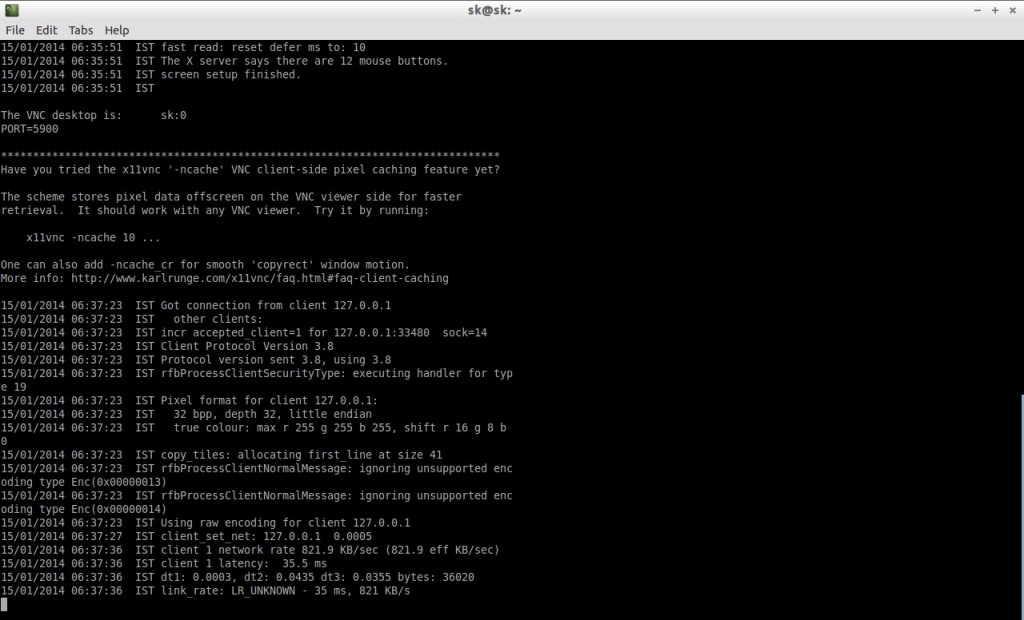
$ ica
You should see the output something like below:
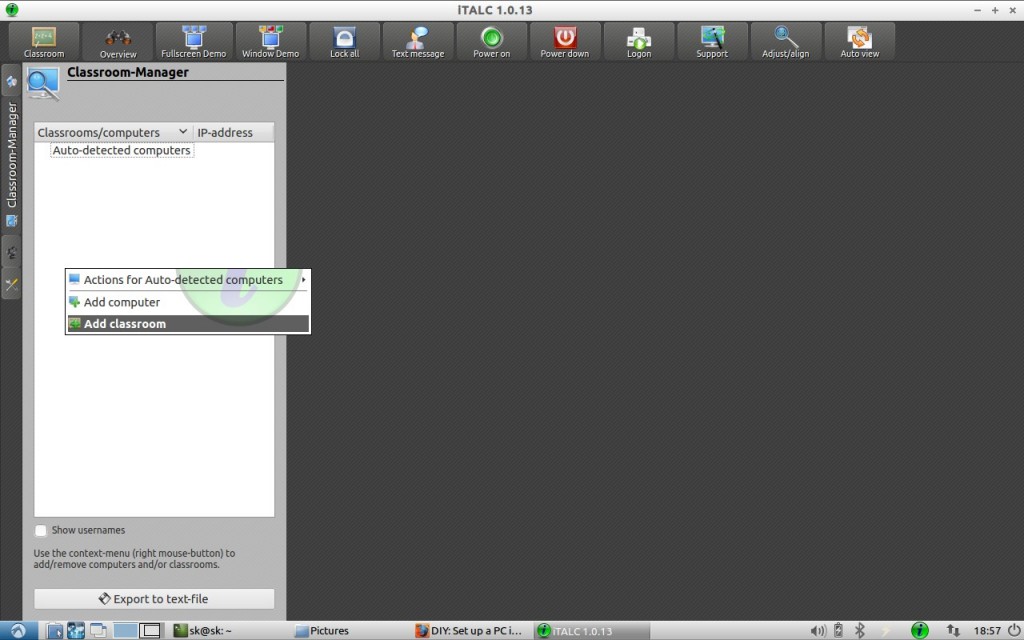
Now let us start iTalc either from Dash or Menu. This is how my iTalc Master interface looks.
Create classrooms
After entering in to iTalc, we have to create the necessary class room first. To do that click on the Classroom-Manager from the left navigation pane. A white coloured Classroom-Manager will open. Right click anywhere on the white space and select Add classroom.
Enter the classroom name (ex. Computer Science).
Add Computer
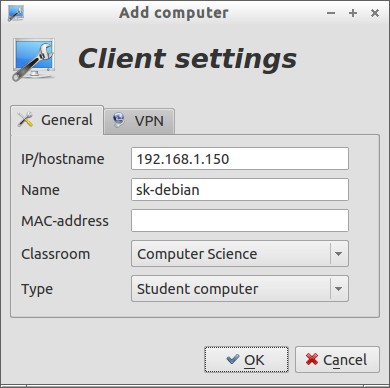
Now we have to add some computers to the classroom. To do that, again right click on the white space of the Classroom-Manager and select Add Computer.
Enter the client ip address/hostname, computer name, select the classroom name and computer type(ex. student or teacher).
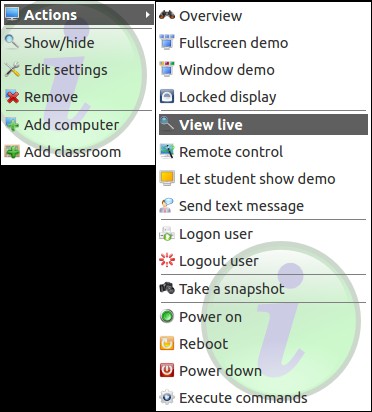
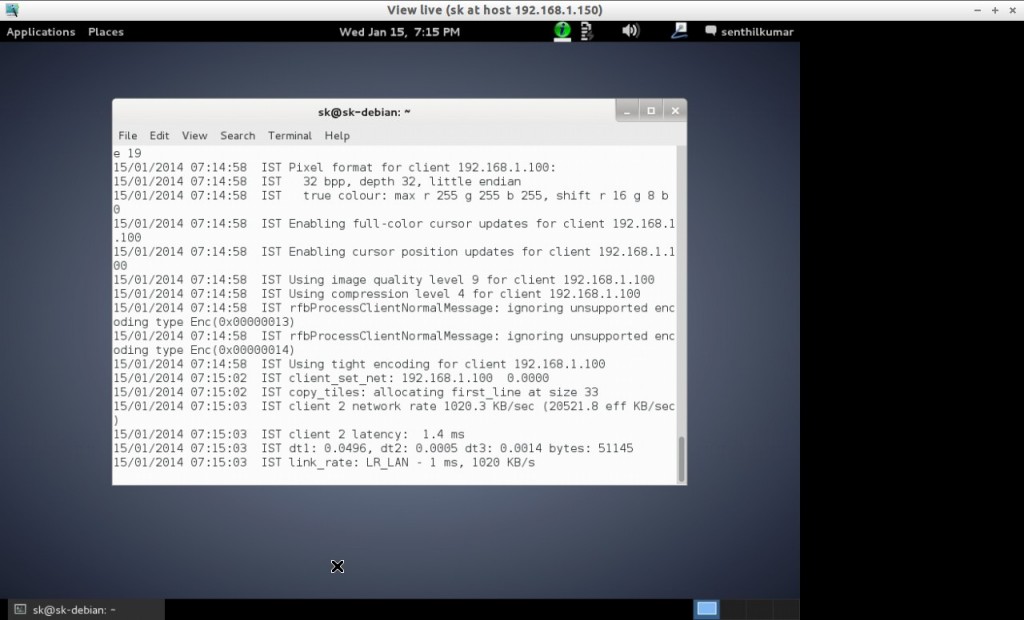
Now Go to the Classroom on the Classroom-Manager, expand the list, select the client computer you want to control and click on the desired action you want to perform. I just want view my remote computer running with debian, so i selected Live view from the Actions menu.
This is how my client Debian 7 looks from my iTalc Master system.
Reference Links:


