KeePassX
keepassx is a password manager to allow users to keep the passwords safe by using the encryption alogorithms either AES (alias Rijndael) or Twofish encryption algorithm using a 256 bit key.
In this artical we will know about how to install and password management by using keepassx in Linux. First of all we will know about why the password managers are required, the answer is very simple. Creating one strong password that you can remember is hard enough doing it for every website is just about very hard or impossible
keepassX maintains a database to store passwords along with it stores many information like Title, username, password, Expiry Date, Notes etc regarding to every single entry.
Installation of KeePassX Password Manager
Install the Prerequisites like qt-devel, qt-config, gcc-c++ and libXtst-devel by using dnf ( Dandified Yum) command.
[root@localhost ~]#dnf install qt-devel qt-config gcc-c++ libXtst-devel
....................................................................................
....................................................................................
Installed:
  libXtst-devel.x86_64 0:1.2.2-2.1.el7       qt-config.x86_64 1:4.8.5-12.el7_2
   qt-devel.x86_64 1:4.8.5-12.el7_2
Complete!
Then you can install keepassx package by using dnf command as follows
 [root@localhost keepassx-2.0.2]# dnf install keepassx
Last metadata expiration check performed 1:08:37 ago on Wed May 18 14:22:22 2016.
Dependencies resolved.
=========================================================================
 Package           Arch            Version               Repository        Size
=========================================================================
Installing:
 keepassx          x86_64          2.0.0-1.fc23          updates          598 k

Transaction Summary
=========================================================================
Install  1 Package

Total download size: 598 k
Installed size: 1.8 M
Is this ok [y/N]: y
Downloading Packages:
keepassx-2.0.0-1.fc23.x86_64.rpm                 57 kB/s | 598 kB     00:10
-------------------------------------------------------------------------
Total                                            44 kB/s | 598 kB     00:13
Running transaction check
Transaction check succeeded.
Running transaction test
Transaction test succeeded.
Running transaction
  Installing  : keepassx-2.0.0-1.fc23.x86_64                                1/1
  Verifying   : keepassx-2.0.0-1.fc23.x86_64                                1/1

Installed:
  keepassx.x86_64 2.0.0-1.fc23

Complete!
[root@localhost keepassx-2.0.2]#
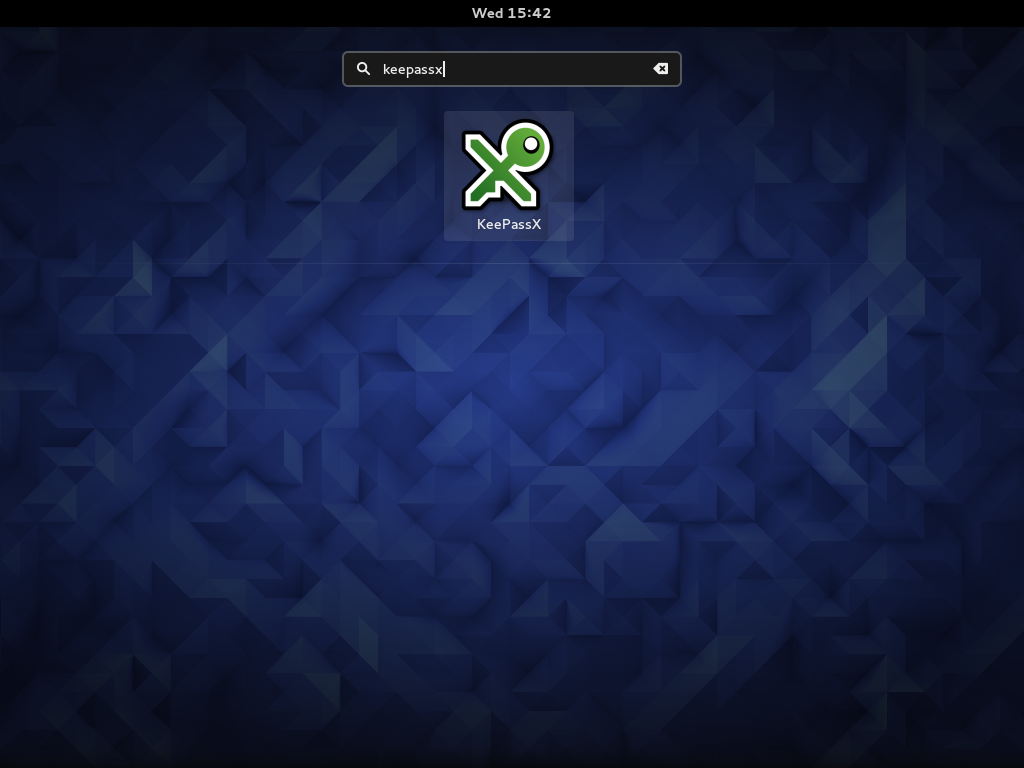
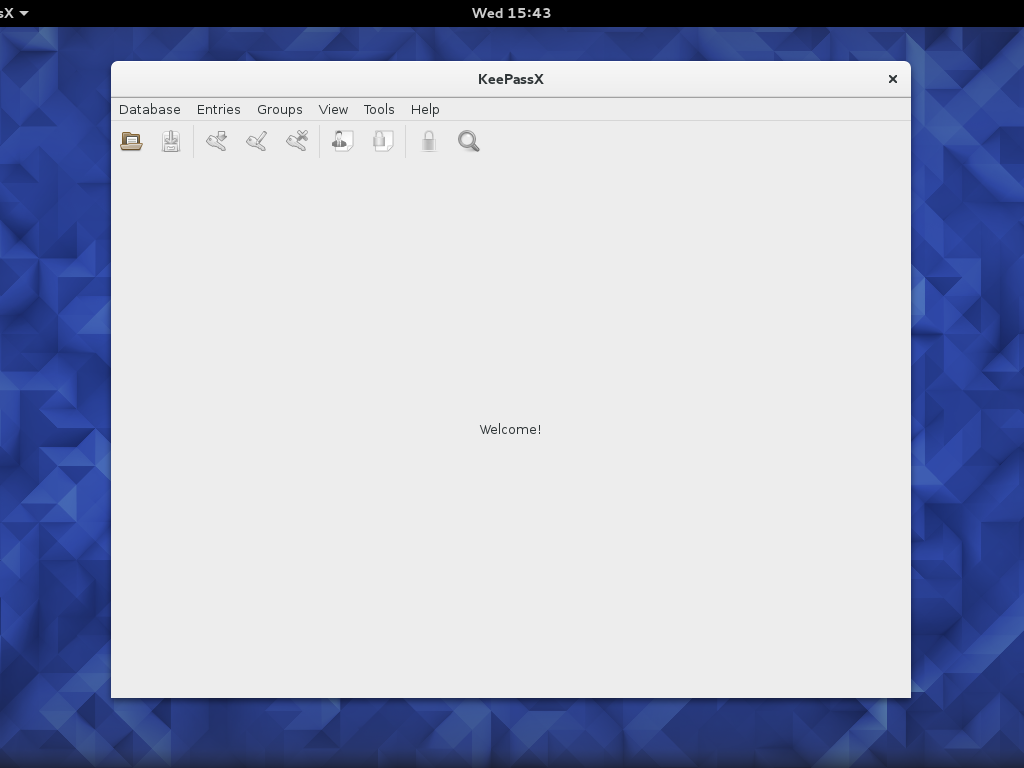
Once the installation Keepassx completed you can open it.
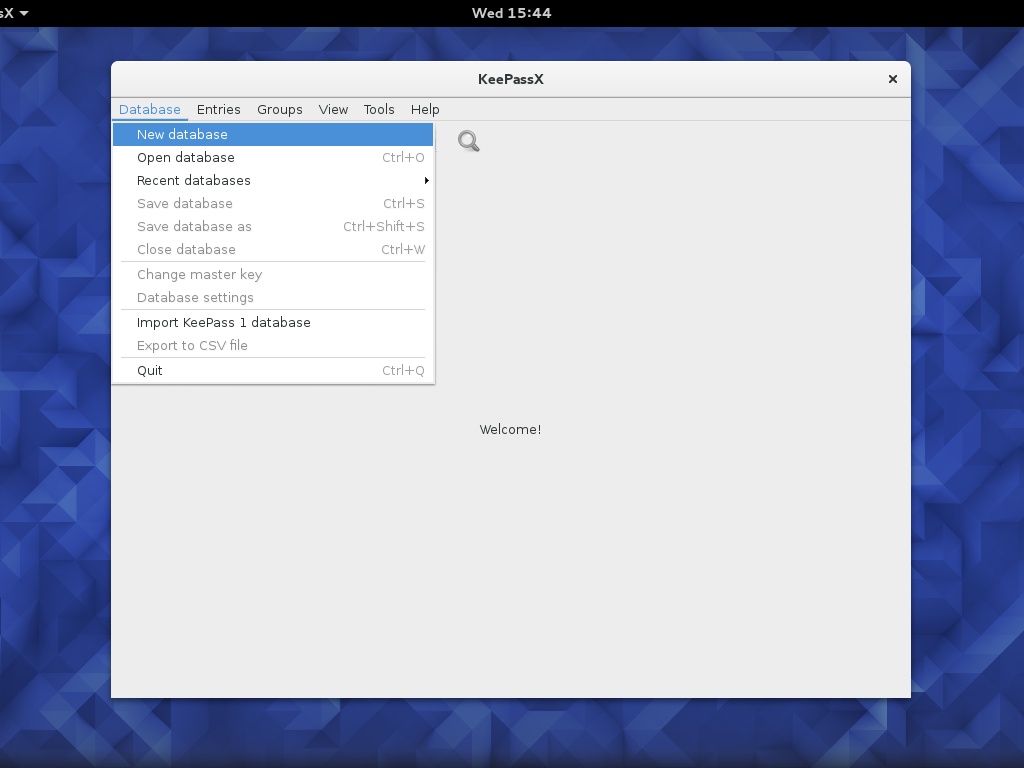
Once it open you can create a new database, for every database we have to set a password.
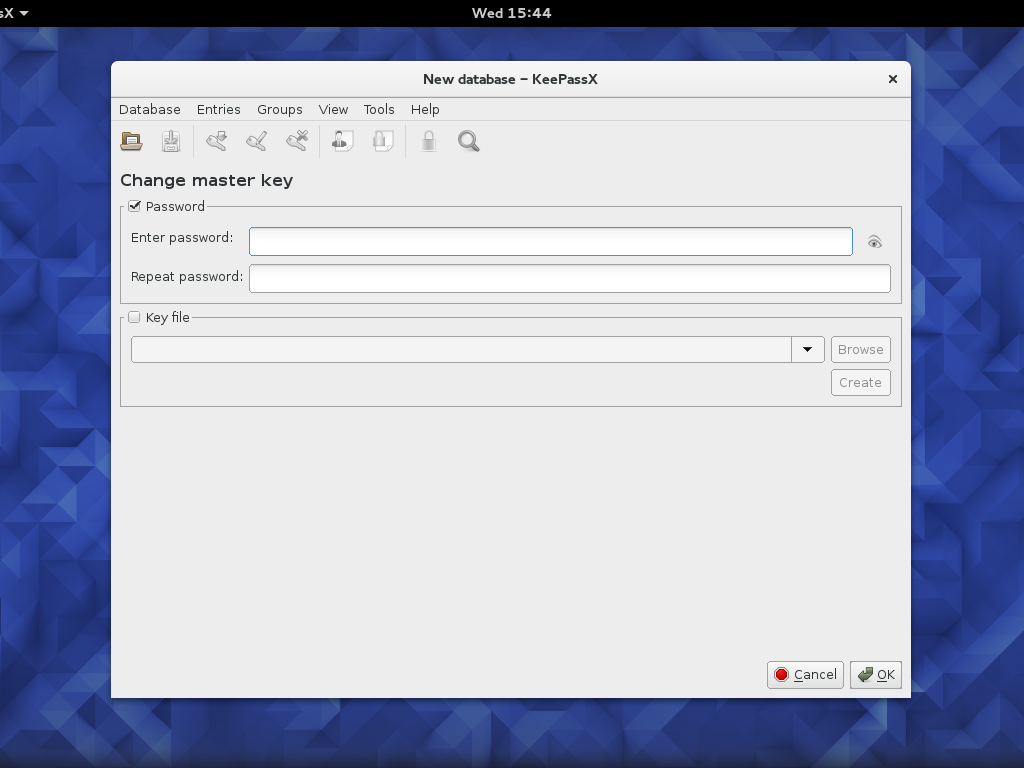
when you try to create a new database it prompts for password as shown below.
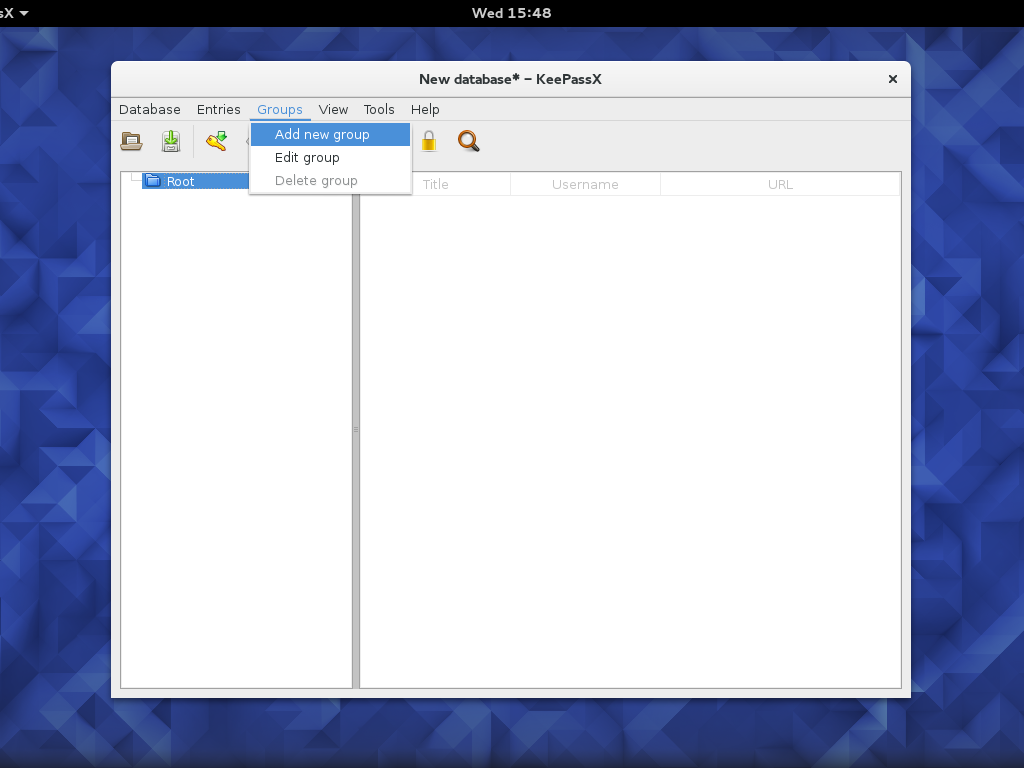
Here you can enter a password or if you have a key file then browse and locate it and click on ok. Once the database is completed you can see the main interface root, here you can directly create new entry or you can create groups to hold the similar type of records like social,emails,bank accounts etc.
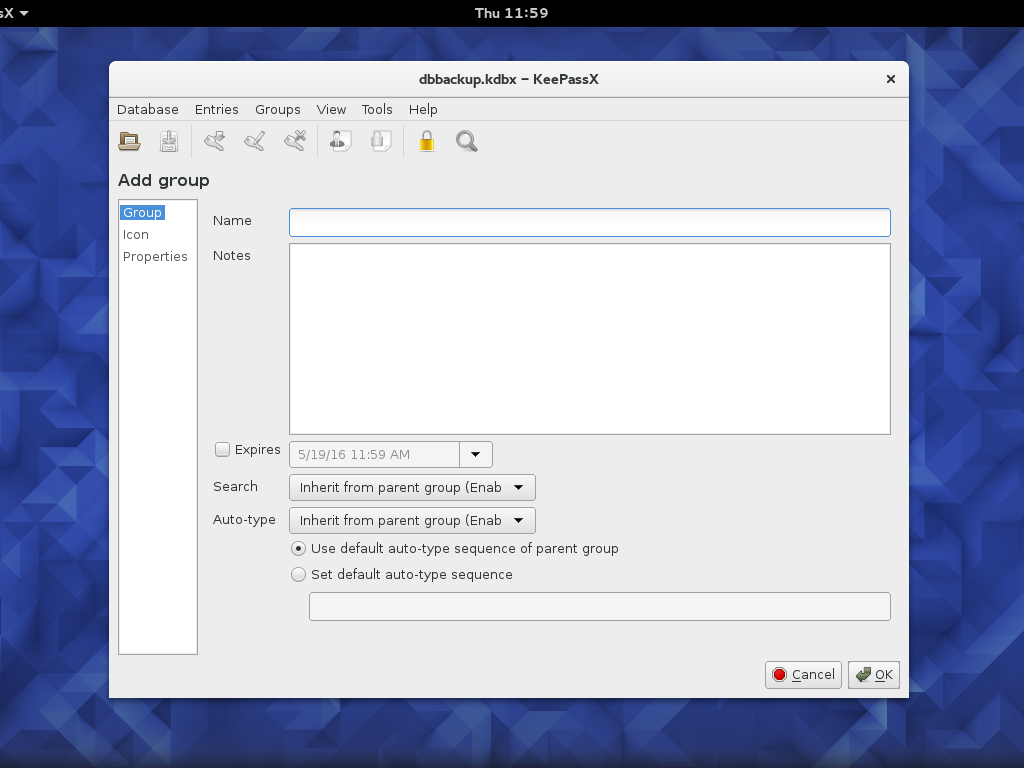
Once you click on add new group a new window add group appeared in this we have to set the name of the group, if any Notes related to group, Expiry date ,search type,auto-type properties and icon and etc then click on ok.
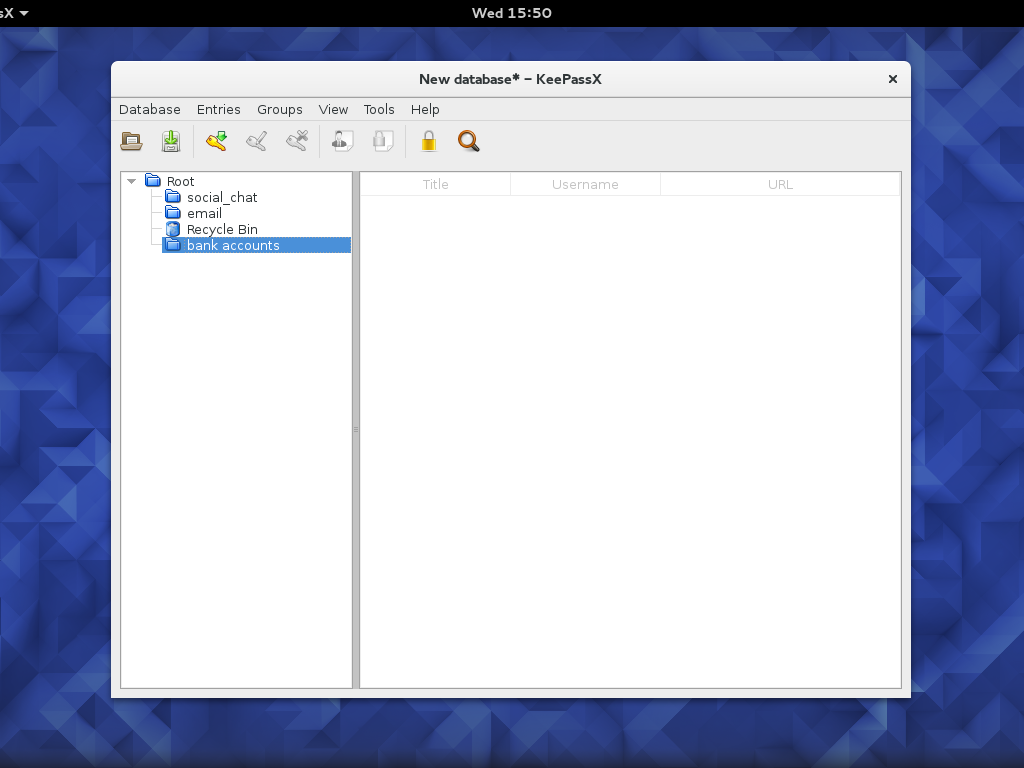
After the completition of the groups you will see the group list as follows.
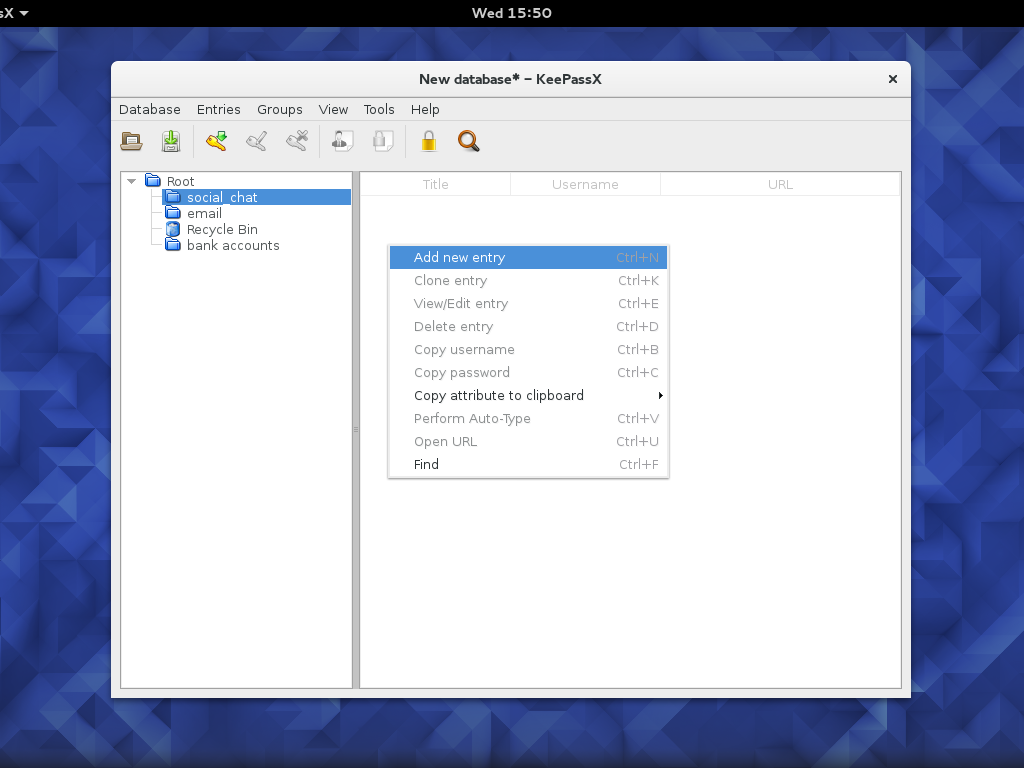
Then you can add the new entry in your required group.
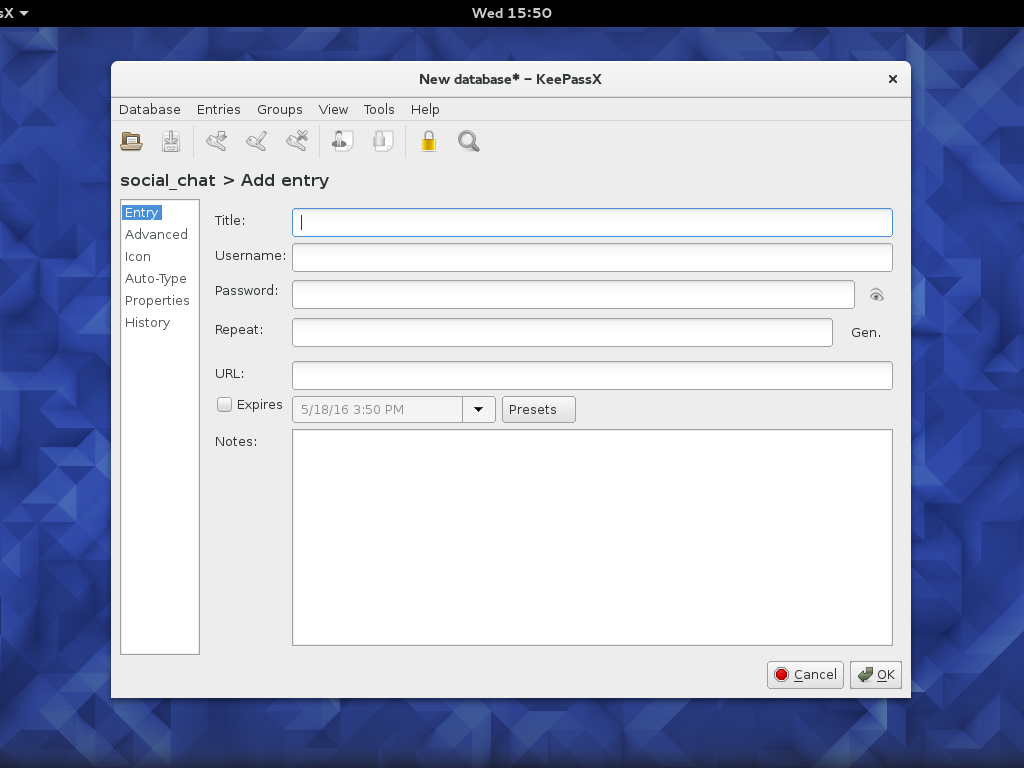
Once you can click on add new entry a new window will be appeared in screen as shown below.
Now you can add the Title to identify the Each and every entry.
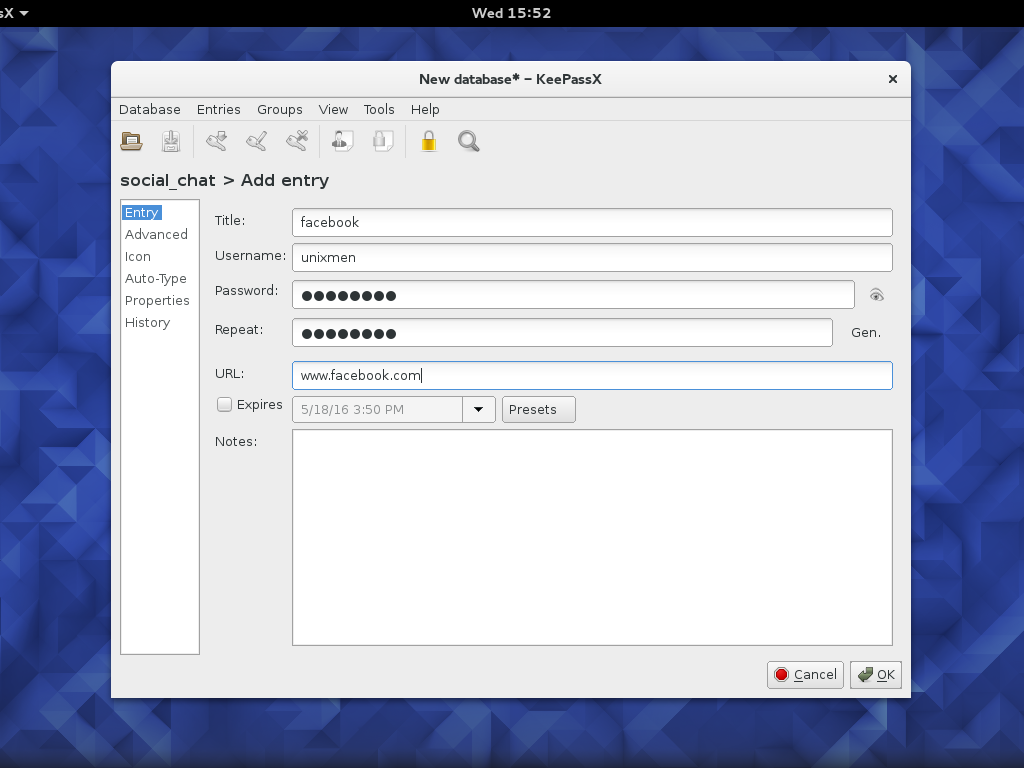
username, password, URL, Expiry Date, Notes regarding to each new entry.
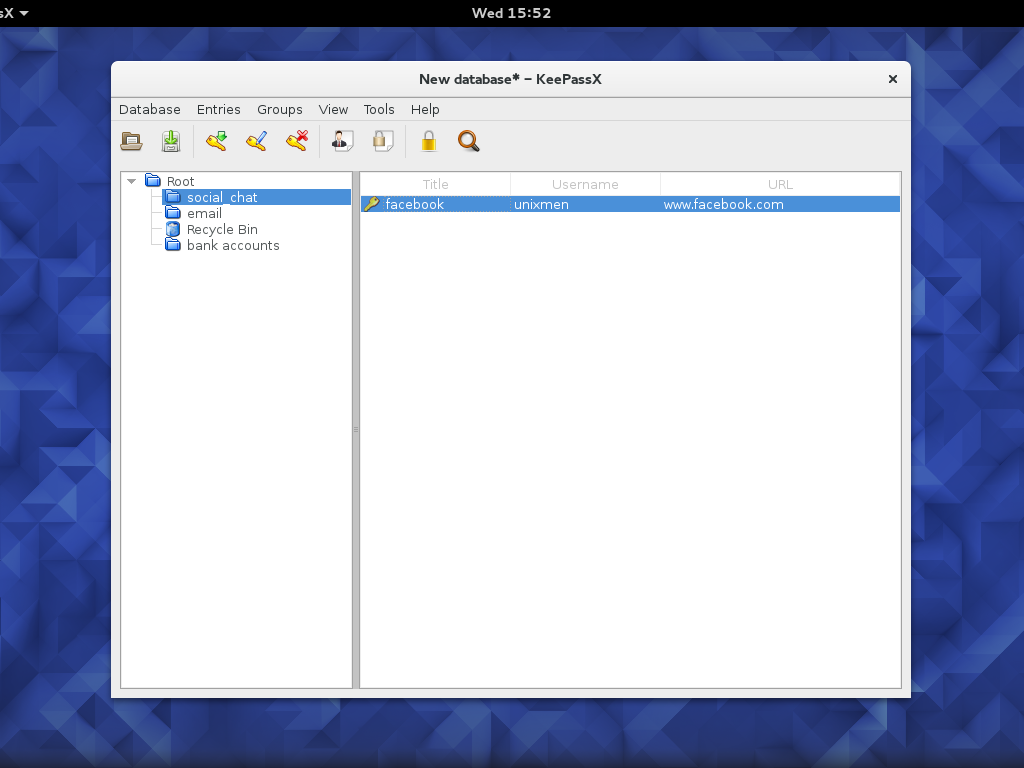
Once you filled all the details then you click on ok button and you will see the newly added entry in group where you added the new entry.
Here i added the new Entry in social_ chat group, the title is facebook, username is unixmen and URL is www.facebook.com.
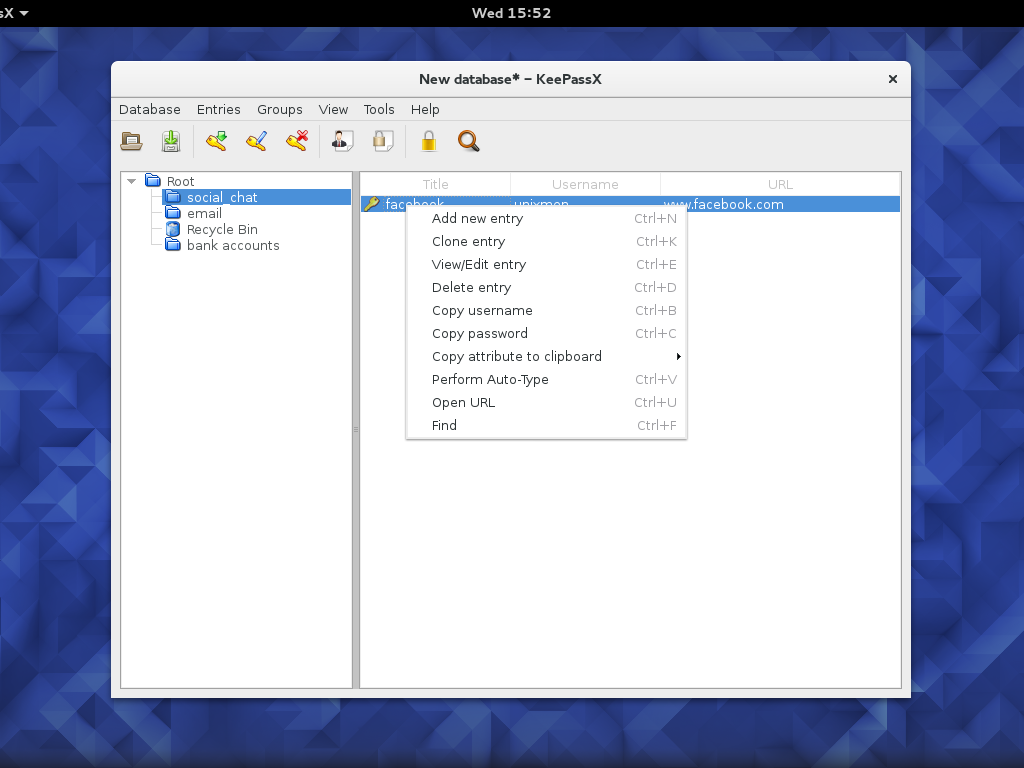
if you want modify any information regarding to particular entry goto that entry right click on the you can find several options like clone entry, view/edit entry, delete entry, copy username, copy password, find, open url etc.
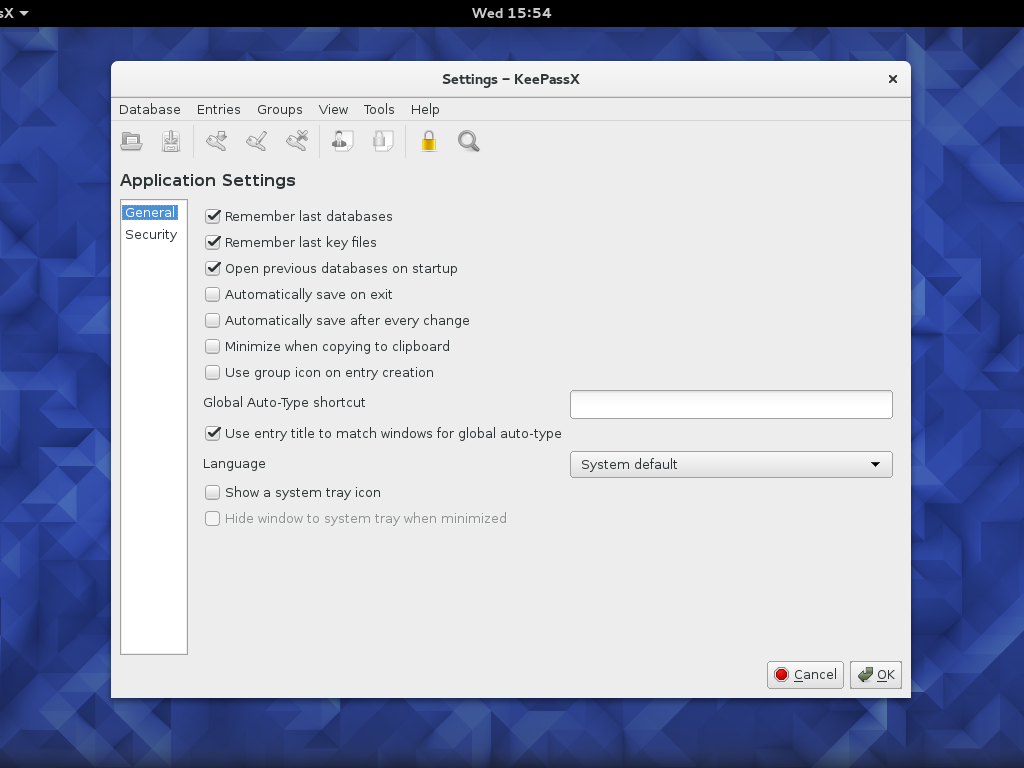
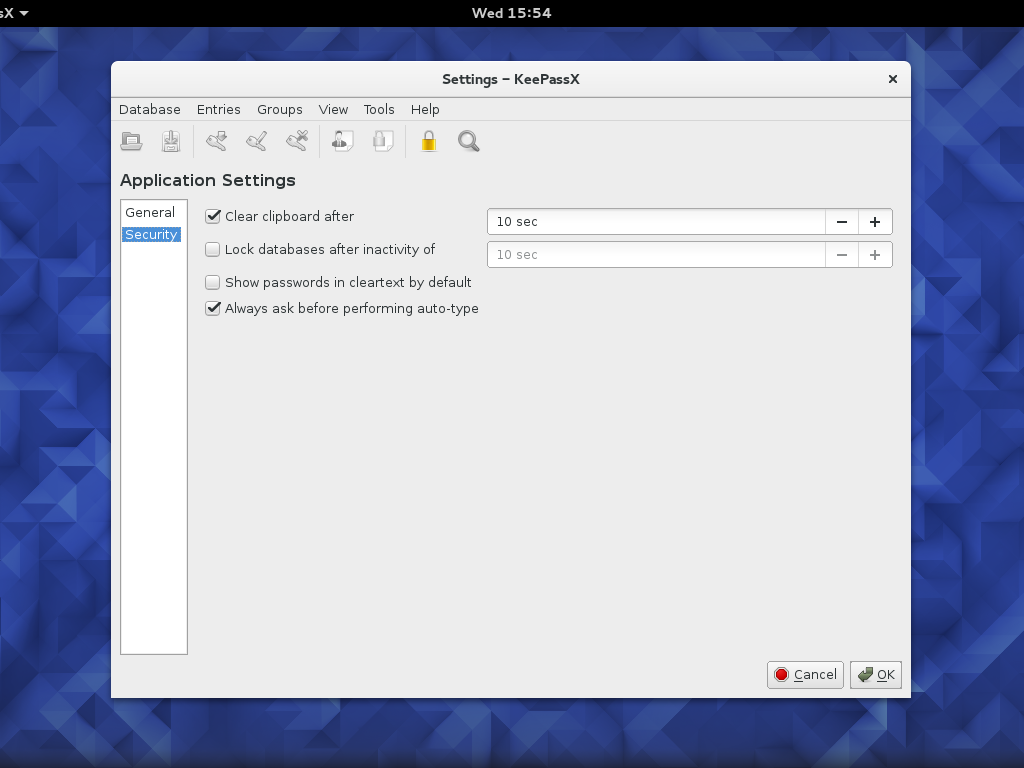
you can also change the database settings, go to Tools->Settings.
In this you can find options like Remember last databases, remember last key files, Automatically save on exit, show a system tray icon etc.
There is also some settings related to clearing the clipboard, lock database after inactive period, show passwords in cleartext by default etc.
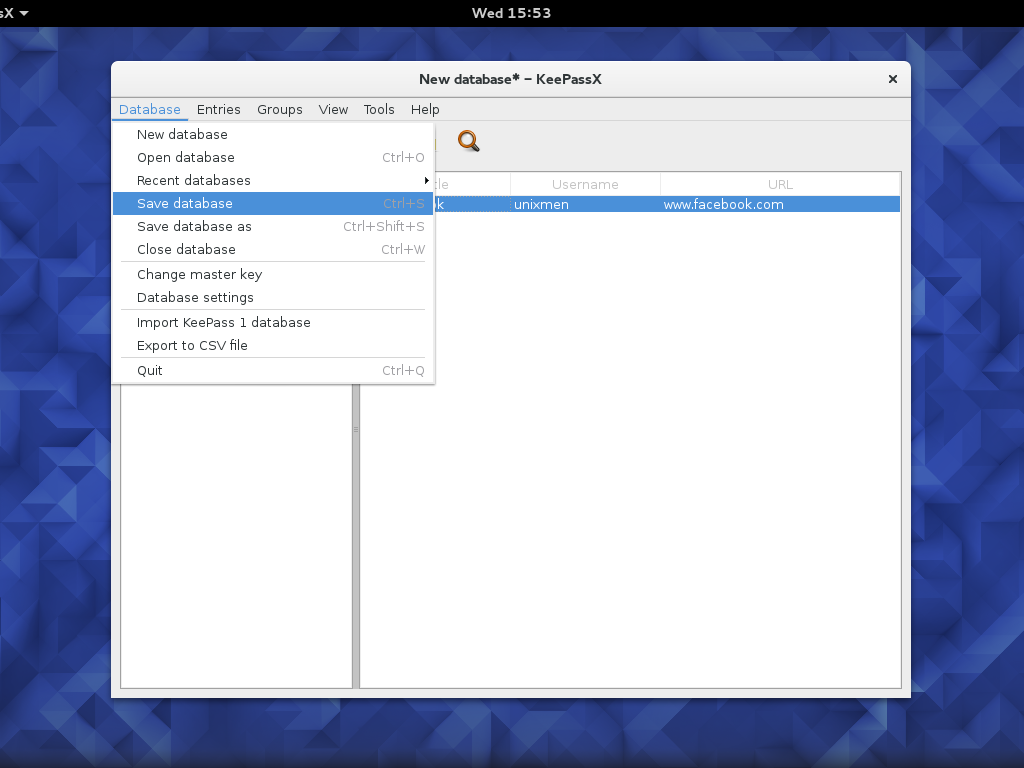
After all the changes you have to save the database for that go to database->save database option.
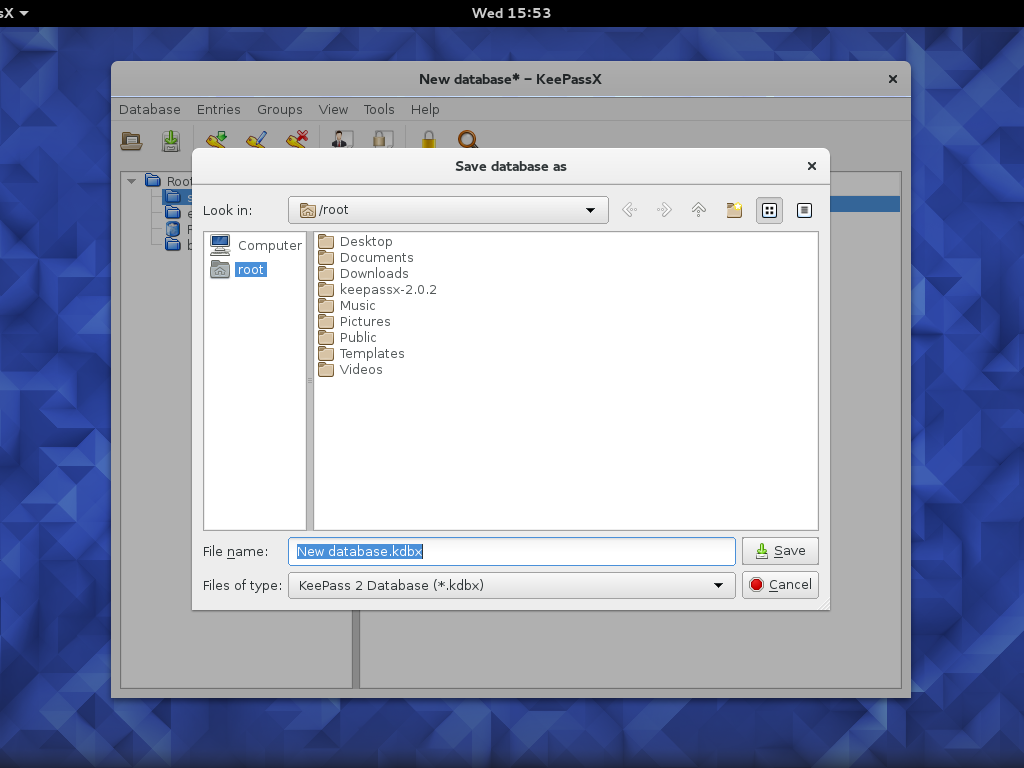
Browse the location where it would be saved and give a name to save.


