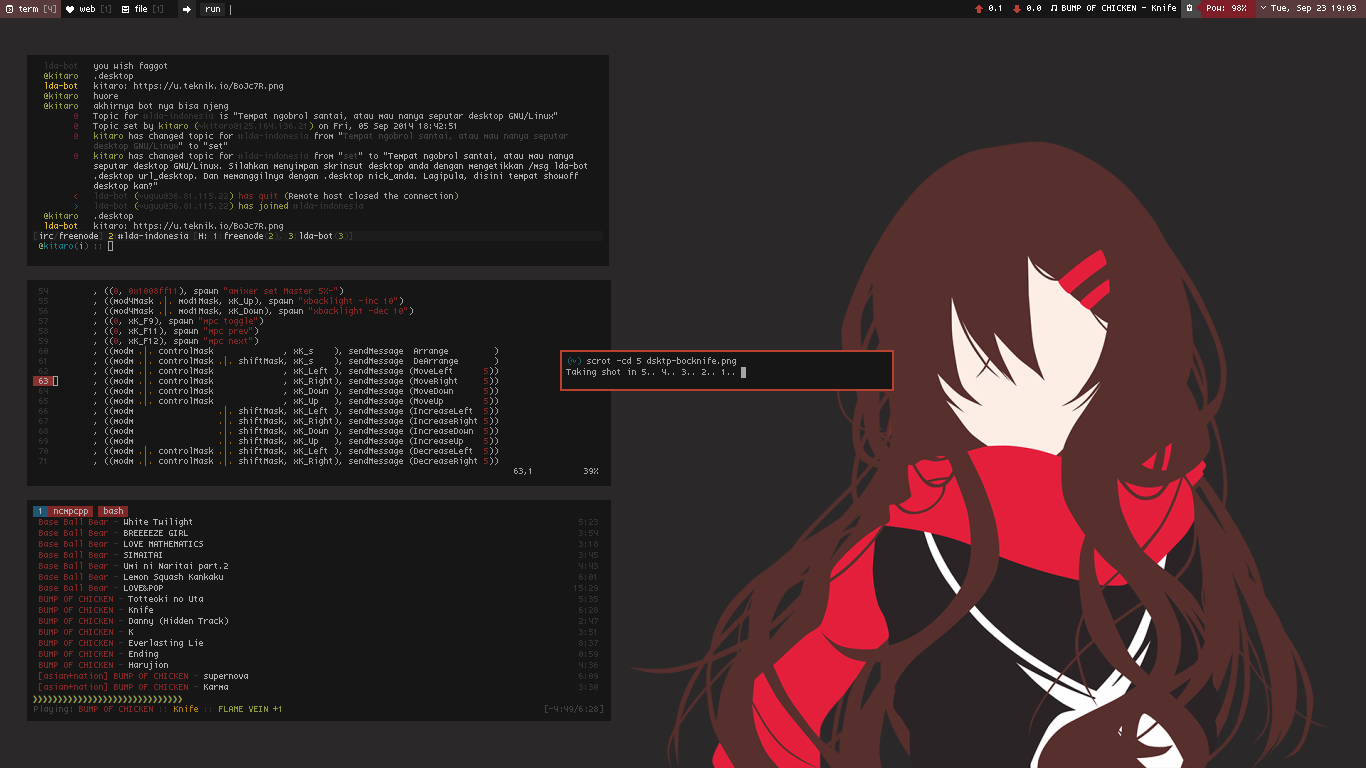
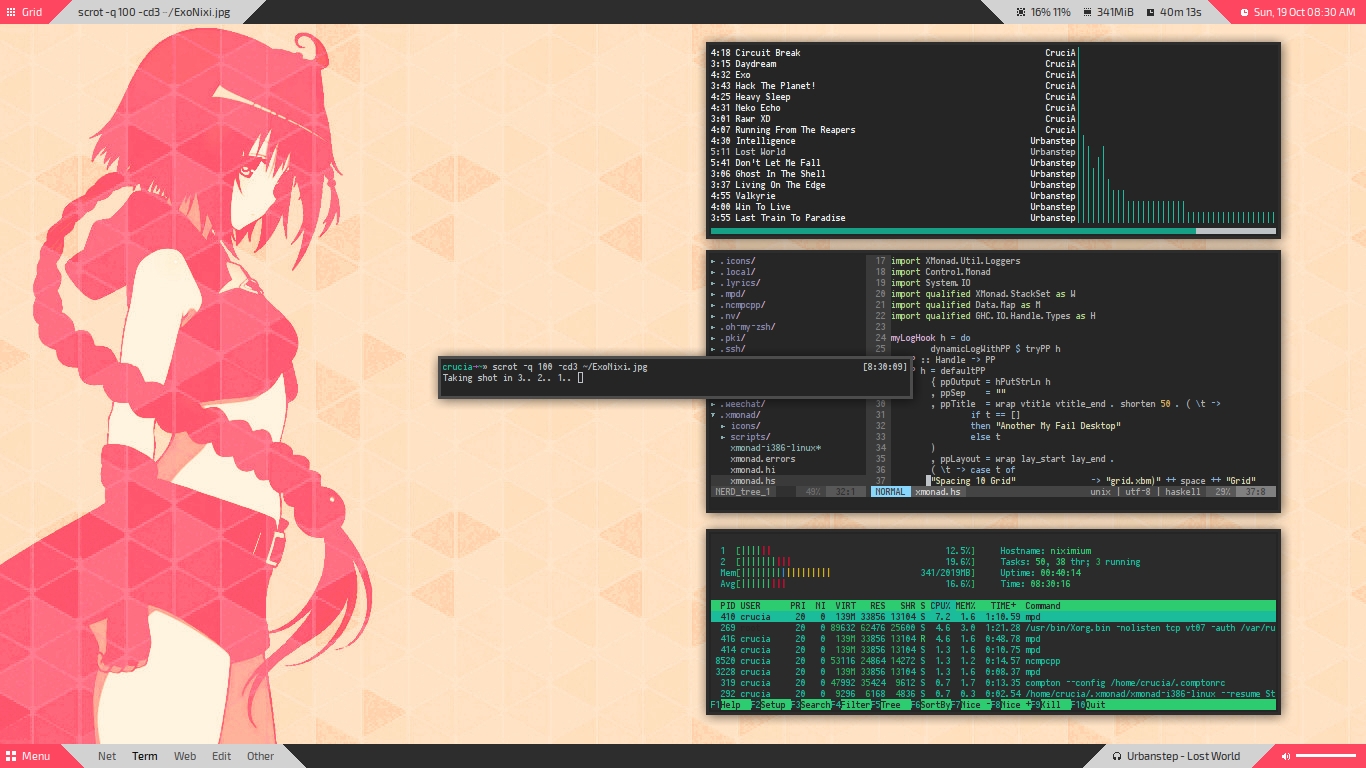
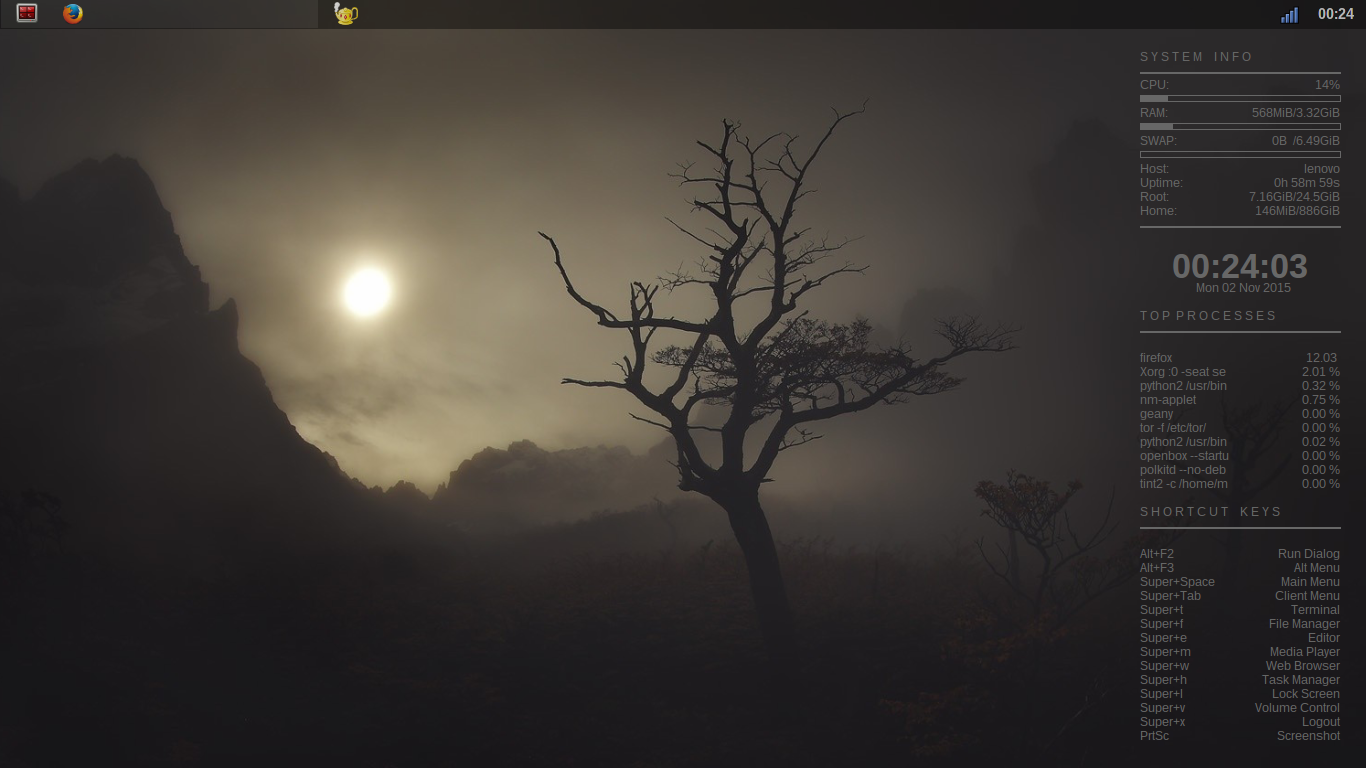
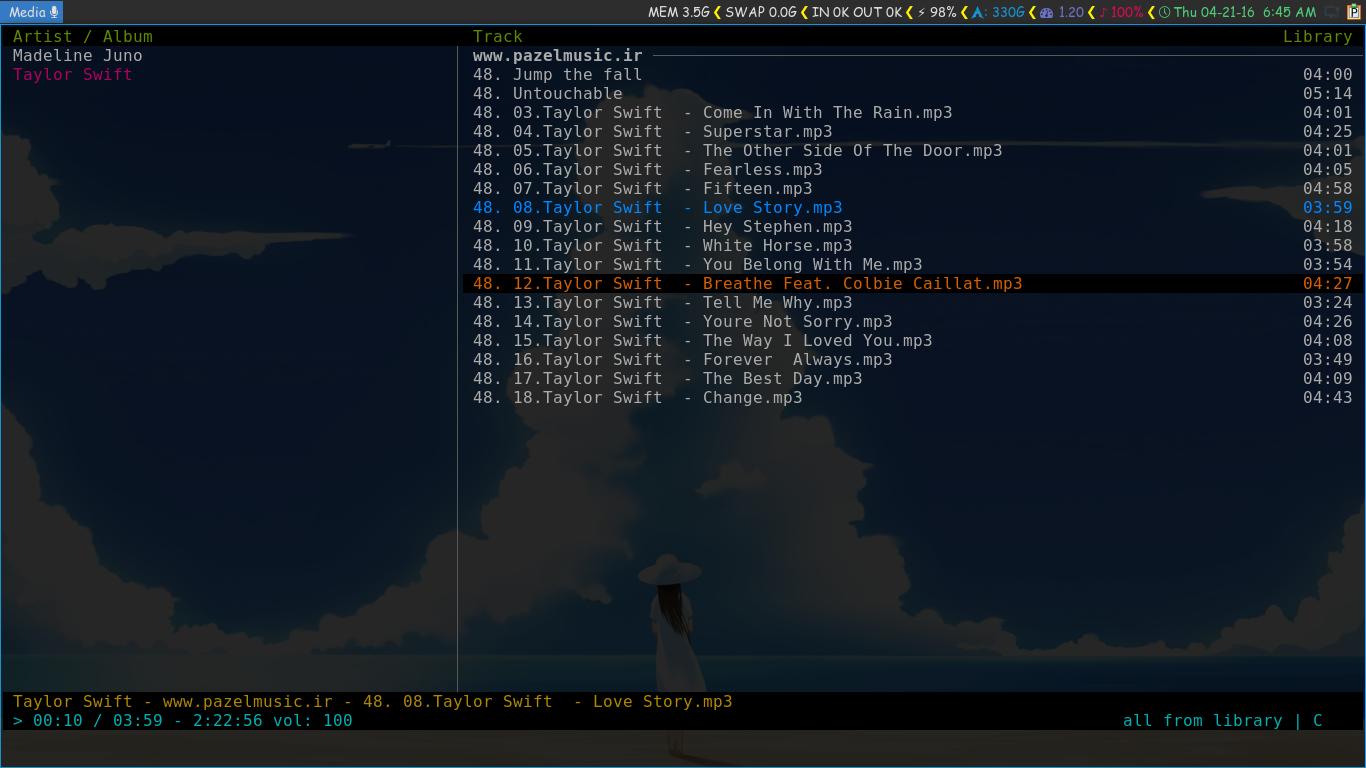
Some people use old comupters so they can’t use KDE, Gnome and etc and they mostly use some Windows Managers like OpenBox, I3wm and etc with some other Terminal Apps, in this post we are going to talk about I3wm, OpenBox, Xmonad, etc and how people can live in Terminal and using Terminal Music players, Terminal File Managers!
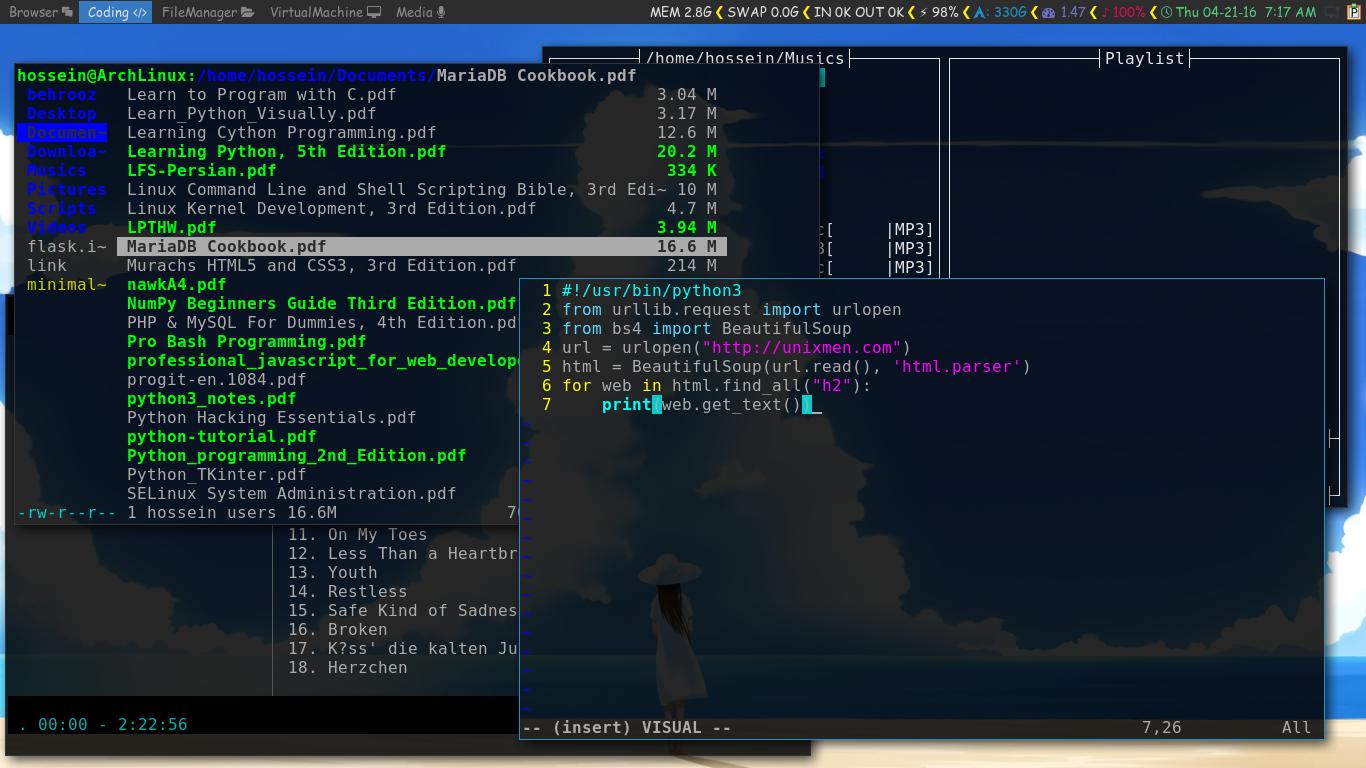
I3wm on Arch Linux:
For installing I3wm on Arch Linux use this command:
sudo pacman -S i3
In the command above i3 is a Group Package which will install “i3-status“, “i3-lock” and “i3-wm“, I3lock is customizable as an example “i3-fancy Lock” that also can be found in Terminal is a good look i3lock that you can use, here is the screenshot:
If you wanna install this lock you can use following command in terminal:
yaourt -S i3lock-fancy-git
After installing it you should use this command to run it:
i3lock-fancy
Running a lock in Terminal for i3wm is a little foolish move so let’s make a shortcut for it, use “nano” to open i3wm config file:
nano ~/.config/i3/config
Now add following lines in your file config for i3lock-fancy shortcut to be started with $mod+l :
# lock
bindsym $mod+l exec i3lock-fancy
Now restart your i3wm and enjoy your lock!
Xmonad on Arch Linux:
Xmonad is a lightweight Windows Manager which has been written with Haskell, for installing this Windows Manager use this command:
sudo pacman -S xmonad xmonad-contrib
Here you can see one of it’s screenshots:
(Xmonad Screenshots are from Anant Paatra)
you can see other Screenshots on the Internet!
OpenBox on Arch Linux:
OpenBox is also hightly customizable Windows Manager and it has lot of fans around the world, this Windows Manager can be installed by this command:
sudo pacman -S openbox
With following command you can install “tint2” which is a configurable menu and “obconf” which can Help you to customize OpenBox:
sudo pacman -S tint2 obconf
Here you can see screenshot:
Use this command to make a directory for OpenBox file config:
mkdir -p ~/.config/openbox
Now copy OpenBox config files there:
cp /etc/xdg/openbox/{rc.xml,menu.xml,autostart.sh} ~/.config/openbox
Now by going in
you can make some changes in your OpenBox.
Terminal Music Players:
There are different Terminal Music Players but my favorite ones are Cmus and Mocp, these two Terminal Music Players can be customized and they both are in Official Arch Linux Repositories so install Cmus with this command:
sudo pacman -S cmus
Now let’s put a theme for it, Solarized is a good theme which you can see it’s screenshot here:
For having this theme, first make Cmus config’s directory in /home/$USER, following code will help:
mkdir -p $HOME/.cmus
Now make a text file there:
touch $HOME/.cmus/solarized.theme
Open file with nano:
nano $HOME/.cmus/solarized
Copy following lines in that empty file:
# colors from solarized: http://ethanschoonover.com/solarized
# default text color
set color_win_fg=default

# overall background color
set color_win_bg=default

# command-line colors
set color_cmdline_bg=default
set color_cmdline_fg=default
set color_error=160
set color_info=136
set color_separator=240

# bottom status line
set color_statusline_bg=0
set color_statusline_fg=37

# bottom title line
set color_titleline_bg=0
set color_titleline_fg=136

# top title area
set color_win_title_bg=0
set color_win_title_fg=64
##### playing file colors ######################################################
# unselected currently playing track's text
set color_win_cur=33

# active selection for currently playing track
set color_win_cur_sel_bg=0
set color_win_cur_sel_fg=33

# inactive selection for currently playing track
set color_win_inactive_cur_sel_bg=default
set color_win_inactive_cur_sel_fg=125

##### non-playing file colors ##################################################
# active selection
set color_win_sel_bg=0
set color_win_sel_fg=166

# inactive selection
set color_win_inactive_sel_bg=default
set color_win_inactive_sel_fg=125

##### file browser view colors #################################################
# directory listing color
set color_win_dir=33
Now run Cmus and use this command in that:
:colorscheme solarized
Another nice Terminal Music Player you may like can be “Moc“, install it with this command:
sudo pacman -S moc
Here you can see a screenshot with a Darkdot Theme:
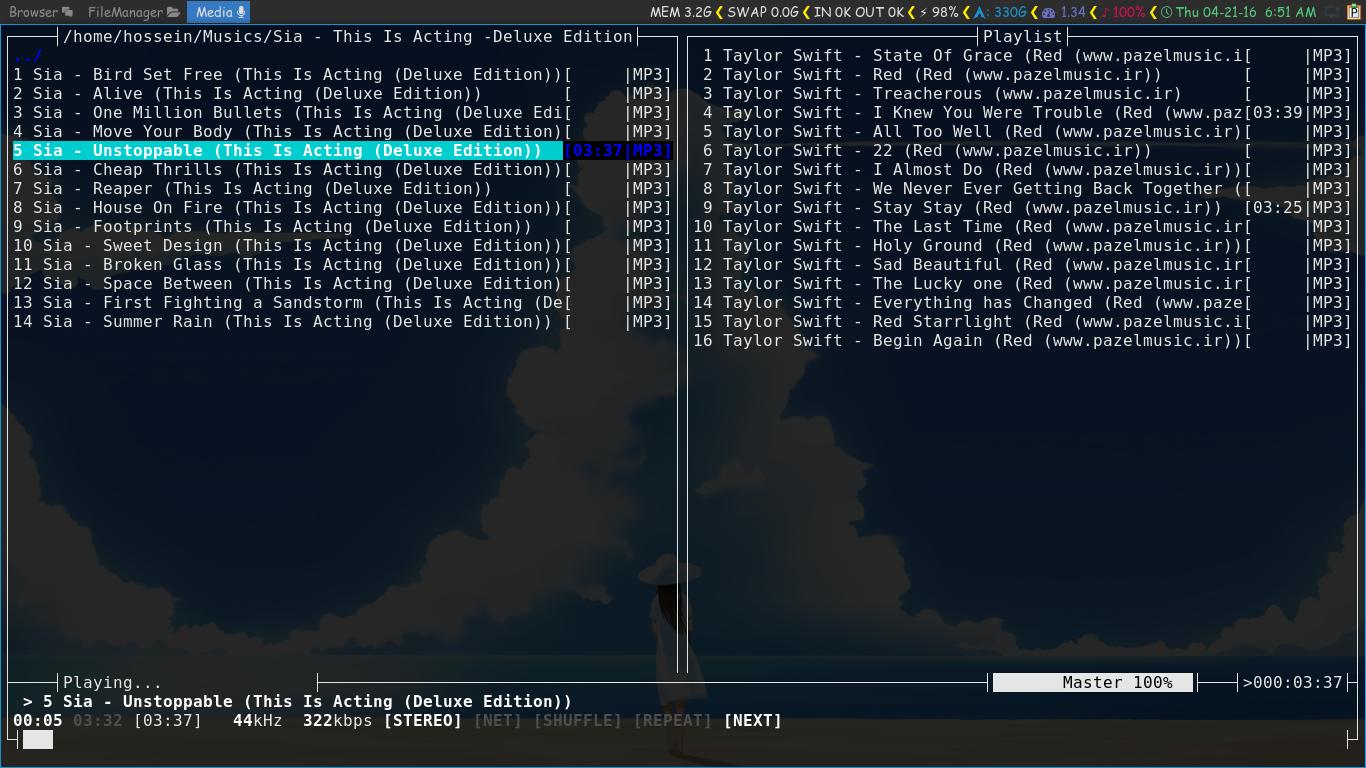
command in terminal but if you want it to be started with Darkdot Theme you should use following code:
mocp -T darkdot_theme
Users can’t always use this long command to get Moc with Darkdot Theme so we can use alias, then each time we use
command we get our MOC with Darkdot Theme, so open .bashrc file:
nano $HOME/.bashrc
Now add this line to the file:
alias mocp='mocp -T darkdot_theme'
Save and close the Terminal, from now when ever you enter
command in terminal
will be excuted!
Terminal File Managers:
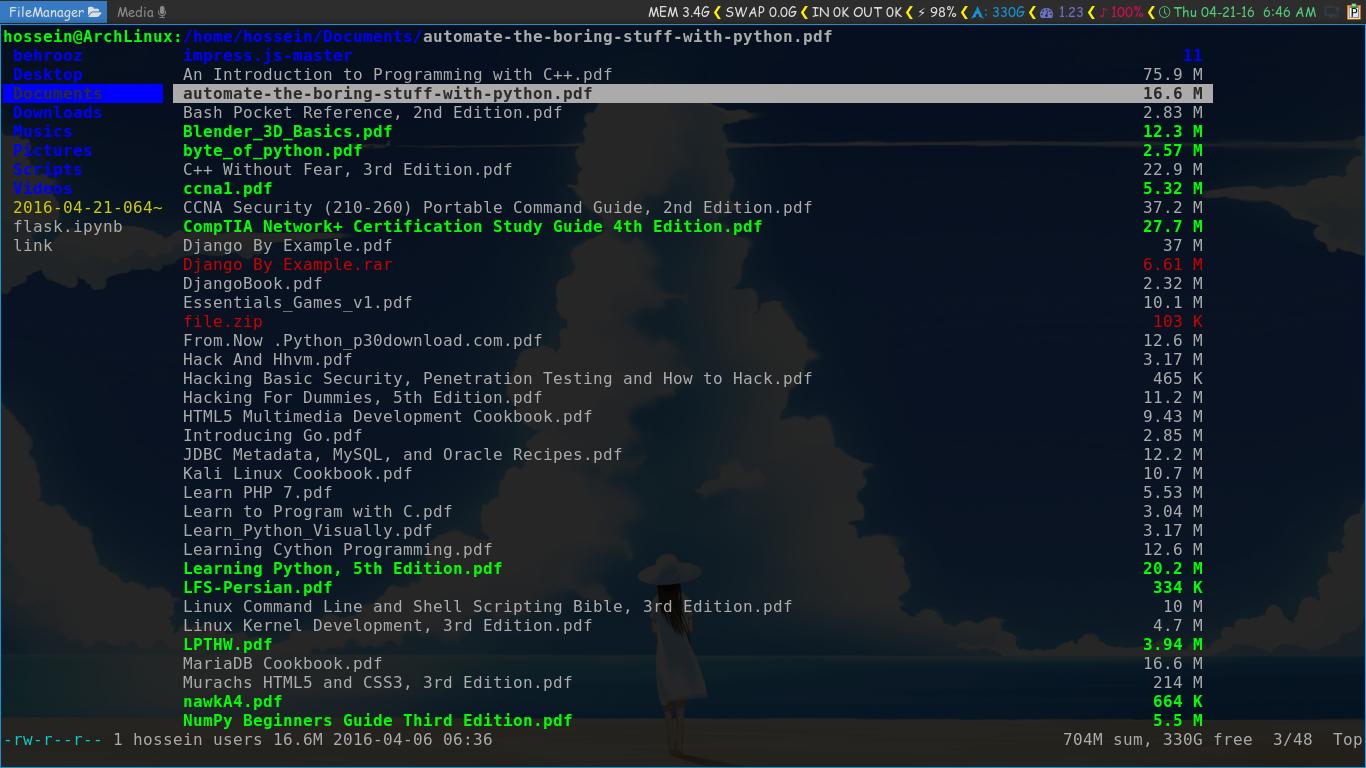
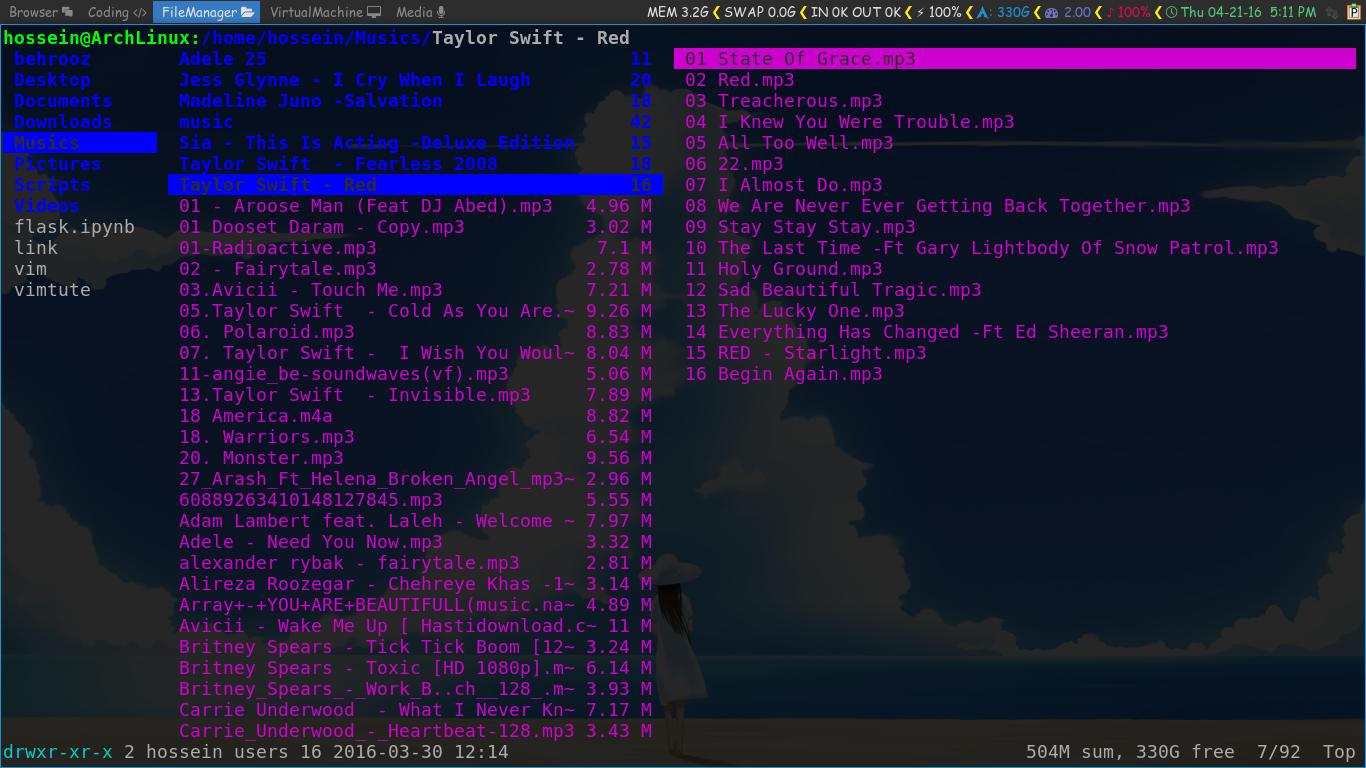
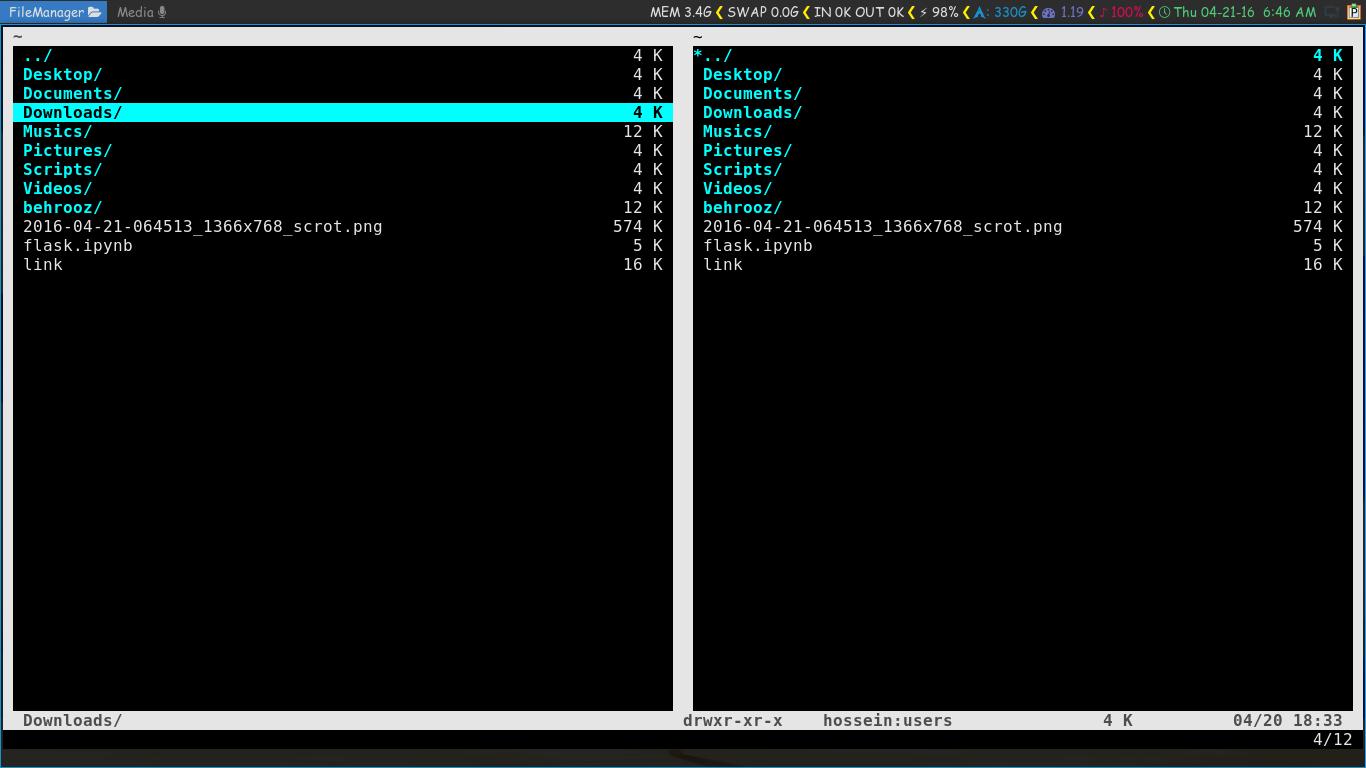
In this part of tutorials we are going to cover some Terminal File Managers like Ranger, MC,Vifm, Among these three Terminal File Managers I personally prefer Ranger but they are all good file managers that you can easily make directory, rename, remove, copy and move your files and you also can enter some commands in them like vim!!
Ranger:
For installing Ranger use following command:
sudo pacman -S ranger
Here you can see some screenshots of Ranger:
Ranger is lightweight Terminal File Manager that you also can enter some command in it, for entering command just like vim and vi editor first put : and then enter your command for example:
:touch somefile.txt
You can use arrow keys to go in different directories in Ranger, and when you use Enter key on a file if it is music or video it will be played with Mplayer, if you Enter on a text file, Ranger aks you
then you can write nano or vim or etc to open with!
MC:
Install MC with this code:
sudo pacman -S mc
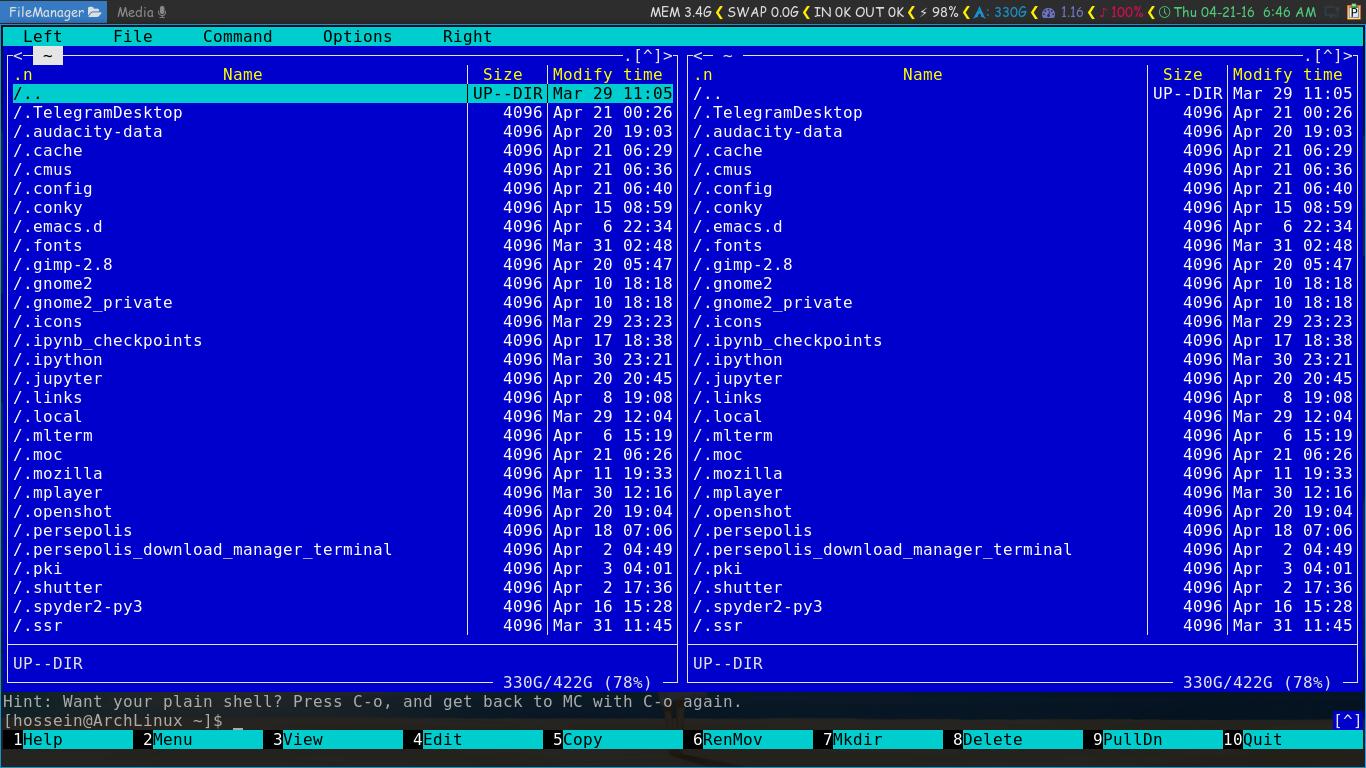
Here you can see screenshot:
As you can see in the picture above it has some shortcut keys for example by pressing 7 on the keyboard you can make new directory, you also can enter some commands in that!
Vifm:
Vifm package is in official Arch Linux repositories and it depends on vi package, for installing it use following code:
sudo pacman -S vifm
For entering command in this File Manager first put a : then enter your command just like Ranger!
Unicode-Rxvt Terminal:
Urxvt is really lightweight terminal which is also hightly configurable, install this Terminal with this command:
sudo pacman -S unicode-rxvt
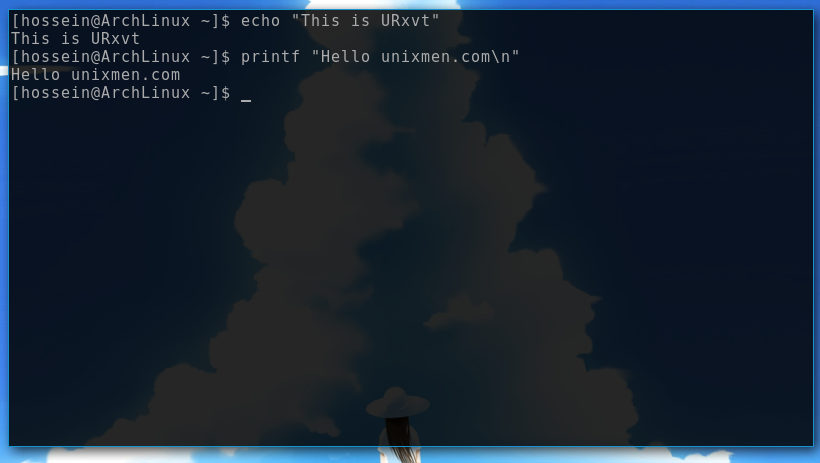
Here is a screenshot of customized Urxvt:
For transparent this terminal open .Xdefaults file with this command:
nano $HOME/.Xdefaults
Add this lines to the file:
URxvt.transparent: true
URxvt.tintColor: white
URxvt.shading: 15
Now save the file and exit!
Following commad will give you the Terminal that you Saw in the Picture above:
urxvt -bg grey17 -fg grey67 -fn "xft:Mono Space:pixelsize=15" +sb -depth 32 -pr white -uc -bc -sl 100000
As you know we can’t always enter this really long command when we need a new terminal so let’s use aliases!
Add this line to .bashrc file in your $HOME:
alias urxvt='urxvt -bg grey17 -fg grey67 -fn "xft:Mono Space:pixelsize=15" +sb -depth 32 -pr white -uc -bc -sl 100000'
Terminal Browsers:
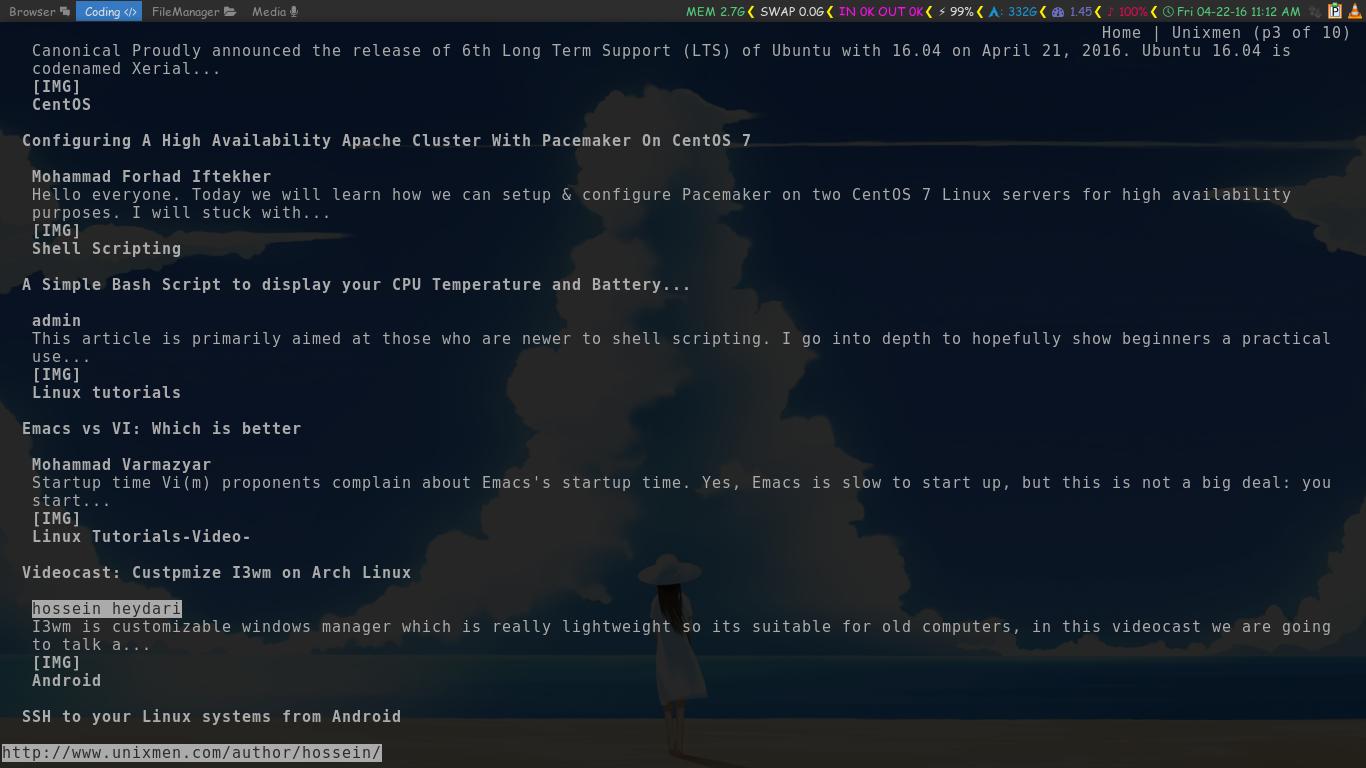
We even can browse in Terminals “Links” and “w3m” are good tools for that, following screenshot is links which opened Unixmen.com:
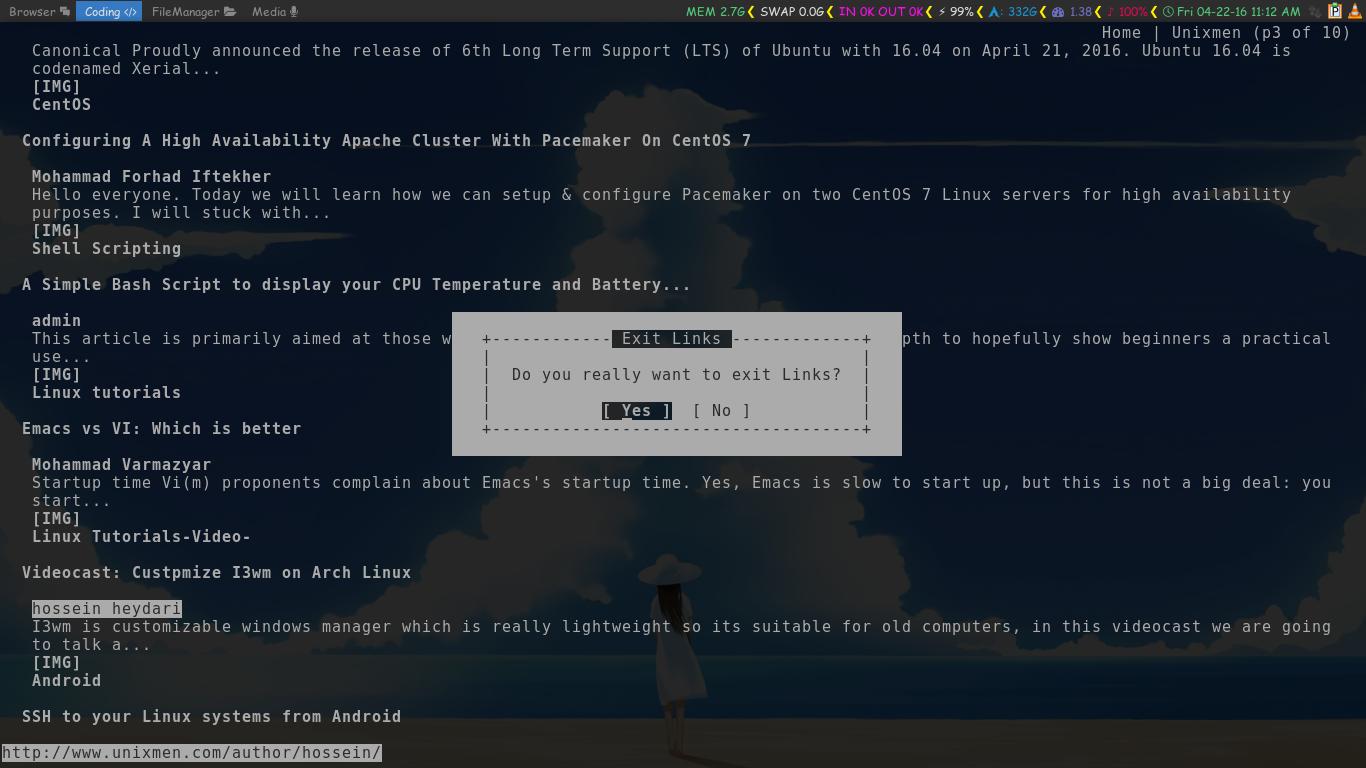
And when we want to exit from links browser:
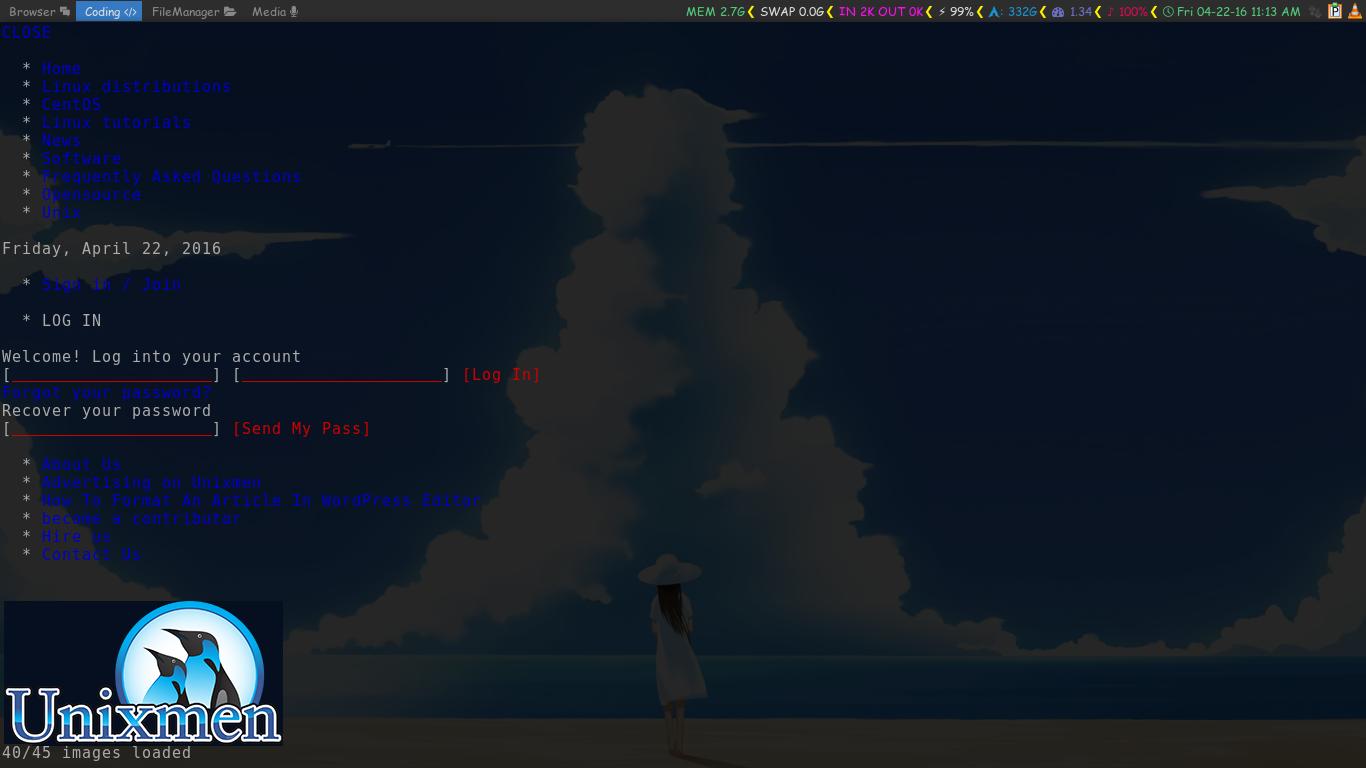
Following screenshot is w3m that opened Unixmen website:
For installing w3m and links use following command:
sudo pacman -S w3m links
I wish you enjoyed reading this article 🙂


