Monitoring Server – What is Zabbix
Zabbix is an enterprise-class open source distributed monitoring server solution. The software monitors different parameters of a network and the integrity of a server, and also allows the configuration of email based alerts for any event. Zabbix offers reporting and data visualization features based on the data stored in a database (MySQL, for example). Every metric collected by the software is accessible through a web-based interface.
Zabbix is released under the terms of the GNU General Public License version 2 (GPLv2), totally free of cost.
In this tutorial we will install Zabbix on an Ubuntu 16.04 server running MySQL, Apache and PHP.
Install the Zabbix Server
First, we’ll need to install a few PHP modules required by Zabbix:
# apt-get install php7.0-bcmath php7.0-xml php7.0-mbstring
Install the repository package by executing the following commands:
$ wget http://repo.zabbix.com/zabbix/3.2/ubuntu/pool/main/z/zabbix-release/zabbix-release_3.2-1+xenial_all.deb
# dpkg -i zabbix-release_3.2-1+xenial_all.deb
Then update the
packages source:
# apt-get update
# apt-get install zabbix-server-mysql zabbix-frontend-php
Install the Zabbix agent:
# apt-get install zabbix-agent
Zabbix is now installed. The next step is to configure a database for storing its data.
Configure MySQL for Zabbix
We need to create a new MySQL database, in which Zabbix will store the collected data.
Start the MySQL shell:
$ mysql -uroot -p
Next:
mysql> CREATE DATABASE zabbix CHARACTER SET utf8 COLLATE utf8_bin;
Query OK, 1 row affected (0.00 sec)

mysql> GRANT ALL PRIVILEGES ON zabbix.* TO zabbix@localhost IDENTIFIED BY 'usr_strong_pwd';
Query OK, 0 rows affected, 1 warning (0.00 sec)

mysql> EXIT;
Bye
Next, import the initial schema and data.
# zcat /usr/share/doc/zabbix-server-mysql/create.sql.gz | mysql -uzabbix -p zabbix
Enter the password for the zabbix user created in the MySQL shell.
Next, we need to edit the Zabbix Server configuration file, which is
:
# $EDITOR /etc/zabbix/zabbix_server.conf
Search the
section of the file:
### Option: DBPassword

#       Database password. Ignored for SQLite.

#       Comment this line if no password is used.

#

# Mandatory: no

# Default:

# DBPassword=
Uncomment the
line and edit by adding the password created in MySQL:
DBPassword=<span class="highlight">usr_strong_pwd</span>
Next, look for the
line and uncomment it.
Save and exit.
Configure PHP
We need to configure PHP for working with Zabbix. During the installation process, the installer created a configuration file in
, named
. Open this file:
# $EDITOR /etc/zabbix/apache.conf
Here, right now, it’s necessary only to uncomment the
setting and set the correct timezone:
<IfModule <strong>mod_php7</strong>.c>
php_value max_execution_time 300
php_value memory_limit 128M
php_value post_max_size 16M
php_value upload_max_filesize 2M
php_value max_input_time 300
php_value always_populate_raw_post_data -1
<strong><span class="highlight">php_value date.timezone Europe/Rome</span></strong>
</IfModule>
Save and exit.
At this point, restart Apache and start the Zabbix Server service, enabling it for starting at boot time:
# systemctl restart apache2
# systemctl start zabbix-server
# systemctl enable zabbix-server
:
# systemctl status zabbix-server
This command should output:
â zabbix-server.service - Zabbix Server
 Loaded: loaded (/lib/systemd/system/zabbix-server.service; enabled; vendor pr
 Active: active (running) ...
At this point, the server-side part of Zabbix has been correctly installed and configured.
Configure Zabbix Web Fronted
As mentioned in the introduction, Zabbix has a web-based front-end which we’ll use for visualizing collected data. However, this interface has to be configured.
With a web browser, go to URL
.
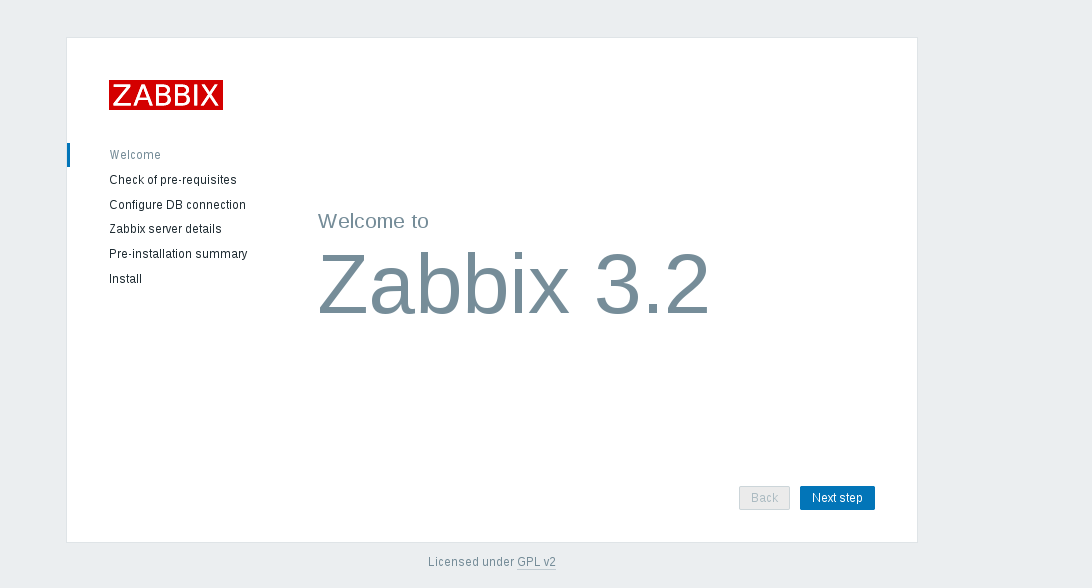
Click on Next step
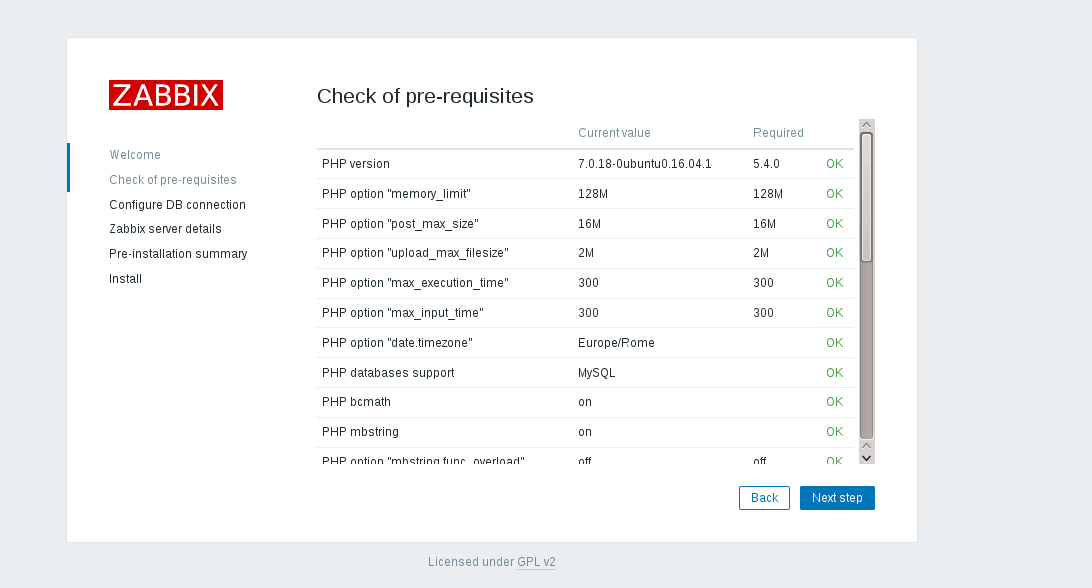
Be sure that all the values are Ok, and then click on Next step again.
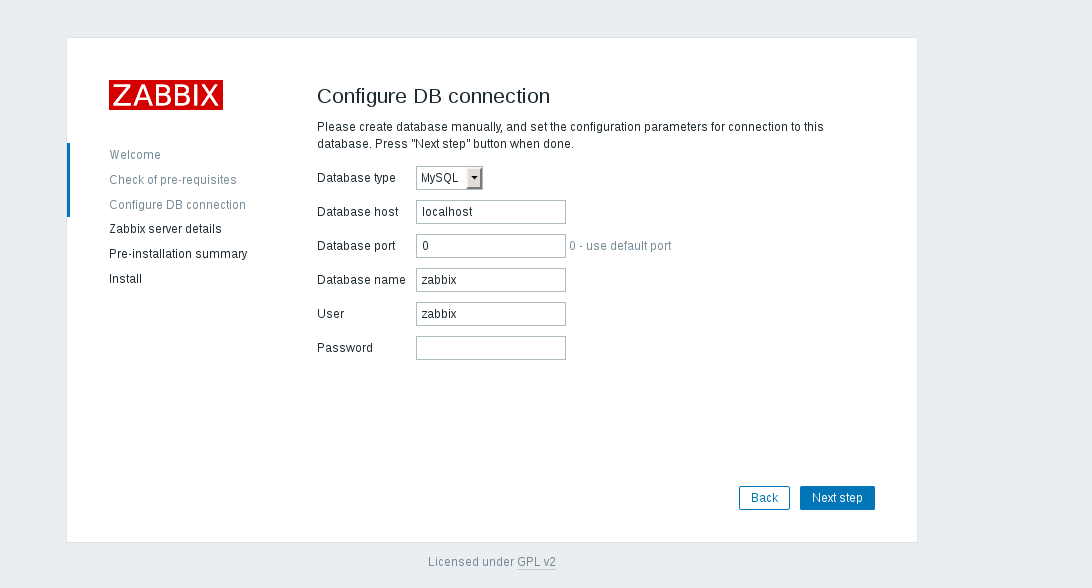 Insert the MySQL zabbix user password, and then click on Next step.
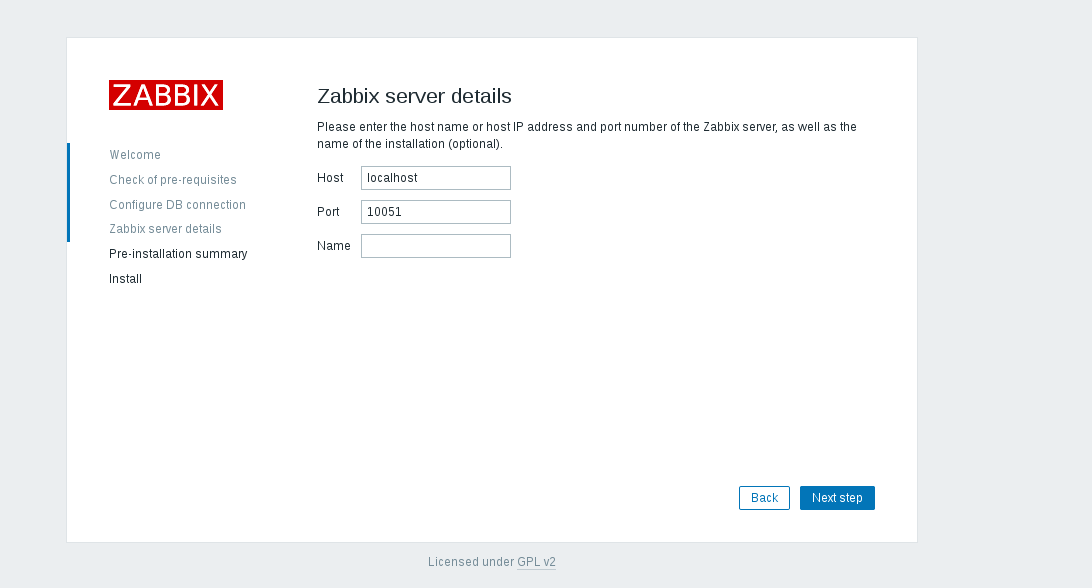
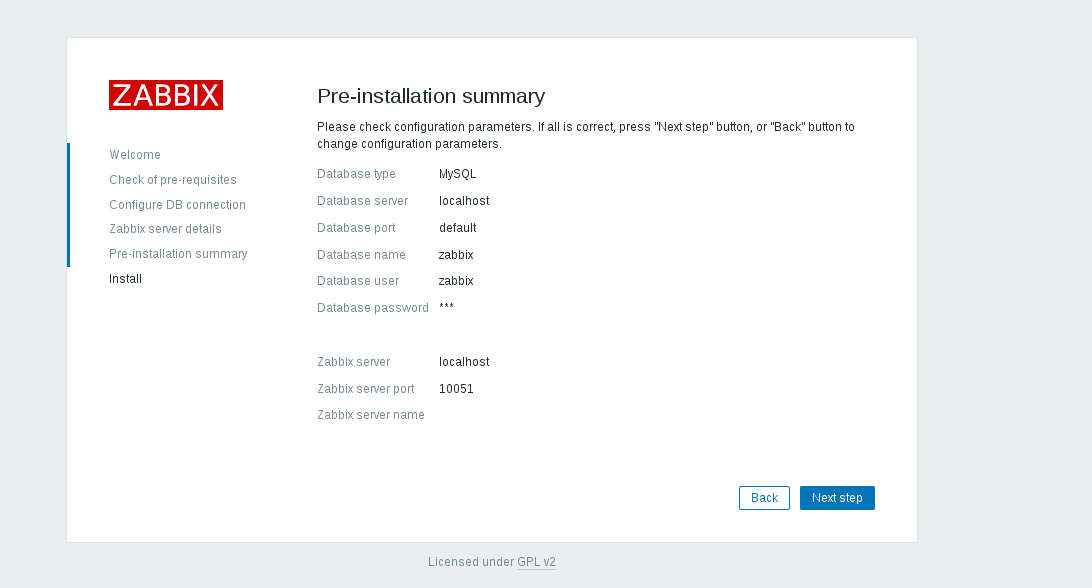
Click on Next step, and the installer will show the following page with all the configuration parameters. Check again to ensure that everything is correct..
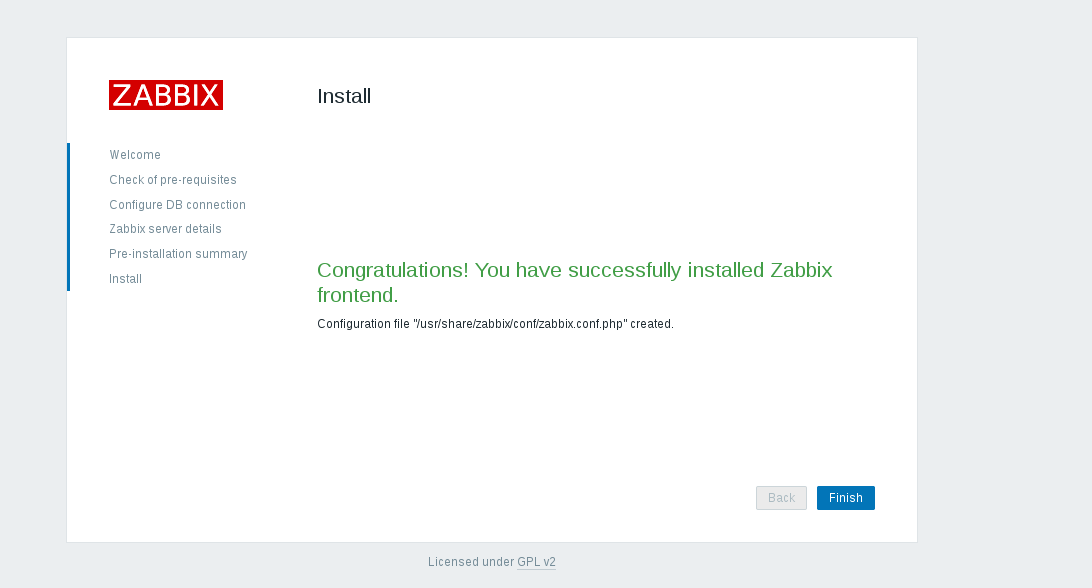
Click Next step to proceed to the final screen.
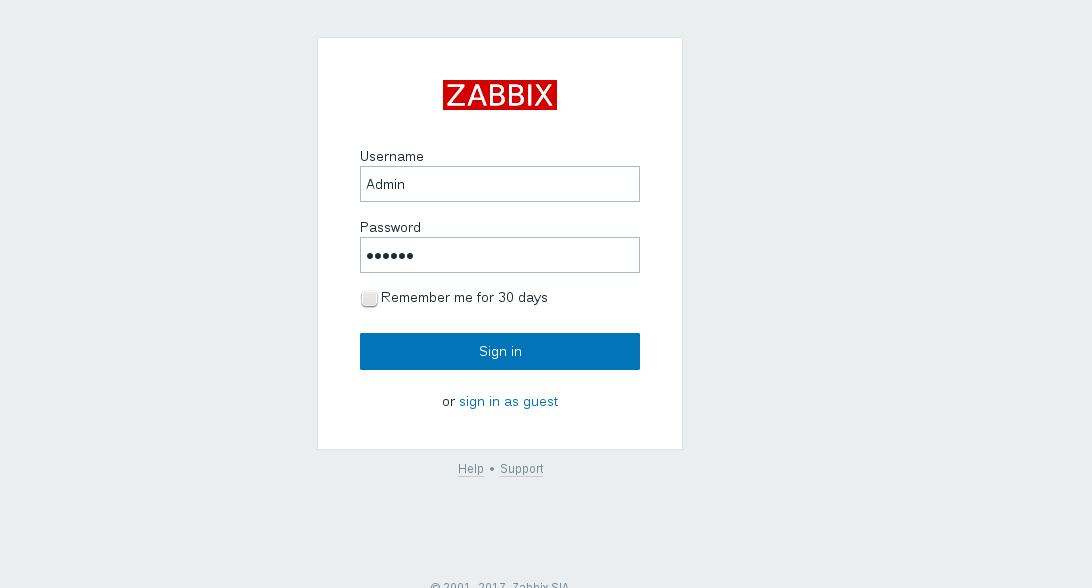
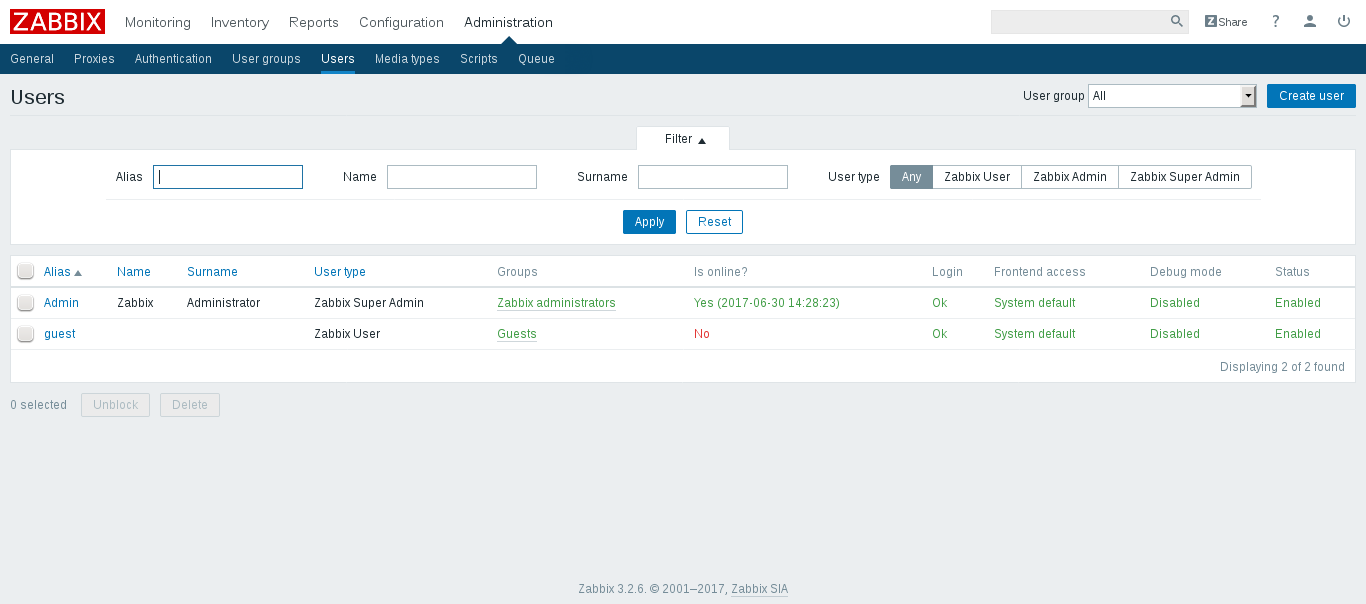
Click finish to complete the front-end installation. The default user name is Admin with zabbix as the password.
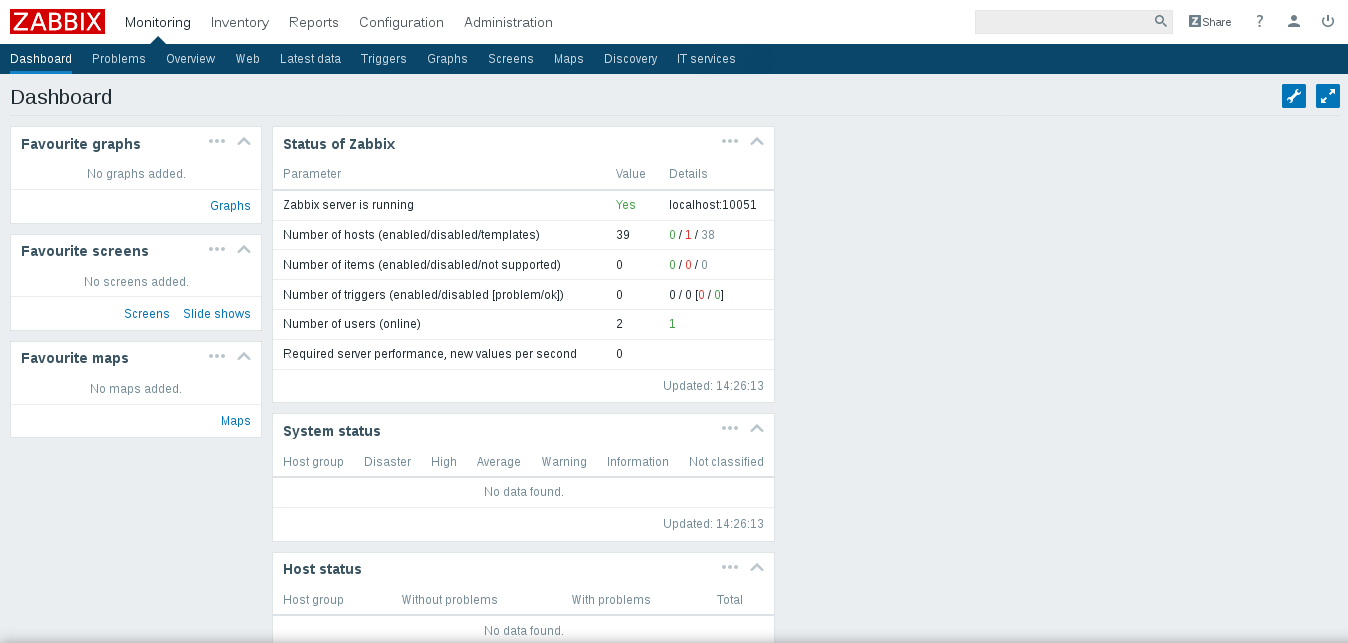
Getting Started with the Zabbix Server
Conclusion
This concludes the tutorial for the Zabbix Server installation. Now, the monitoring infrastructure is ready to do its job and collect data about servers that need to be added in the Zabbix configuration.


