PeerGuardian is a privacy oriented firewall application. It blocks connections to and from hosts specified in huge blocklists (thousands or millions of IP ranges). Its origin seeds in targeting aggressive IPs while you use P2P.
PeerGuardian is the official successor and based on the MoBlock fork NFBlock, blockcontrol and mobloquer. The usage is nearly identical, just type “pglcmd” instead of “blockcontrol”.
Install PeerGuardian On Ubuntu/Linux Mint
Add the PeerGuradian PPA with command:
$ sudo add-apt-repository ppa:jre-phoenix/ppa
Update the sources list:
$ sudo apt-get update
Now install peerguardian with command:
$ sudo apt-get install pgld pglcmd pglgui
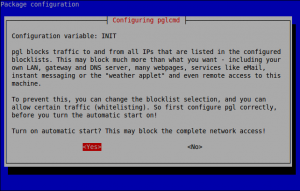
While installing pgl, you will be asked to start pgl service automatically. Click on yes to start it automatically on every reboot.
Open PeerGuradian either from your Dash or Menu.
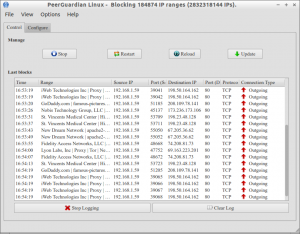
Suppose if you trust some connections, just click on the respective connection and allow it either temporarily or permanently.
Warning: pgl may block your complete network/internet access after you installing PeerGuardian.
Using too many and/or inappropriate lists may seriously degrade your internet service. The configuration files are found in /etc/pgl/ directory.
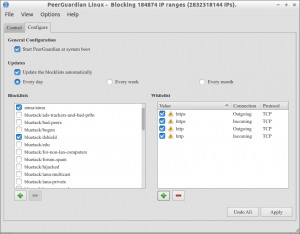
To connect to internet again, go to Configure tab on the PeerGuardian interface.
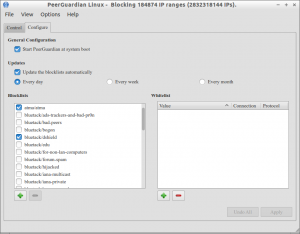
Here i allow http and https protocols.
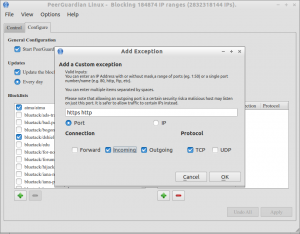
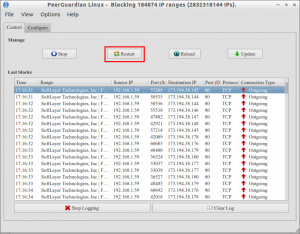
$ sudo pglcmd restart
For more information about configuration and troubleshooting, visit the FAQ section of PeerGuradian.


