If you are planning to sell products through online and wonder how to create a online shopping cart solution like e-Bay, Flipkart and Snapdeal or where to find the right e-Commerce shopping solution for your needs, well then you should try a free open source tool called Prestashop.
Prestashop is an open source, free e-Commerce shopping cart solution used by more than 1,30,000+ online stores around the world and with having a big community members. It is because used by most people for its simplicity to install and configure, modern structure and very light weight e-Commerce software.
Features
Some of its notable features are:
1. Full featured WYSIWYG editor.
2. Featured products will be displayed in the homepage.
3. Built-in product image zoom option.
4. Unlimited categories and sub categories.
5. Different country currency options.
6. E-mail subscription in order to receive updates when the new product arrival.
7. Unlimited payment options.
8. Customers can create their own accounts.
9. SSL Encryption.
10. SMS/Text-message option.
Prerequisites
First you have to install LAMP Server. And install the following prerequisites too.
[root@server ~]# yum install php-mcrypt php php-common php-pdo php-cli php-mysql php-gd php-xml libtool-ltdl mhash mcrypt -y
Setup the MySQL database and user for Prestashop.
Note: Here i use password for MySQL root user as ‘centos’, Database name for Prestashop as ‘prestadb‘ and MySQL user for Prestashop as ‘prestauser’ respectively.
[root@server ~]# mysql -u root -p
Enter password:
Welcome to the MySQL monitor.  Commands end with ; or \g.
Your MySQL connection id is 11
 Server version: 5.1.69 Source distribution

Copyright (c) 2000, 2013, Oracle and/or its affiliates. All rights reserved.

Oracle is a registered trademark of Oracle Corporation and/or its
affiliates. Other names may be trademarks of their respective
owners.

Type 'help;' or '\h' for help. Type '\c' to clear the current input statement.

mysql> create database prestadb;
Query OK, 1 row affected (0.01 sec)

mysql> use prestadb;
Database changed

mysql> GRANT ALL ON prestadb.* TO prestauser@192.168.1.200 IDENTIFIED BY 'centos';
Query OK, 0 rows affected (0.00 sec)

mysql> GRANT ALL ON prestadb.* TO prestauser@localhost IDENTIFIED BY 'centos';
Query OK, 0 rows affected (0.00 sec)

mysql> flush privileges;
Query OK, 0 rows affected (0.00 sec)

mysql> exit
Bye
Open the apache default port ’80’ through your firewall/router.
[root@server ~]# vi /etc/sysconfig/iptables
 # Firewall configuration written by system-config-firewall
 # Manual customization of this file is not recommended.
 *filter
 :INPUT ACCEPT [0:0]
 :FORWARD ACCEPT [0:0]
 :OUTPUT ACCEPT [0:0]
 -A INPUT -p udp -m state --state NEW --dport 80 -j ACCEPT
  -A INPUT -p tcp -m state --state NEW --dport 80 -j ACCEPT
 -A INPUT -p udp -m state --state NEW --dport 53 -j ACCEPT
 -A INPUT -p tcp -m state --state NEW --dport 53 -j ACCEPT
 -A INPUT -m state --state ESTABLISHED,RELATED -j ACCEPT
 -A INPUT -p icmp -j ACCEPT
 -A INPUT -i lo -j ACCEPT
 -A INPUT -m state --state NEW -m tcp -p tcp --dport 22 -j ACCEPT
 -A INPUT -j REJECT --reject-with icmp-host-prohibited
 -A FORWARD -j REJECT --reject-with icmp-host-prohibited
 COMMIT
Restart the iptables to save the changes.
[root@server ~]# /etc/init.d/iptables restart
 iptables: Flushing firewall rules:                         [  OK  ]
 iptables: Setting chains to policy ACCEPT: filter          [  OK  ]
 iptables: Unloading modules:                               [  OK  ]
 iptables: Applying firewall rules:                         [  OK  ]
Disable SELinux and Reboot the system.
[root@server ~]# vi /etc/sysconfig/selinux
 # This file controls the state of SELinux on the system.
 # SELINUX= can take one of these three values:
 #     enforcing - SELinux security policy is enforced.
 #     permissive - SELinux prints warnings instead of enforcing.
 #     disabled - No SELinux policy is loaded.
 SELINUX=disabled
#     targeted - Targeted processes are protected,
 #     mls - Multi Level Security protection.
 SELINUXTYPE=targeted
Installing Prestashop
Download the latest version of Prestashop from this link.
Goto your download location where you downloaded the Prestashop package. Extract the downloaded zip file and move them to your apache root document folder.
[root@server ~]# unzip prestashop_1.5.4.1.zip
[root@server ~]# mv prestashop/ /var/www/html/
Now setup permissions for prestashop folders.
[root@server prestashop]# cd /var/www/html/prestashop/
[root@server prestashop]# chmod 755 *.*
[root@server prestashop]# chown -R apache:apache /var/www/html/prestashop/
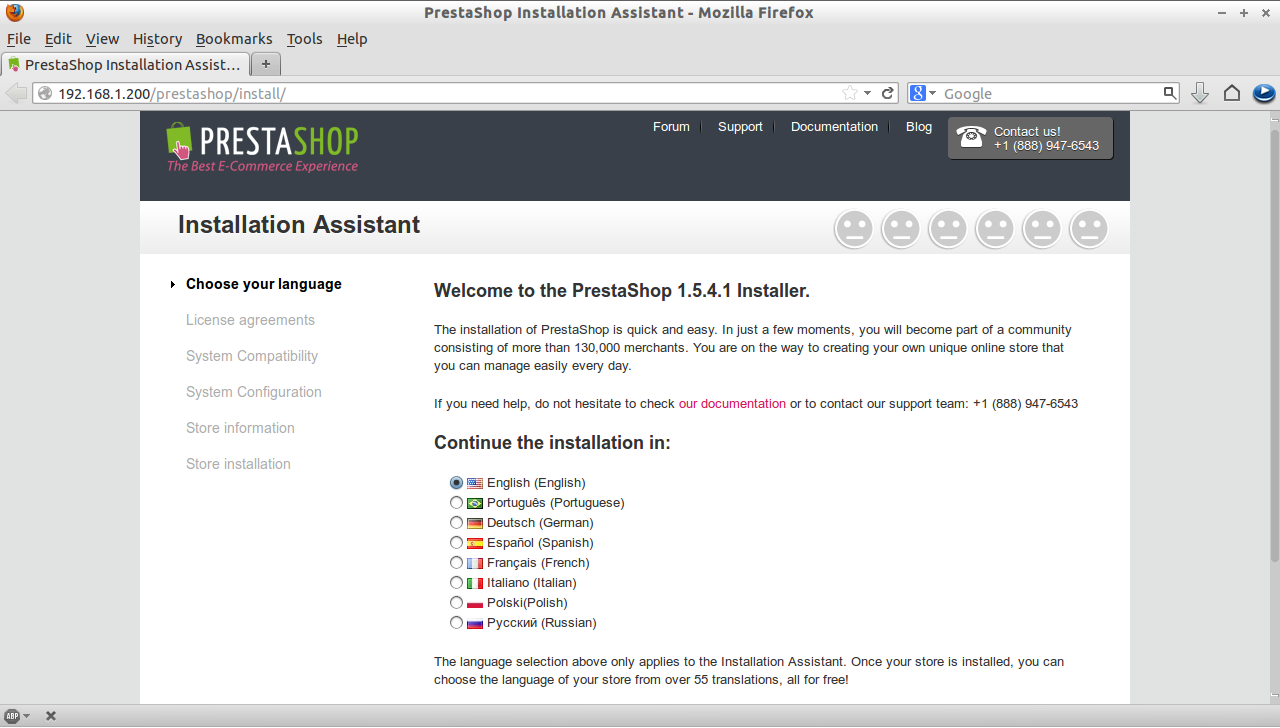
Now open your web browser and navigate to the page http://192.168.1.200/prestashop/install. You will get the following screen. Select your preferred language and Click Next.
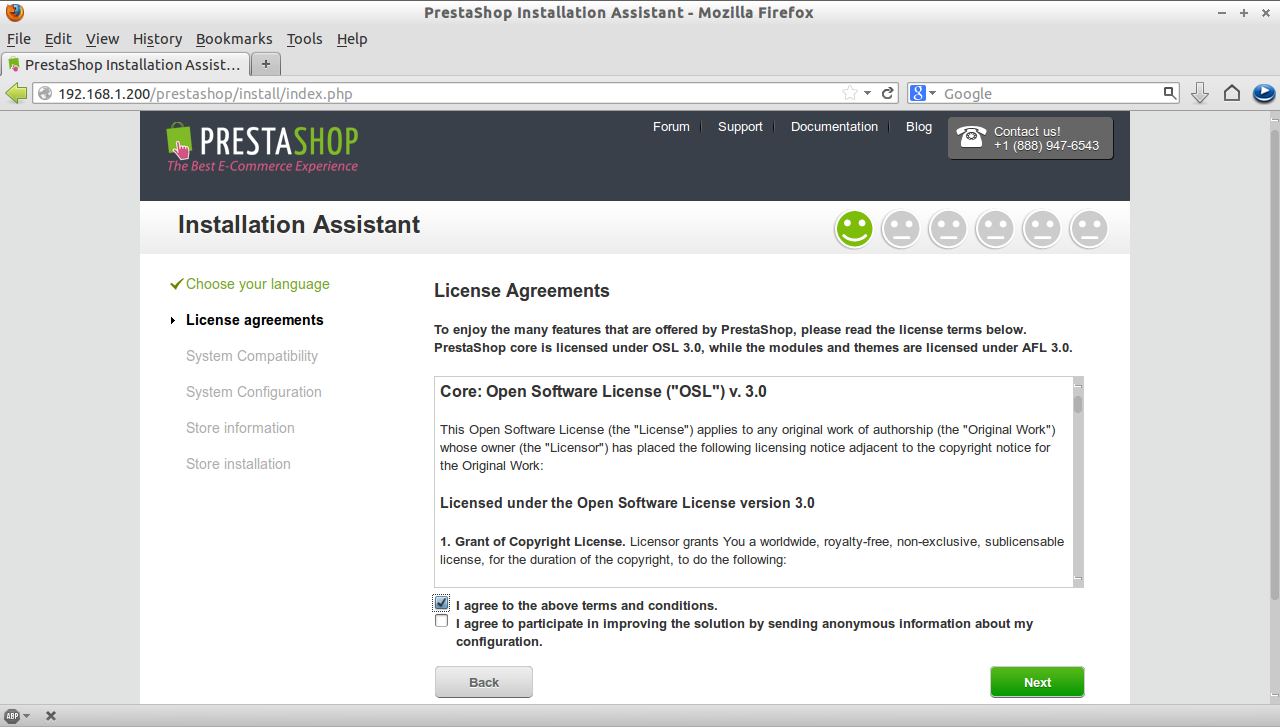
Accept the License agreement and click next.
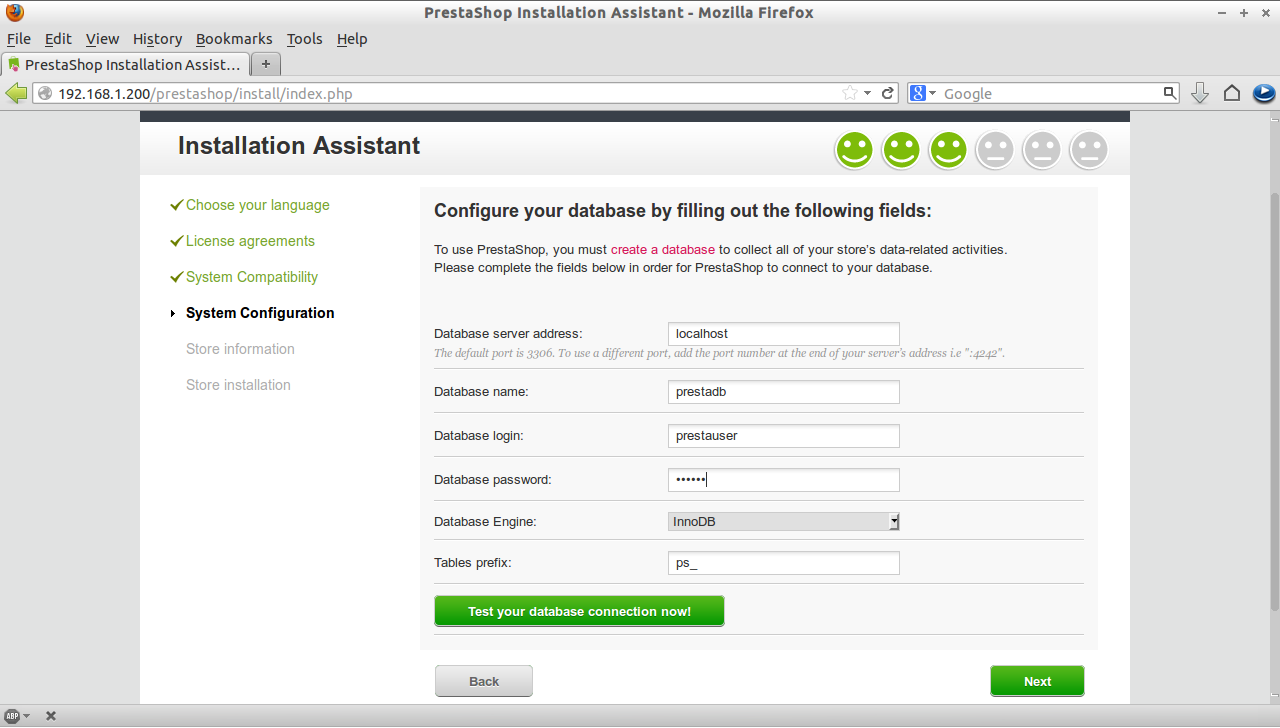
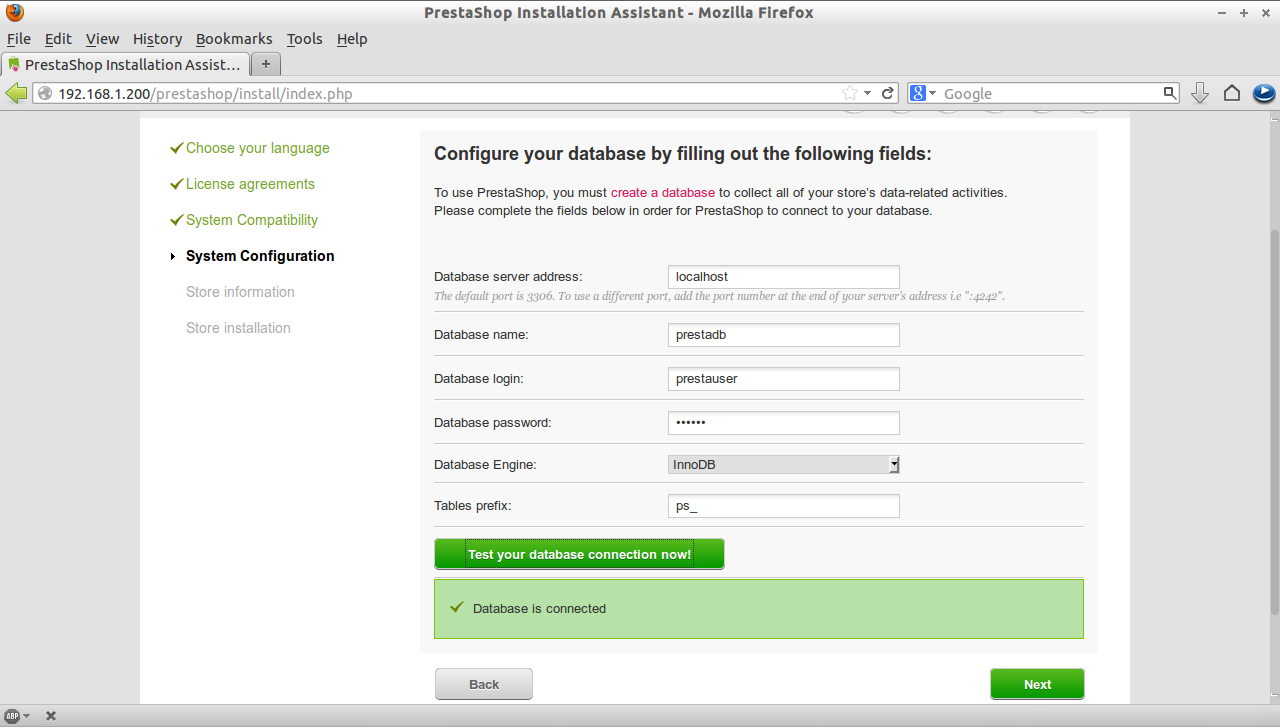
Enter the MySQL database name and database user and database password and click on the tab ‘Test your database connection now’ to establish the connection to MySQL database.
After connecting to your database, click next.
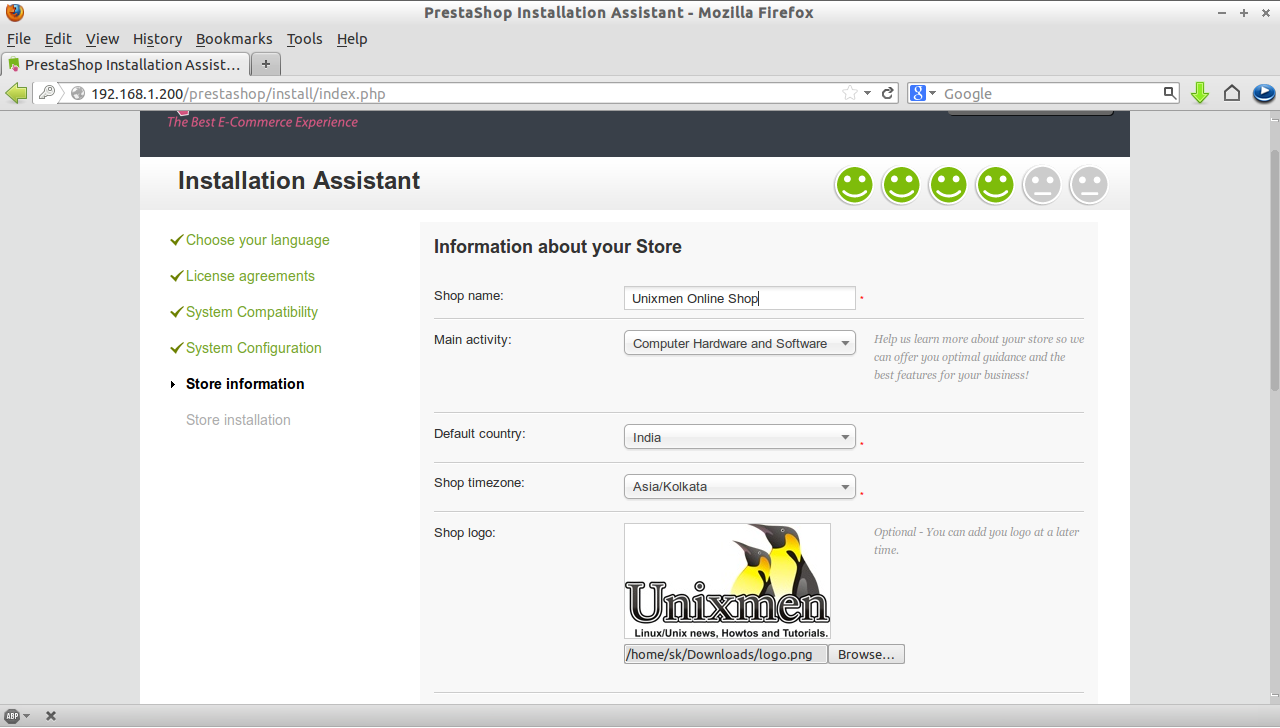
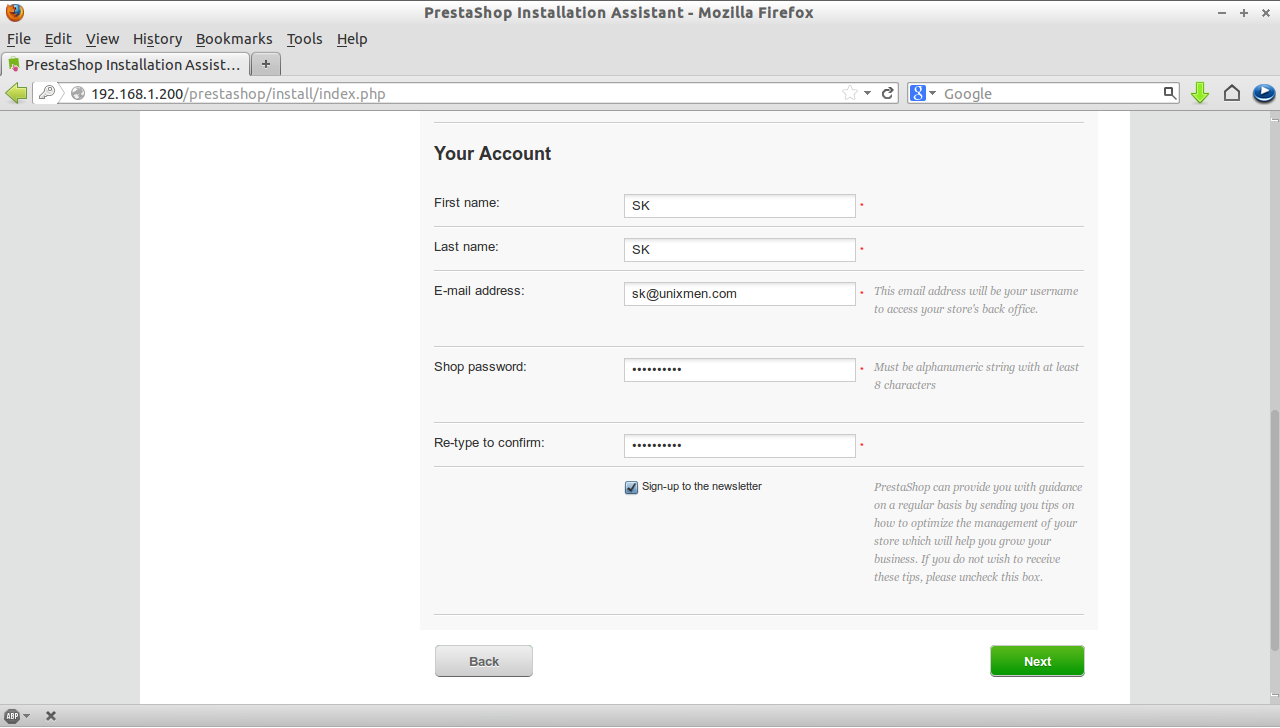
Enter your Shop name, Shop category, Country, Logo of your shop, User account details and Administrative user mail id etc and click Next.
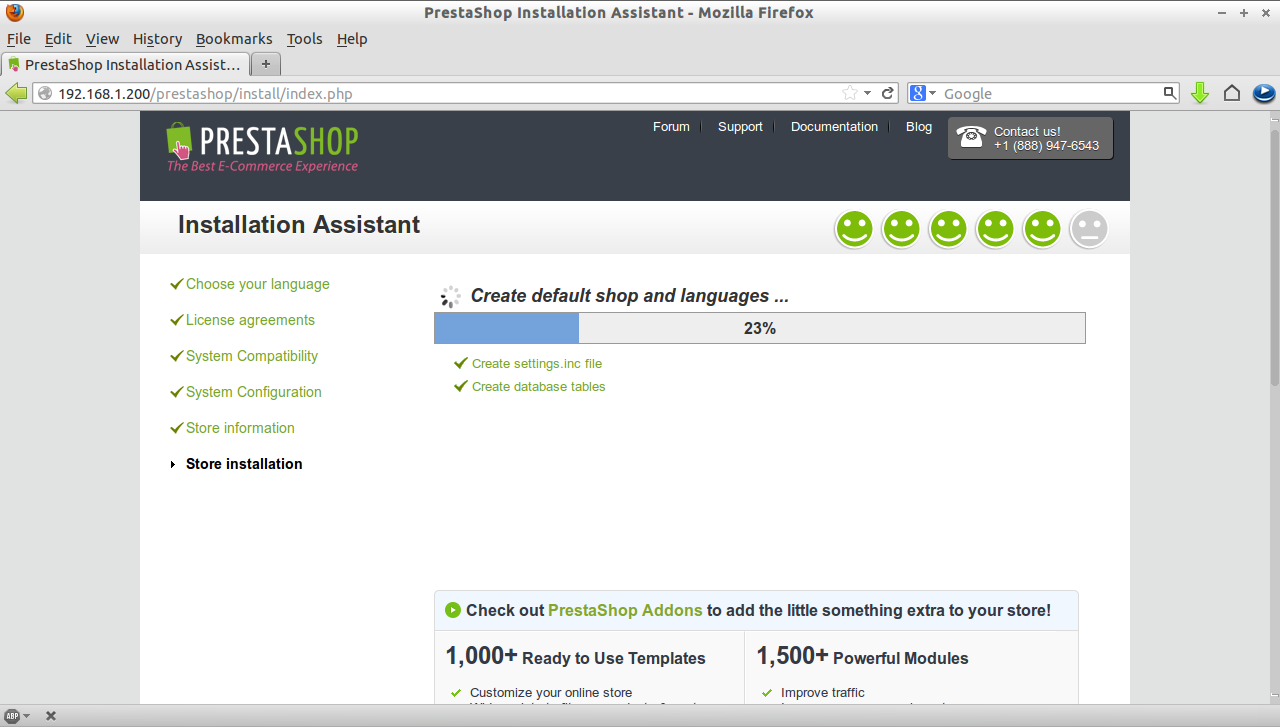
Now the prestashop installation will begin.
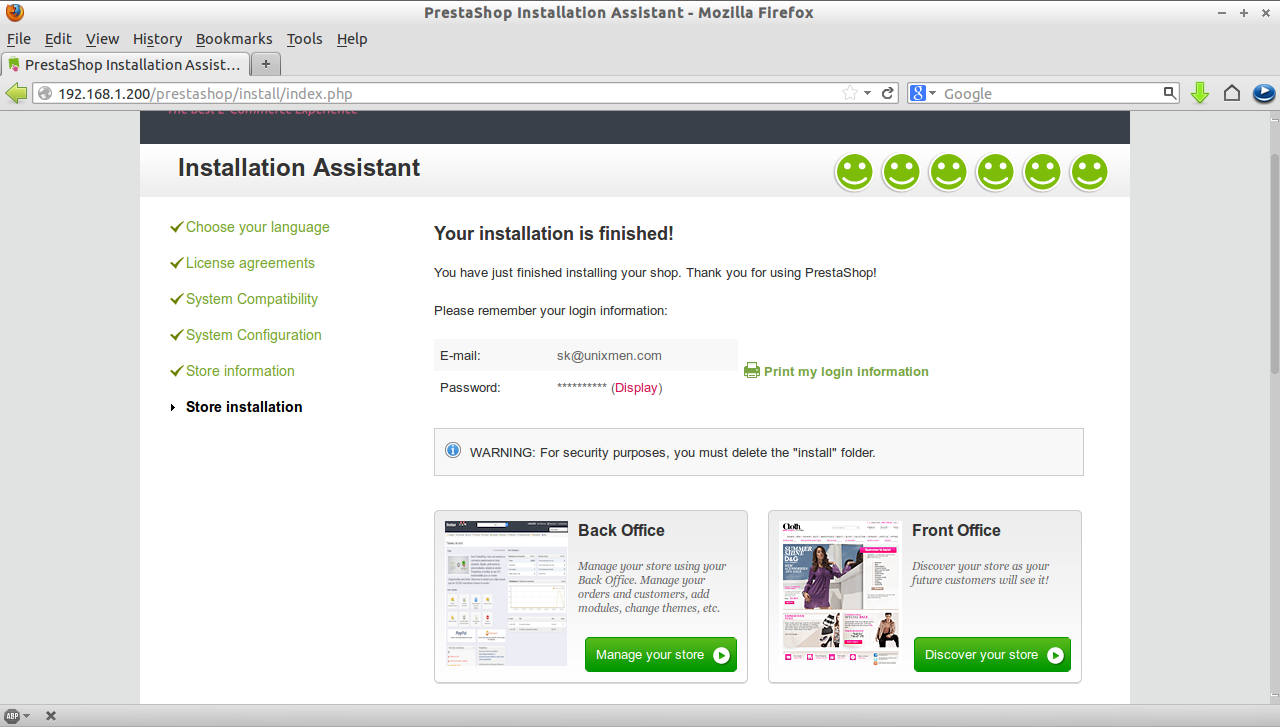
Now the installation is completed.
Accessing Prestashop Homepage
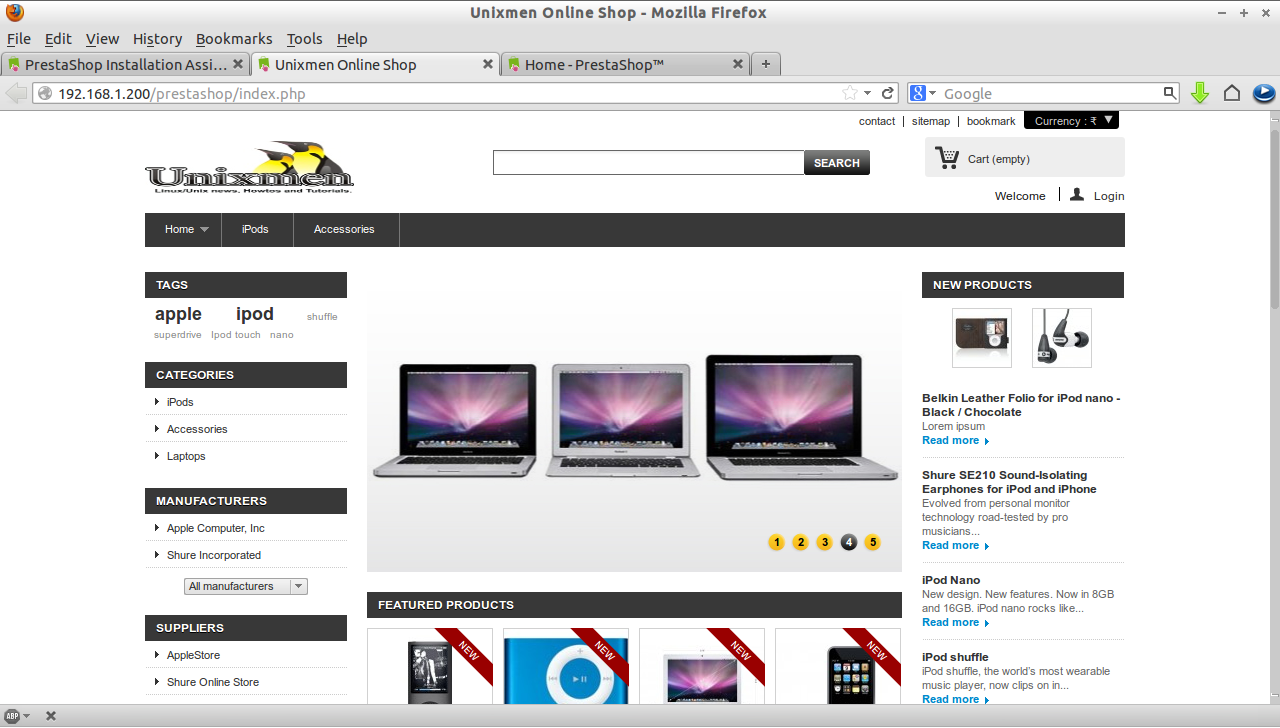
You can access your home page of your shop by clicking on the tab “Discover your store” or Navigate to your web browser using the URL “http://192.168.1.200/prestashop/index.php”.
For security reasons, delete the unwanted folders/files.
[root@server ~]# cd /var/www/html/prestashop/
[root@server prestashop]# rm -rf docs/ install/
Administrating Prestashop
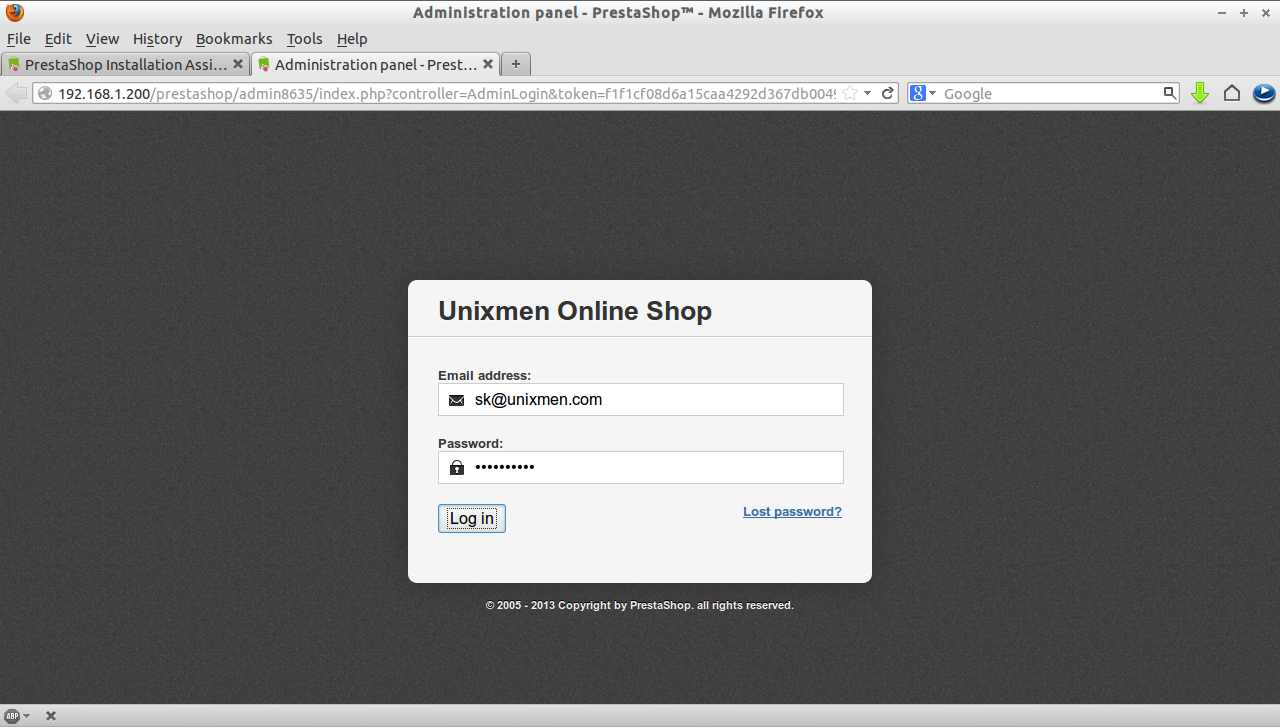
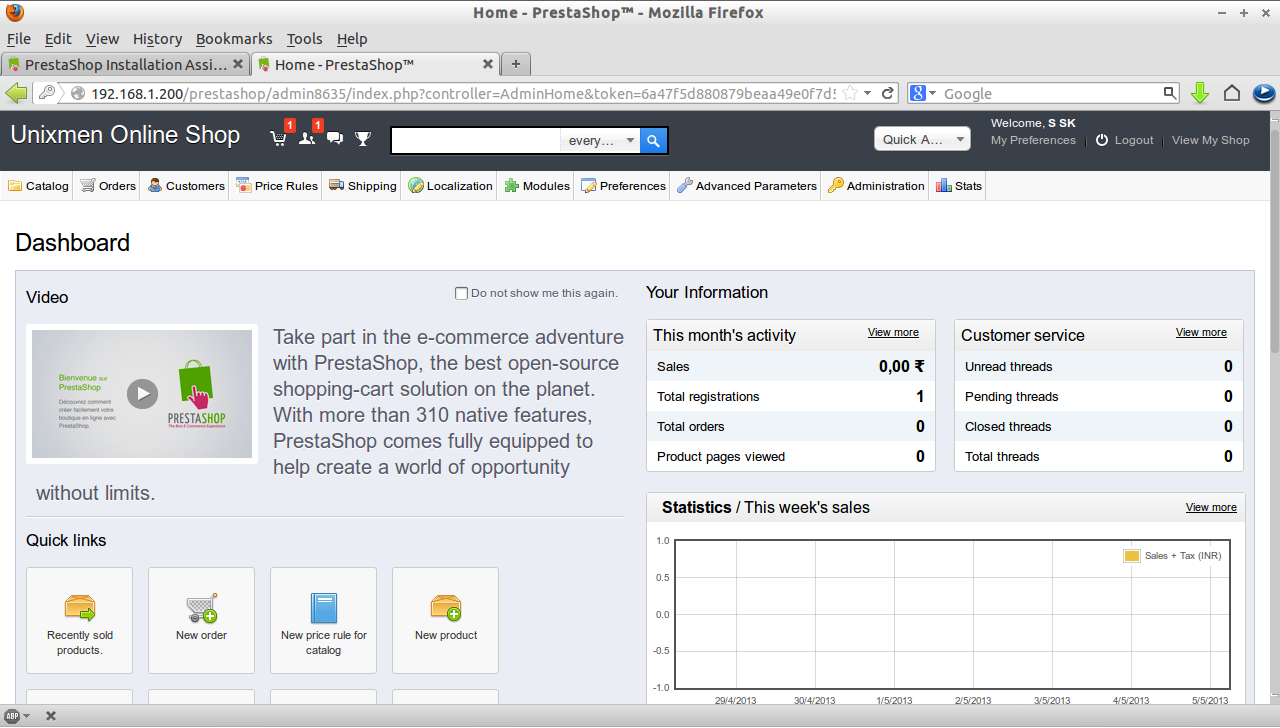
Click on the Link ‘Manage your store’ or ‘http://192.168.1.200/prestashop/admin/index.php’ to access your Dashboard section of your shop. Enter the administrative user mail id and password which you have created in the previous steps.
From here you can create/view New products, Catalog for the products, Pricing details, Customers details and so on.
If you wanna to rename your administrative user name, use the following command.
[root@server prestashop]# mv admin/ sk
Now your access your shop administrative portal using the URL ‘http://192.168.1.200/prestashop/sk/index.php’.
Thats it. Happy selling with your new online e-Shop.


