Whether you’re an Online trainer, a lab instructor, a lecturer and looking for a full-fledged LMS for your school, College and University, a simple way to train your collaborators around the world, but you don’t know where/how to start, then Opigno is the right choice.
Opigno is a powerful, Open Source, Drupal based Learning Management System. Its main goals are to be intuitive, extensible and scalable. We already have shown you how-to setup Learning Management Systems using Moodle and eFront. If you haven’t read them yet, visit the following links:
– Setup Learning Management System With eFront
– Install Moodle Learning Management System with Moodle
In this how-to, let us setup a LMS on CentOS 6.5. Although it will work on all RHEL, Scientific Linux 6.x versions.
Prerequisites
Before proceeding, we should have a working LAMP stack. Refer the following links to setup LAMP stack on CentOS 6.5 and earlier versions.
– Install LAMP Server (Apache, MySQL, PHP) On CentOS 6
– Install LAMP Server (Apache, MariaDB, PHP) On CentOS 6
Setup Database for Opigno
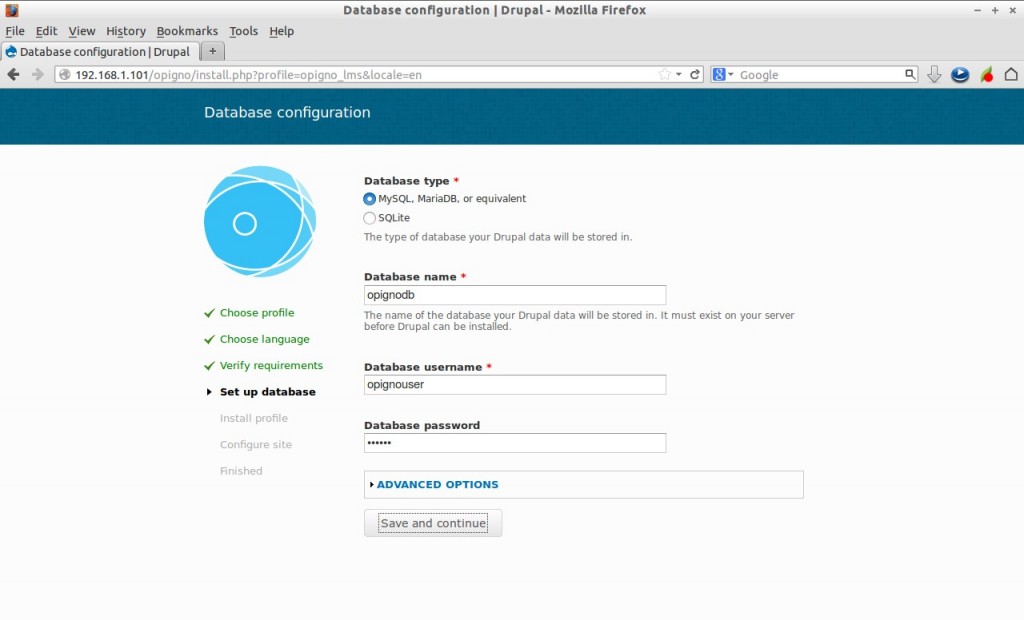
Log in to your database server and create database and database user for Opigno. In my case, i am going to create a database called “opignodb” and a user “opignouser” with password “centos”.
# mysql -u root -p
Enter password:
Welcome to the MySQL monitor.  Commands end with ; or \g.
Your MySQL connection id is 50
Server version: 5.5.35 MySQL Community Server (GPL) by Remi

Copyright (c) 2000, 2013, Oracle and/or its affiliates. All rights reserved.

Oracle is a registered trademark of Oracle Corporation and/or its
affiliates. Other names may be trademarks of their respective
owners.

Type 'help;' or '\h' for help. Type '\c' to clear the current input statement.

mysql> create database opignodb;
Query OK, 1 row affected (0.03 sec)

mysql> GRANT ALL ON opignodb.* TO opignouser@localhost IDENTIFIED by 'centos';
Query OK, 0 rows affected (0.01 sec)

mysql> flush privileges;
Query OK, 0 rows affected (0.00 sec)

mysql> exit
Bye
Getting latest Opigno Version
Go to the Opigno download page and get the latest version.
# wget http://ftp.drupal.org/files/projects/opigno_lms-7.x-1.3-core.zip
Now extract and move opigno zip file to your apache root folder.
# unzip opigno_lms-7.x-1.3-core.zip
# mv opigno_lms-7.x-1.3/ /var/www/html/opigno
Setting up permissions
During Opigno installation, the installer will automatically create a file storage directory in the default location at sites/default/files. So we have to set write permissions to the sites/default directory.
# chmod -R 777 /var/www/html/opigno/
Don’t forget to set permissions back after the installation.
Instead of allowing the web server to create the files directory, you can create it yourself.
To do that, go to your Opigno installation directory,
# cd /var/www/html/opigno/
Create a directory called files under sites/default folder.
# mkdir sites/default/files
Now copy the sites/default/default.settings.php file to sites/default/settings.php file.
# cp sites/default/default.settings.php sites/default/settings.php
Restart httpd service with command:
# service httpd restart
Begin Installation
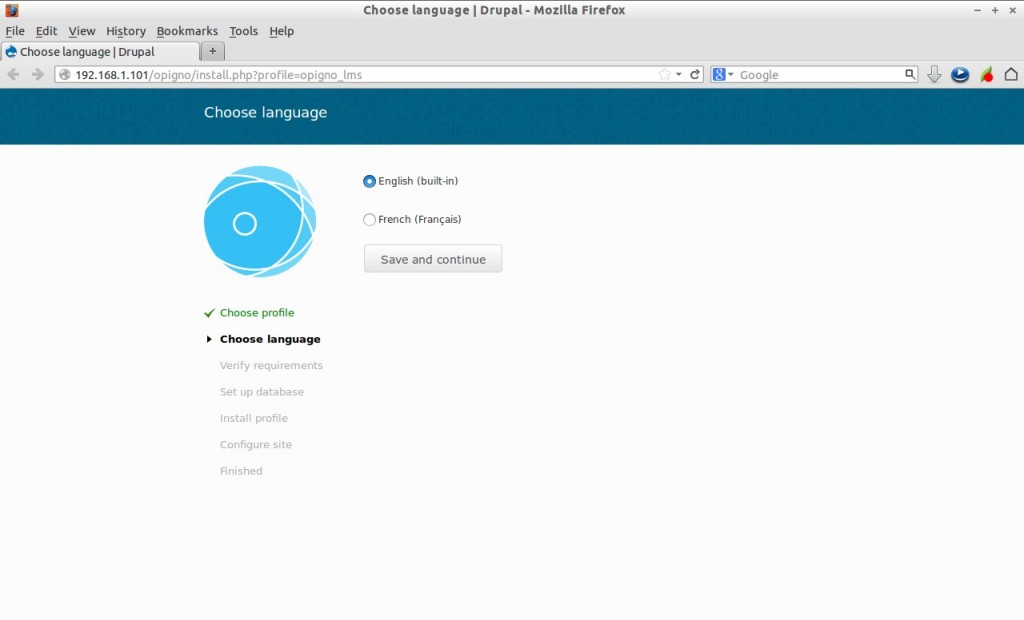
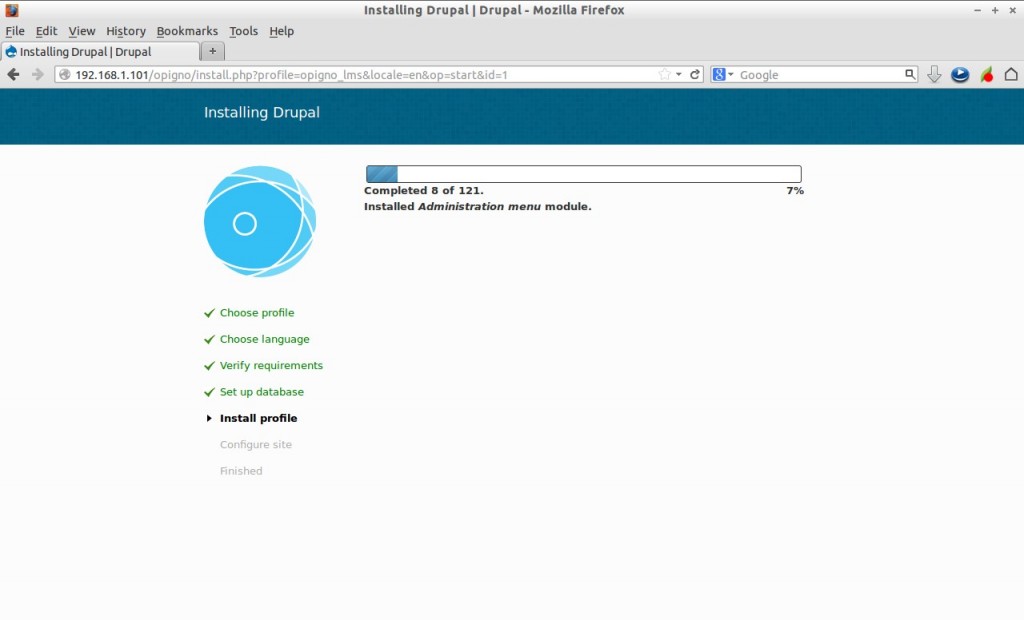
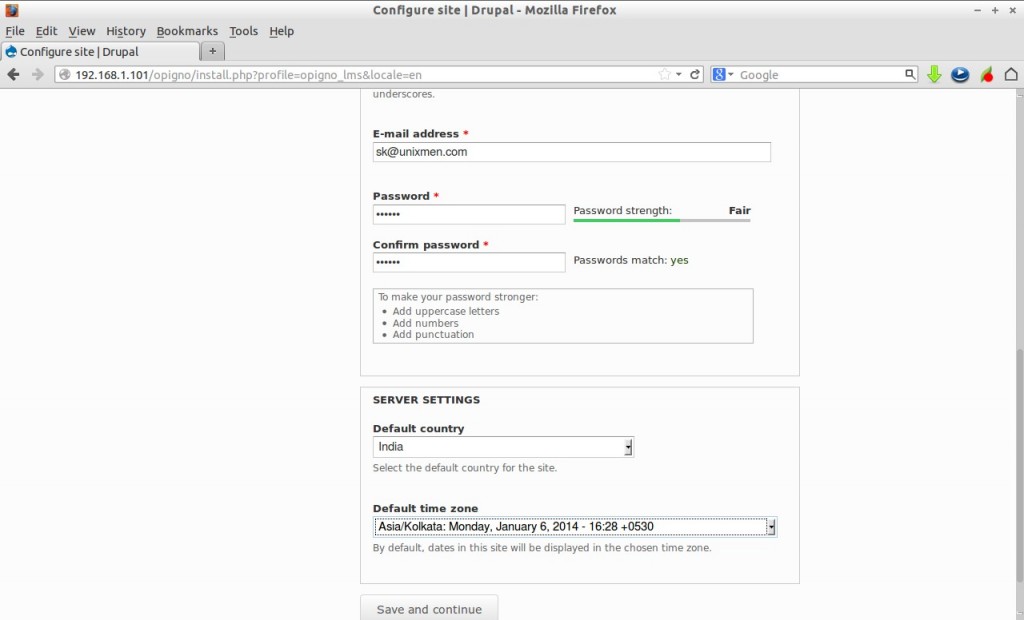
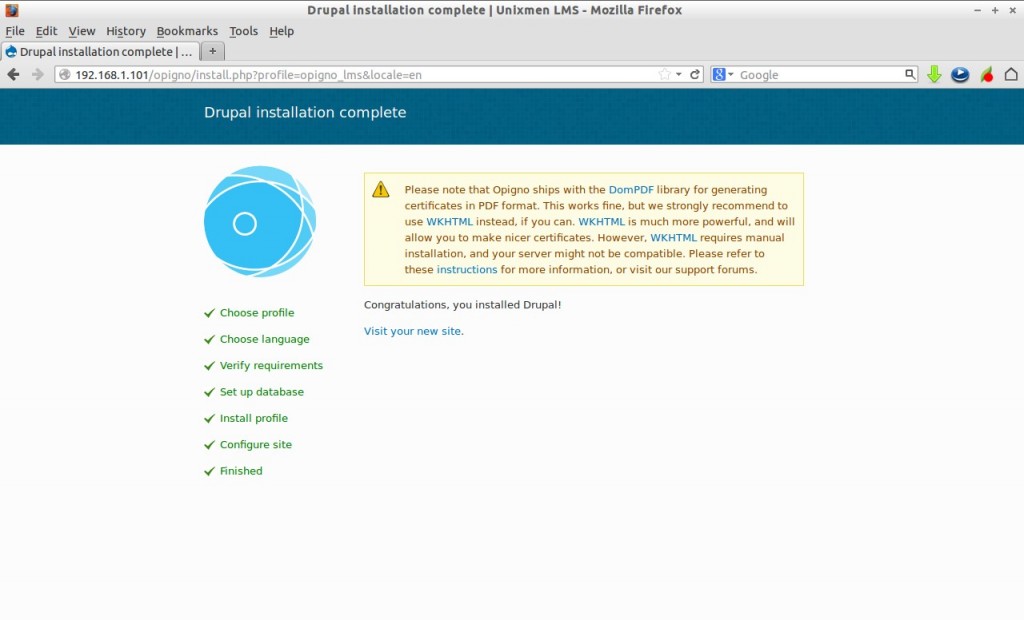
Now let us begin installation by navigating to http://ip-address/opigno or http://domain-name/opigno and follow the onscreen instructions.
Select you language and click Save and Continue.
# chmod -R go-w sites/default/
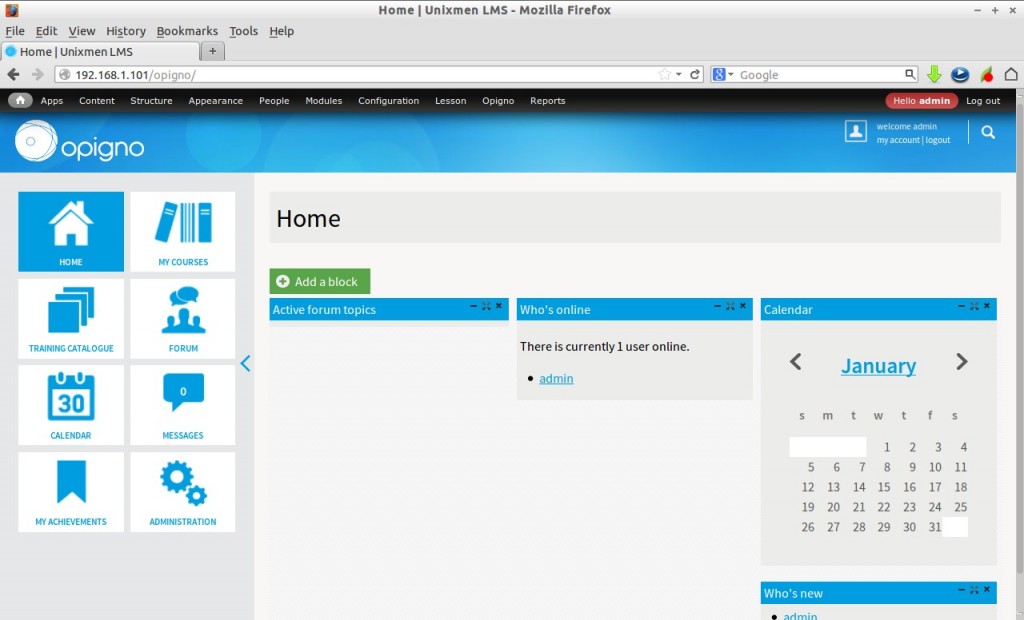
That’s it for now. Create accounts for teachers and students, add courses, catalogues etc.
Next you have to learn how to effectively use Opigno to meet as per your campus curriculum requirements. Go through the every option and learn yourself, that’s not much difficult. Still difficult to understand Opigno, don’t bother, download and read the Opigno User manual.
Happy e-learning!
Reference Link:


