MediaWiki is a free, open source wiki software developed by Wikimedia Fountation. It is the same software used by Wikipedia. You can build a Wikipedia like website using MediaWiki in minutes or you can add this website along with your existing websites.
Here i use CentOS 6.4 to setup my Wikipedia website. My server hostname and IP address are server.unixmen.com and 192.168.1.200/24. Changer these values as per your own scenario.
Prerequisites
Install Apache, MySQL, PHP and PHP modules:
[root@server ~]# yum install mysql mysql-server httpd php php-mysql php-gd php-imap php-ldap php-odbc php-pear php-xml php-xmlrpc php-mbstring php-pecl-apc php*intl wget unzip -y
Start/restart MySQL and Apache services now:
[root@server ~]# /etc/init.d/mysqld start
[root@server ~]# /etc/init.d/httpd start
[root@server ~]# chkconfig mysqld on
[root@server ~]# chkconfig httpd on
Create MySQL root user password:
[root@server ~]# /usr/bin/mysql_secure_installation

NOTE: RUNNING ALL PARTS OF THIS SCRIPT IS RECOMMENDED FOR ALL MySQL
      SERVERS IN PRODUCTION USE!  PLEASE READ EACH STEP CAREFULLY!

In order to log into MySQL to secure it, we'll need the current
password for the root user.  If you've just installed MySQL, and
you haven't set the root password yet, the password will be blank,
so you should just press enter here.

Enter current password for root (enter for none):
OK, successfully used password, moving on...

Setting the root password ensures that nobody can log into the MySQL
root user without the proper authorisation.

Set root password? [Y/n] y
New password:
Re-enter new password:
Password updated successfully!
Reloading privilege tables..
 ... Success!

By default, a MySQL installation has an anonymous user, allowing anyone
to log into MySQL without having to have a user account created for
them.  This is intended only for testing, and to make the installation
go a bit smoother.  You should remove them before moving into a
production environment.

Remove anonymous users? [Y/n]
 ... Success!

Normally, root should only be allowed to connect from 'localhost'.  This
ensures that someone cannot guess at the root password from the network.

Disallow root login remotely? [Y/n]
 ... Success!

By default, MySQL comes with a database named 'test' that anyone can
access.  This is also intended only for testing, and should be removed
before moving into a production environment.

Remove test database and access to it? [Y/n]
 - Dropping test database...
 ... Success!
 - Removing privileges on test database...
 ... Success!

Reloading the privilege tables will ensure that all changes made so far
will take effect immediately.

Reload privilege tables now? [Y/n]
 ... Success!

Cleaning up...

All done!  If you've completed all of the above steps, your MySQL
installation should now be secure.

Thanks for using MySQL!
Create MySQL database and user for MediaWiki:
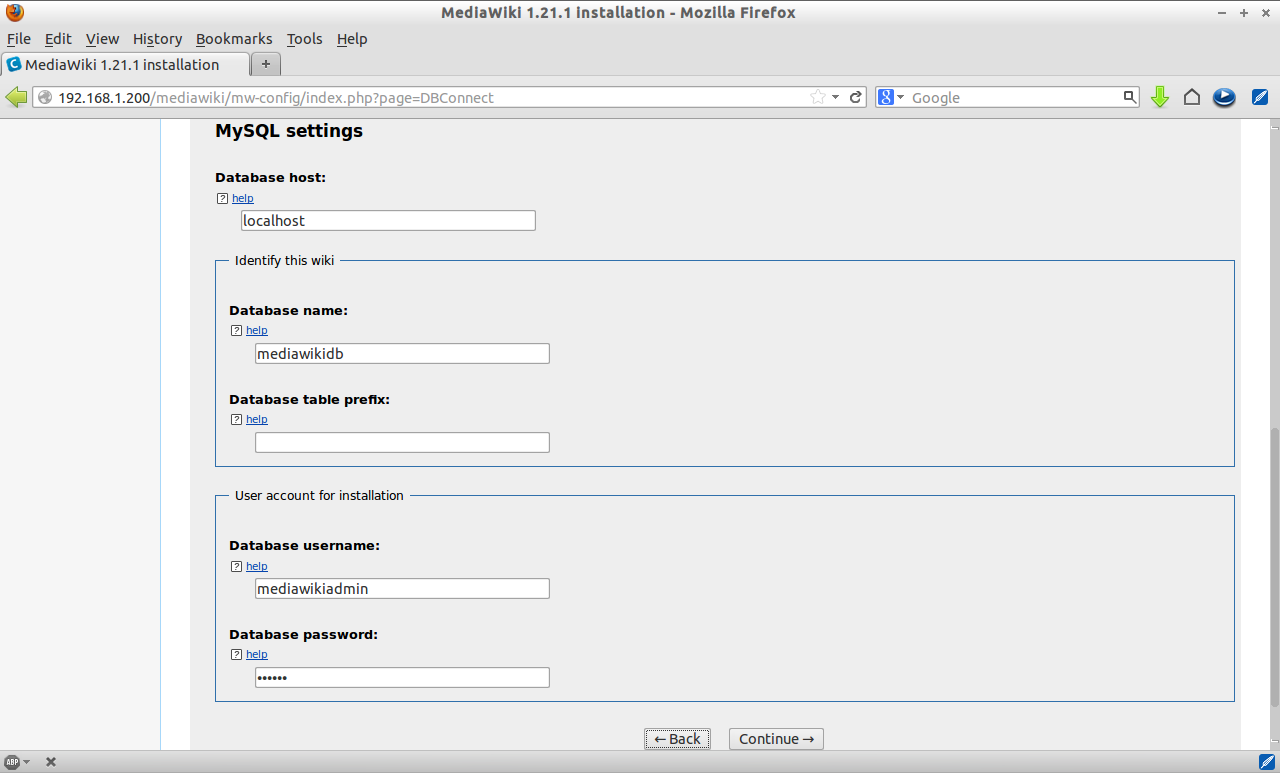
For instance, here i create database called mediawikidb and user called mediawikiadmin with password centos.
[root@server ~]# mysql -u root -p
Enter password:
Welcome to the MySQL monitor.  Commands end with ; or \g.
Your MySQL connection id is 2
Server version: 5.1.69 Source distribution

Copyright (c) 2000, 2013, Oracle and/or its affiliates. All rights reserved.

Oracle is a registered trademark of Oracle Corporation and/or its
affiliates. Other names may be trademarks of their respective
owners.

Type 'help;' or '\h' for help. Type '\c' to clear the current input statement.

mysql> create database mediawikidb;
Query OK, 1 row affected (0.02 sec)

mysql> GRANT ALL PRIVILEGES ON mediawikidb.* TO 'mediawikiadmin' IDENTIFIED BY 'centos';
Query OK, 0 rows affected (0.01 sec)

mysql> flush privileges;
Query OK, 0 rows affected (0.00 sec)

mysql> exit
Bye
Open the Apache default port 80 through your firewall/router:
[root@server html]# vi /etc/sysconfig/iptables
# Firewall configuration written by system-config-firewall
# Manual customization of this file is not recommended.
*filter
:INPUT ACCEPT [0:0]
:FORWARD ACCEPT [0:0]
:OUTPUT ACCEPT [0:0]
-A INPUT -p udp -m state --state NEW --dport 80 -j ACCEPT
-A INPUT -p tcp -m state --state NEW --dport 80 -j ACCEPT
-A INPUT -p udp -m state --state NEW --dport 53 -j ACCEPT
-A INPUT -p tcp -m state --state NEW --dport 53 -j ACCEPT
-A INPUT -m state --state ESTABLISHED,RELATED -j ACCEPT
-A INPUT -p icmp -j ACCEPT
-A INPUT -i lo -j ACCEPT
-A INPUT -m state --state NEW -m tcp -p tcp --dport 22 -j ACCEPT
-A INPUT -j REJECT --reject-with icmp-host-prohibited
-A FORWARD -j REJECT --reject-with icmp-host-prohibited
COMMIT
Restart the iptables to save the changes:
[root@server html]# /etc/init.d/iptables restart
Disable SELinux and reboot your system:
[root@server ~]# vi /etc/sysconfig/selinux
# This file controls the state of SELinux on the system.
# SELINUX= can take one of these three values:
#     enforcing - SELinux security policy is enforced.
#     permissive - SELinux prints warnings instead of enforcing.
#     disabled - No SELinux policy is loaded.
SELINUX=disabled
# SELINUXTYPE= can take one of these two values:
#     targeted - Targeted processes are protected,
#     mls - Multi Level Security protection.
SELINUXTYPE=targeted
Getting and Preparing to install MediaWiki
Download the latest version from here or you can download it using the following command.
[root@server ~]# wget http://download.wikimedia.org/mediawiki/1.21/mediawiki-1.21.1.tar.gz
Extract and move the file to your website root folder. If you want to setup MediaWiki along with your Website, then move it to a sub directory.
[root@server ~]# tar zxvf mediawiki-1.21.1.tar.gz
[root@server ~]# mv mediawiki-1.21.1/ /var/www/html/mediawiki
Begin Installation
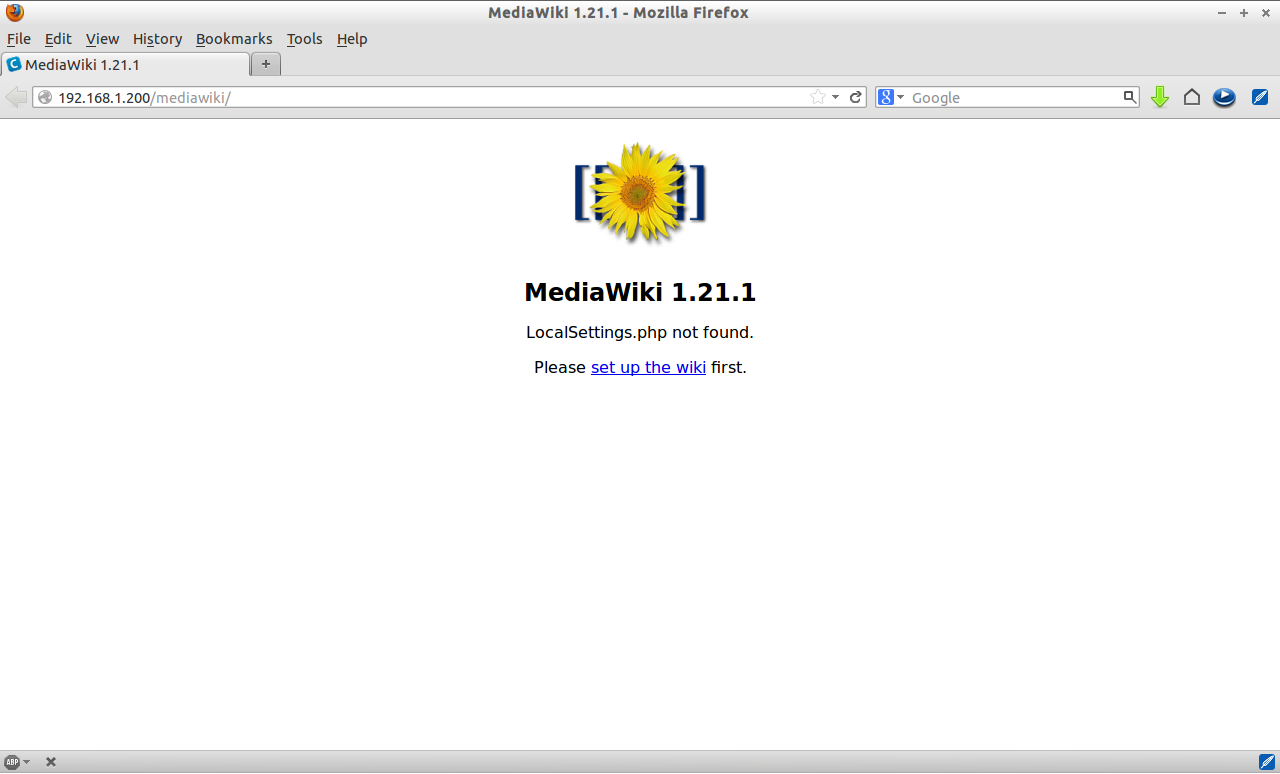
Navigate to http://ip-address or domain/mediawiki/ from your browser and follow the onscreen instructions.
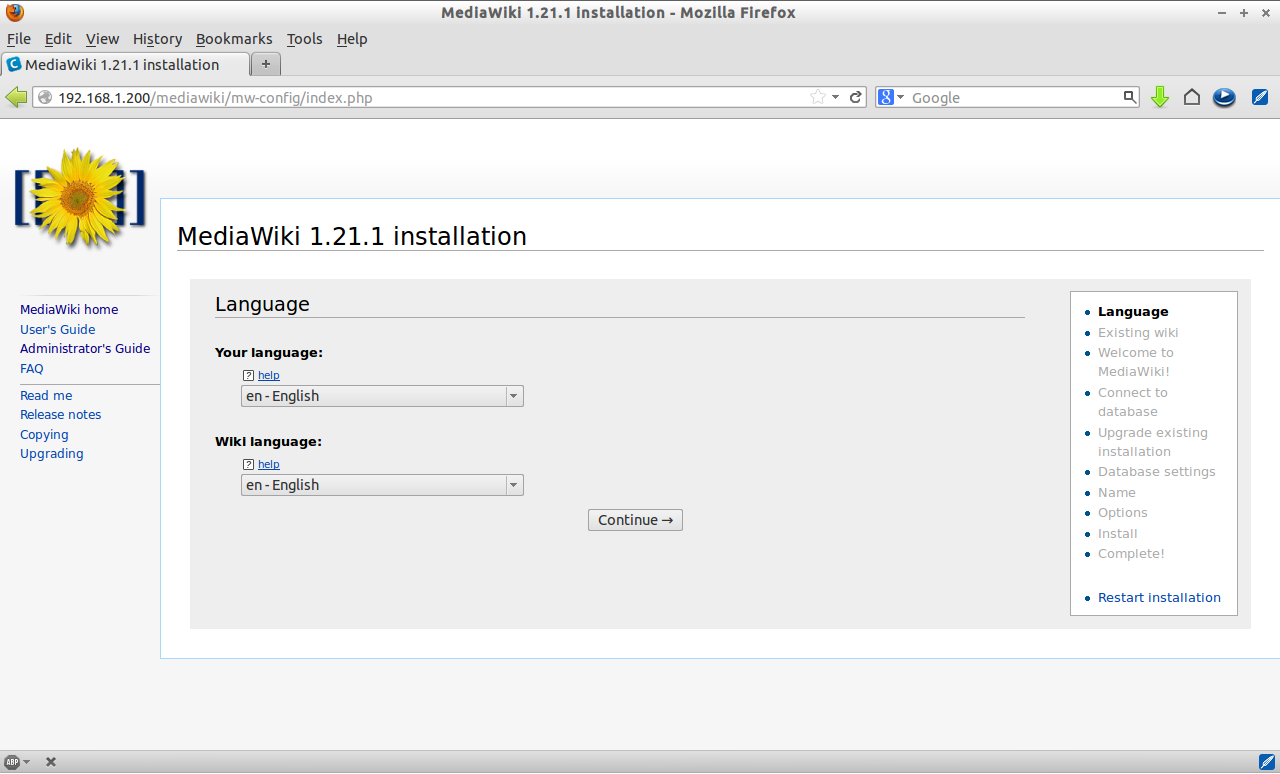
Click On setup the wiki first link. Select your language and click Continue.
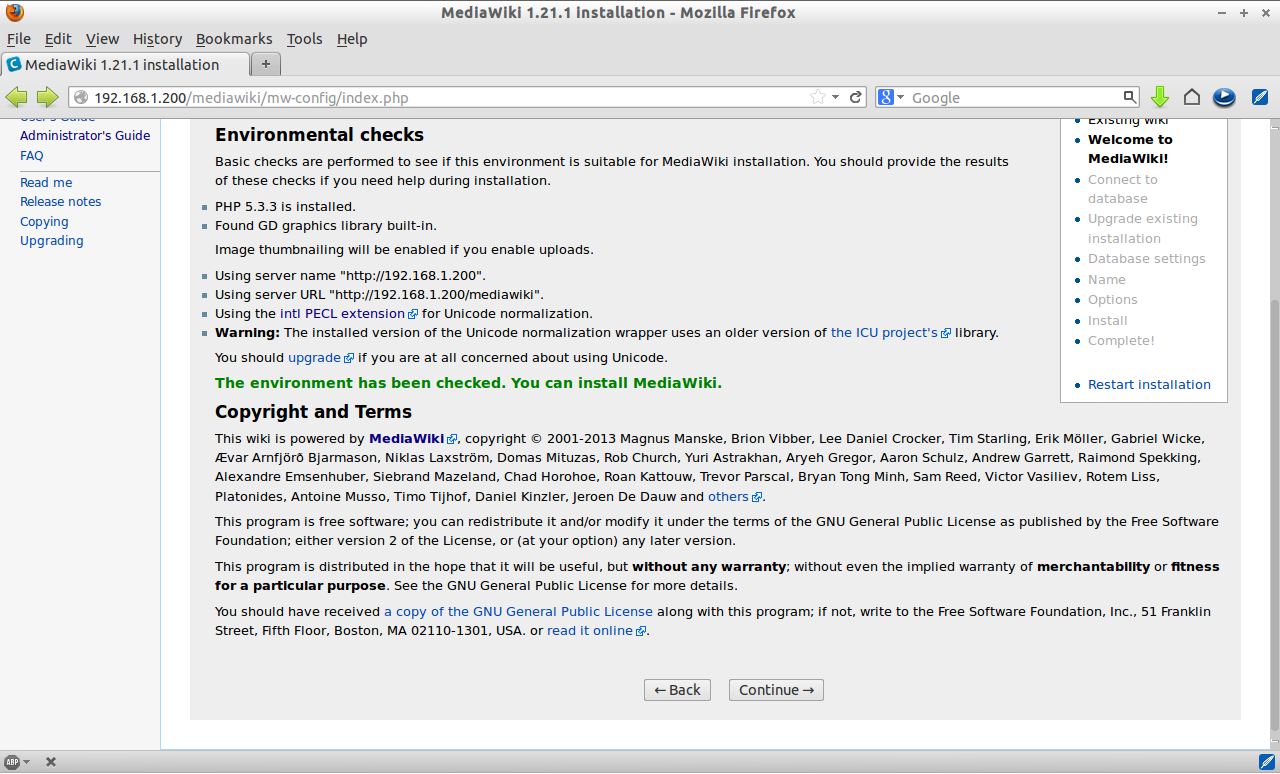
Now the installer will perform the environment checks. If everything seems Ok, Click Continue.
Enter MySQL Settings such as Database name, user and password etc.
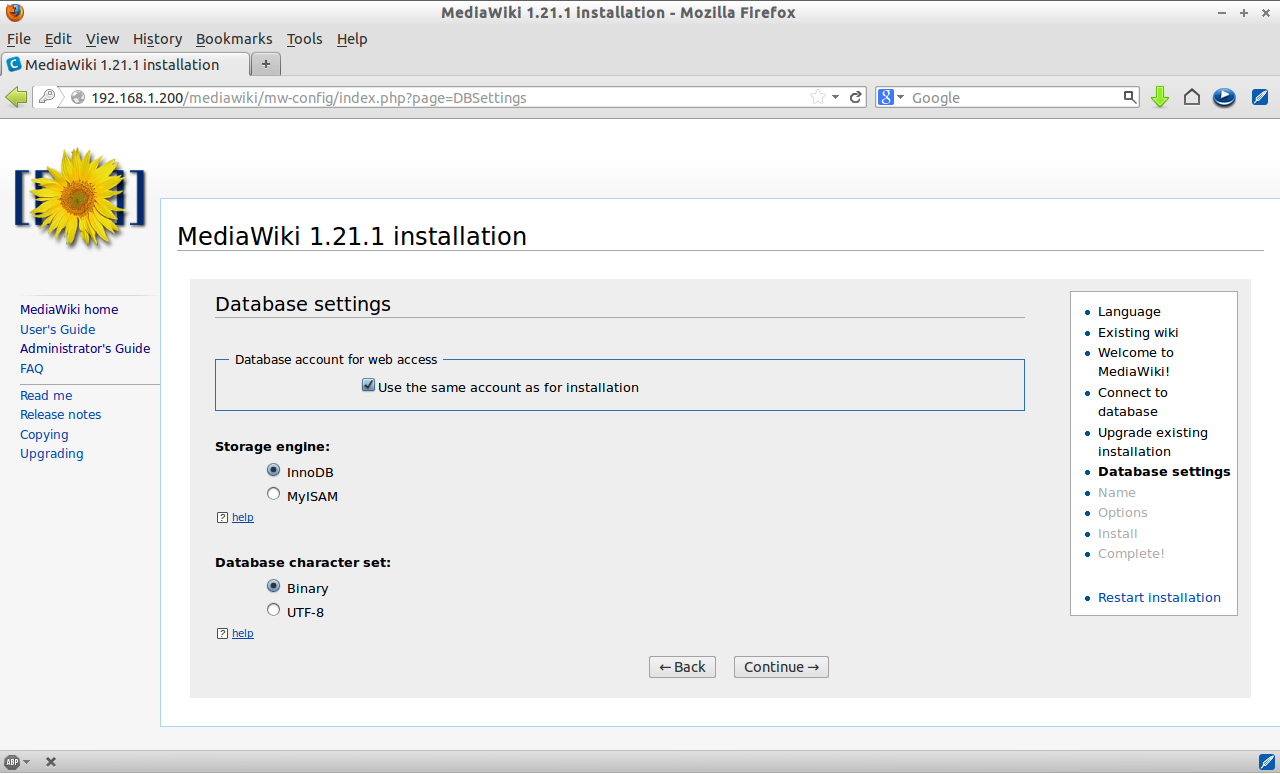
Select MySQL storage engine and click Continue.
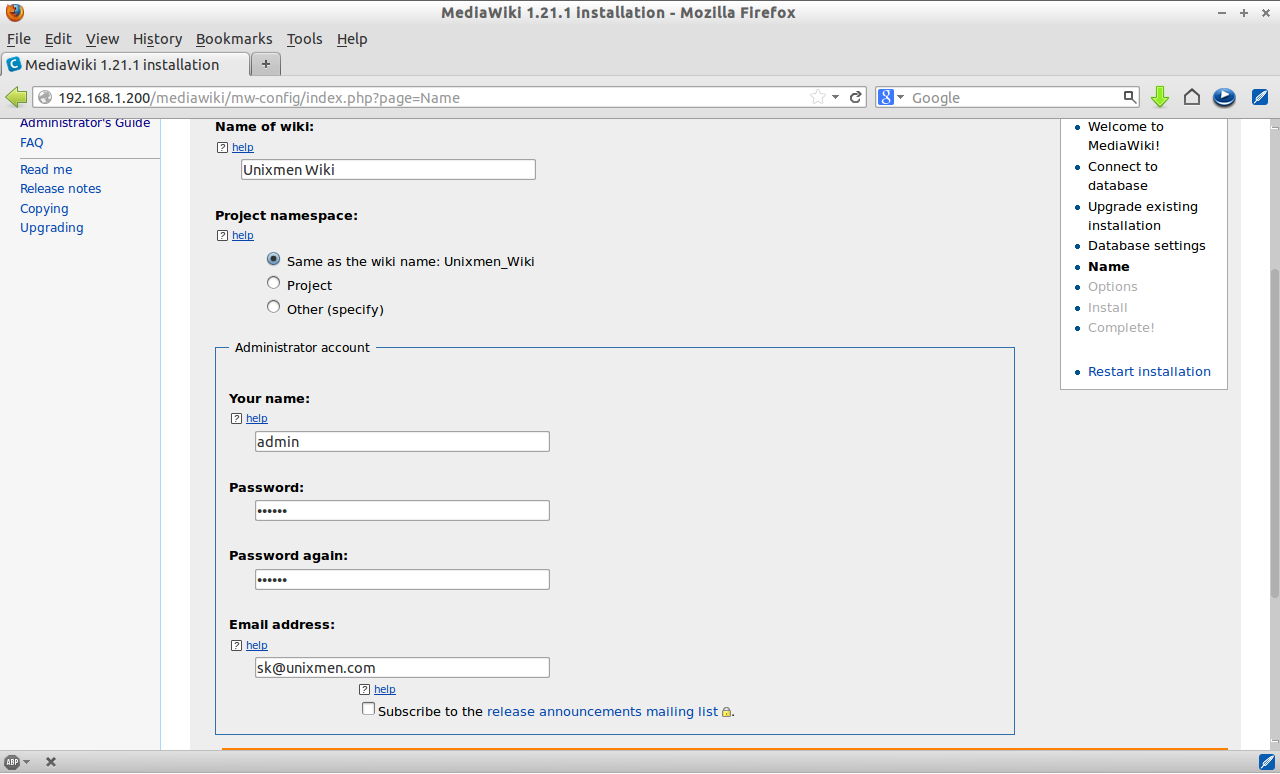
Enter your Wikipedia website name and create a new administrative account with username, password and mail id.
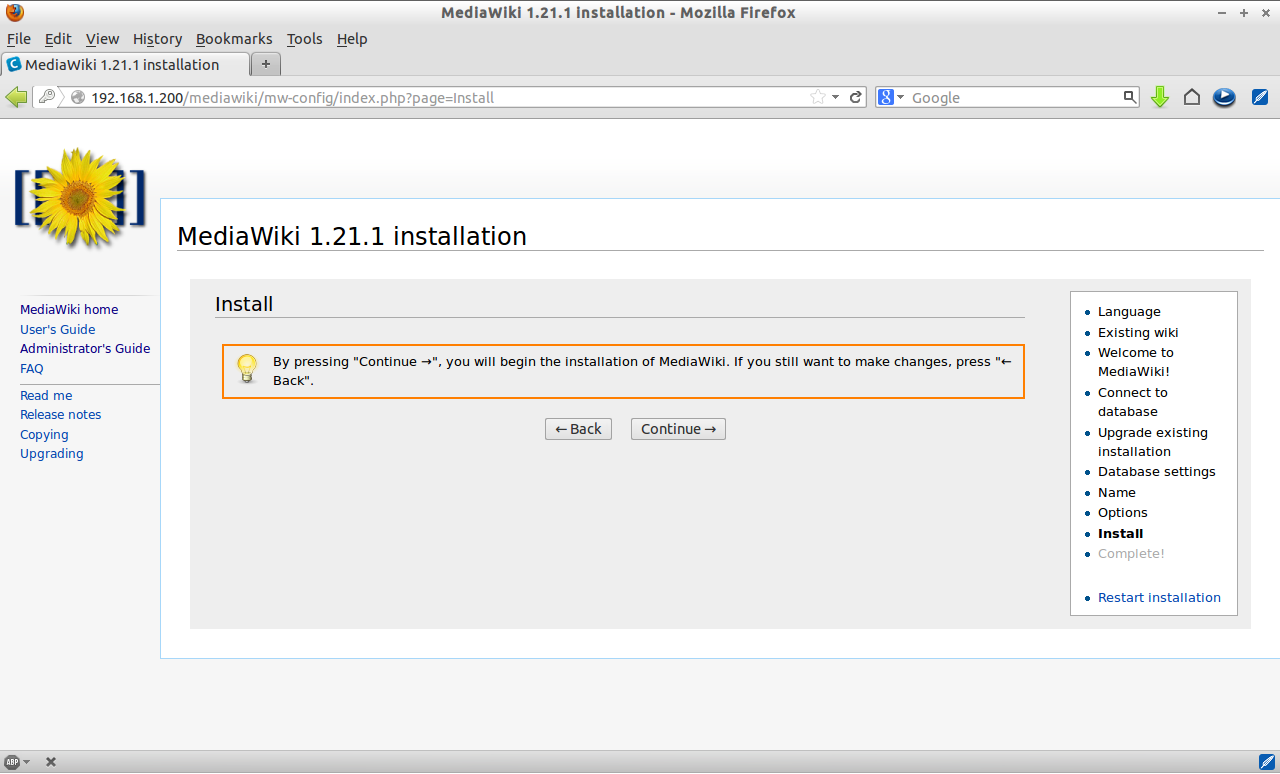
Click Continue.
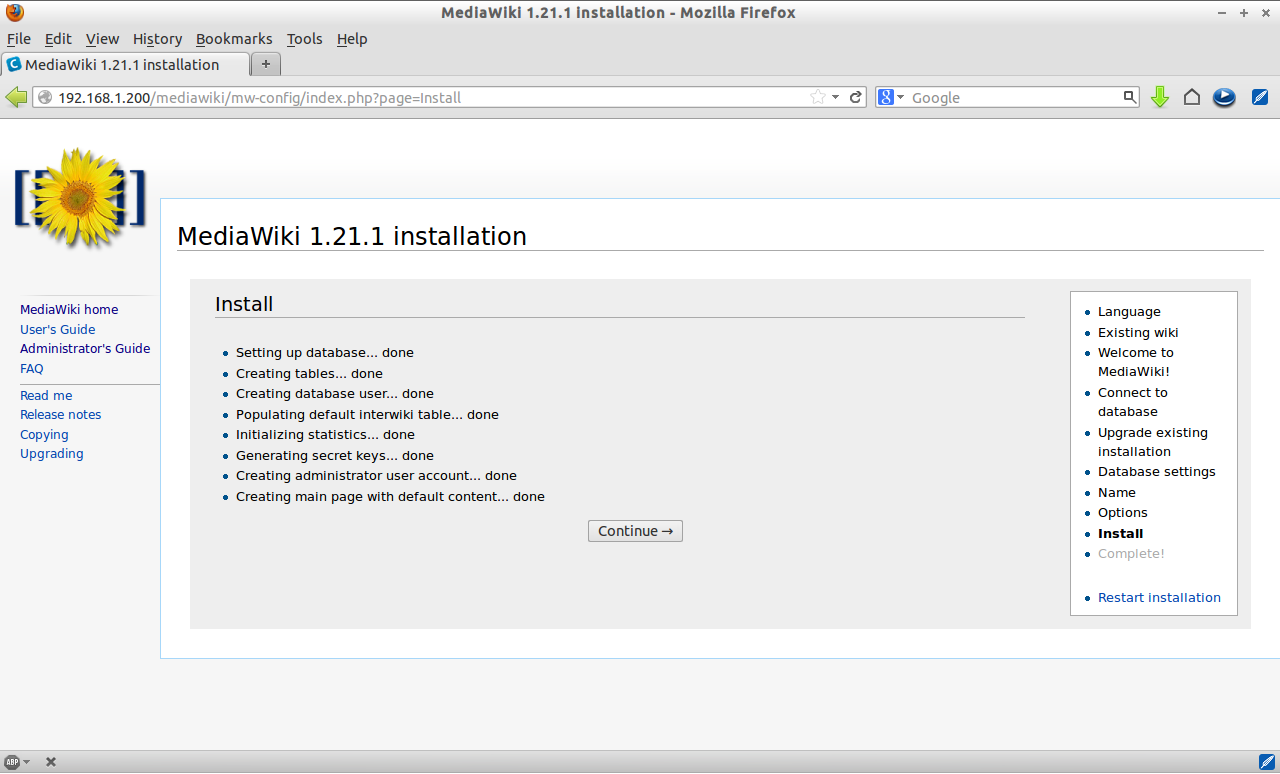
Now th installer will begin to setup database, create administrative accounts and other things. Click Continue.
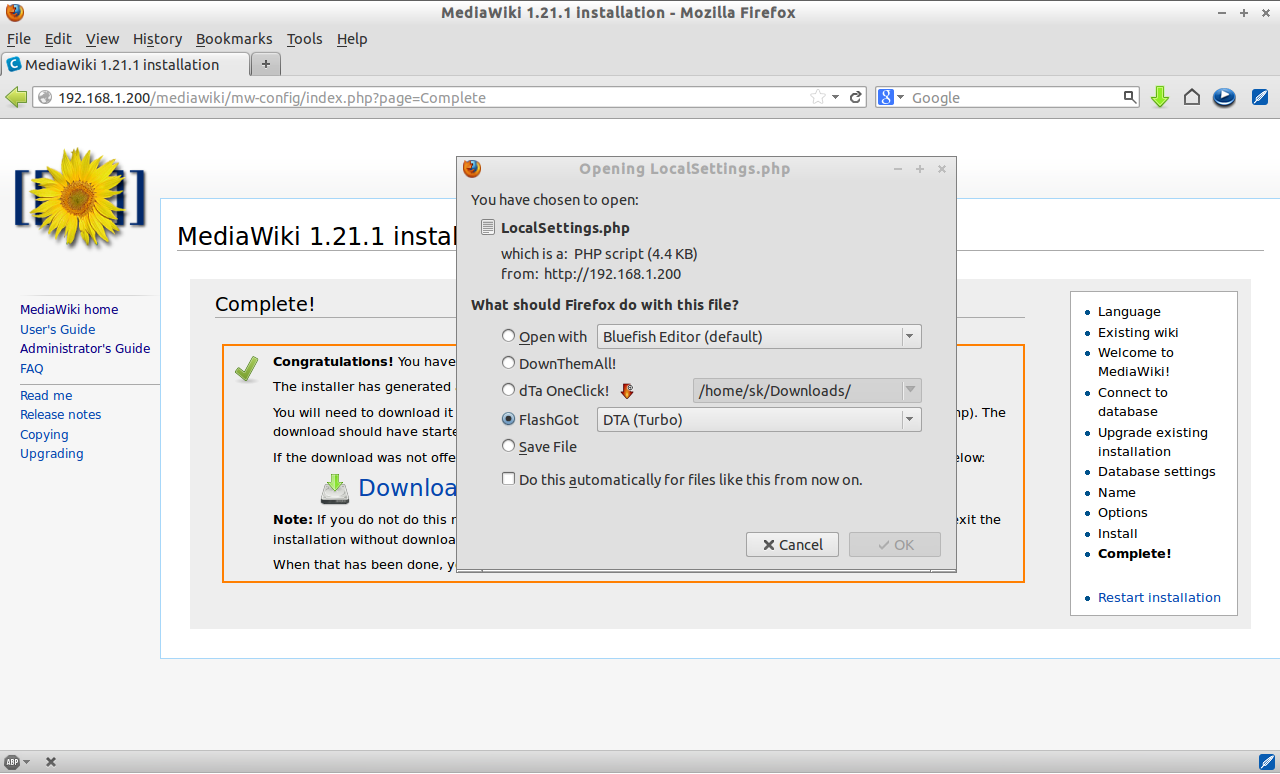
Now the Wikipedia website has been installed successfully. The installer will download a file called LocalSettings.php which contains all your configuration details. It is recommended to download and keep it safe, you will need it.
Copy the downloaded LocalSettings.php file to the mediawiki directory. And set write permissions of the LocalSettings.php and WebStart.php files.
[root@server ~]# cp LocalSettings.php /var/www/html/mediawiki/
[root@server ~]# chmod 755 /var/www/html/mediawiki/LocalSettings.php
[root@server ~]# chmod 755 /var/www/html/mediawiki/includes/WebStart.php
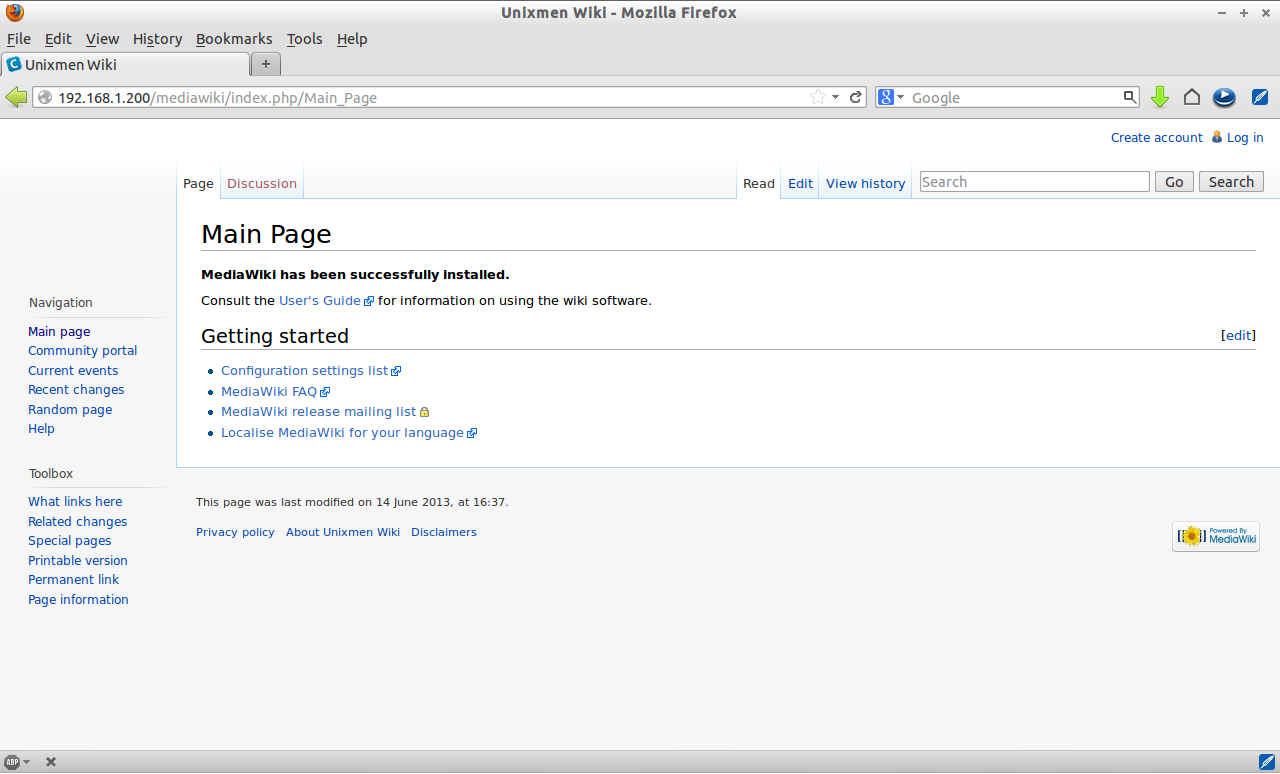
Now click on enter to wiki link or navigate to http://ip-address or domain/mediawiki/ from your browser. Now you will be redirected to your wikipedia home page.
Thats it. Start uploading contents and spread the word of your new wiki website. For more information about installation and configuration and user manuals, refer the official link.


