In our previous series of tutorials, we have seen,
- How To Install PowerDNS On Ubuntu
- How To Install PowerDNS In CentOS
- How To Install Poweradmin in Linux
Today, we will discuss about, how to add new zone files and record types in Powerdns using Poweradmin administration tool.
Create New Zone Files And Record Types In PowerDNS
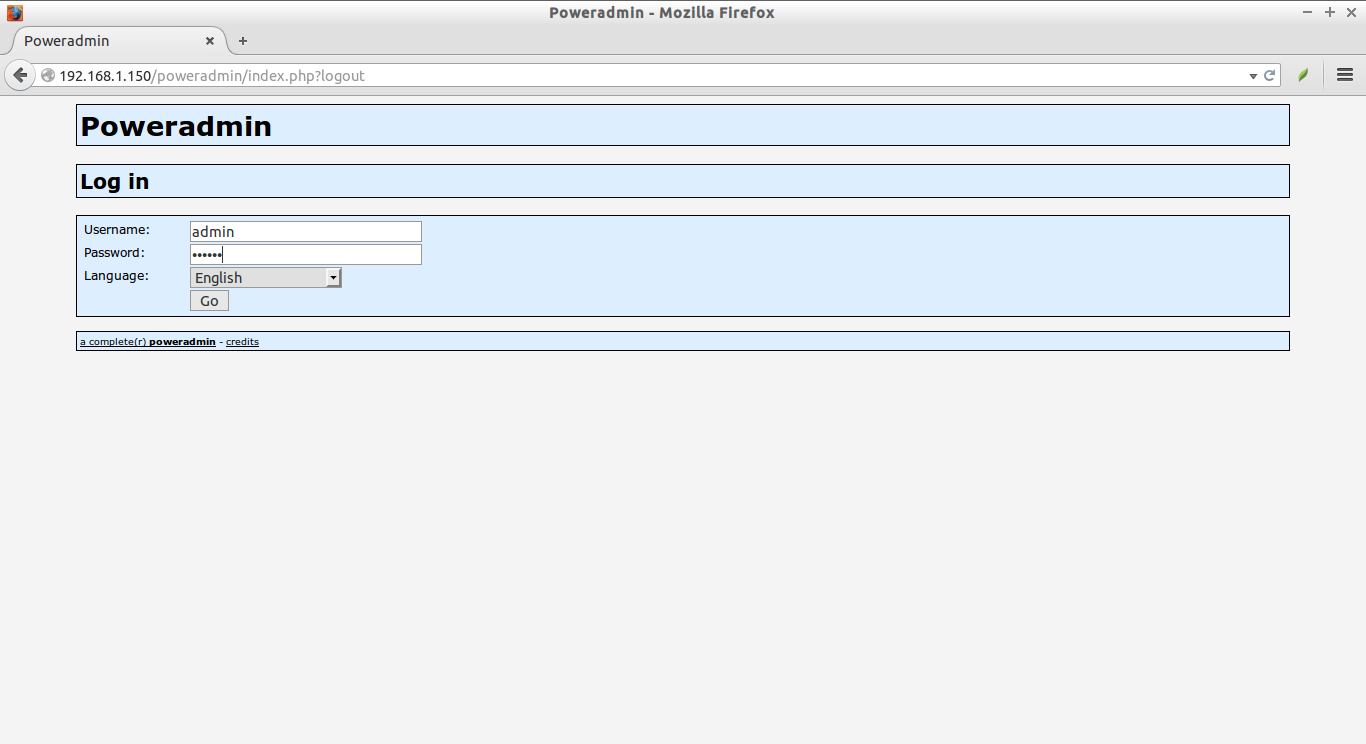
Once you properly have setup PowerDNS and Poweradmin as stated in the above links, open up your Web browser and type “http://IP-address/poweradmin” in the address bar.
Enter the user name and password. In my case, the user name and password is admin/centos.
Add Zone files:
Here, I will be using domain name as unixmen.local and IP address as 192.168.1.101.
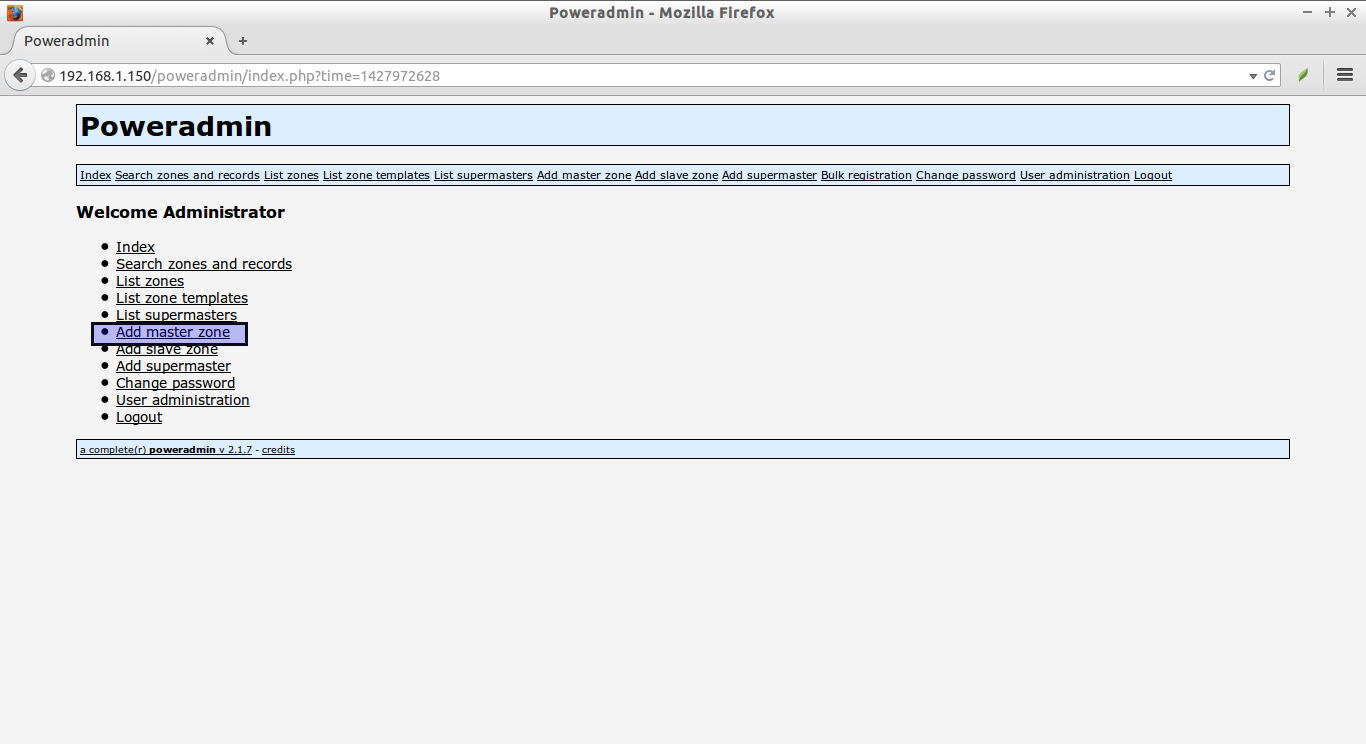
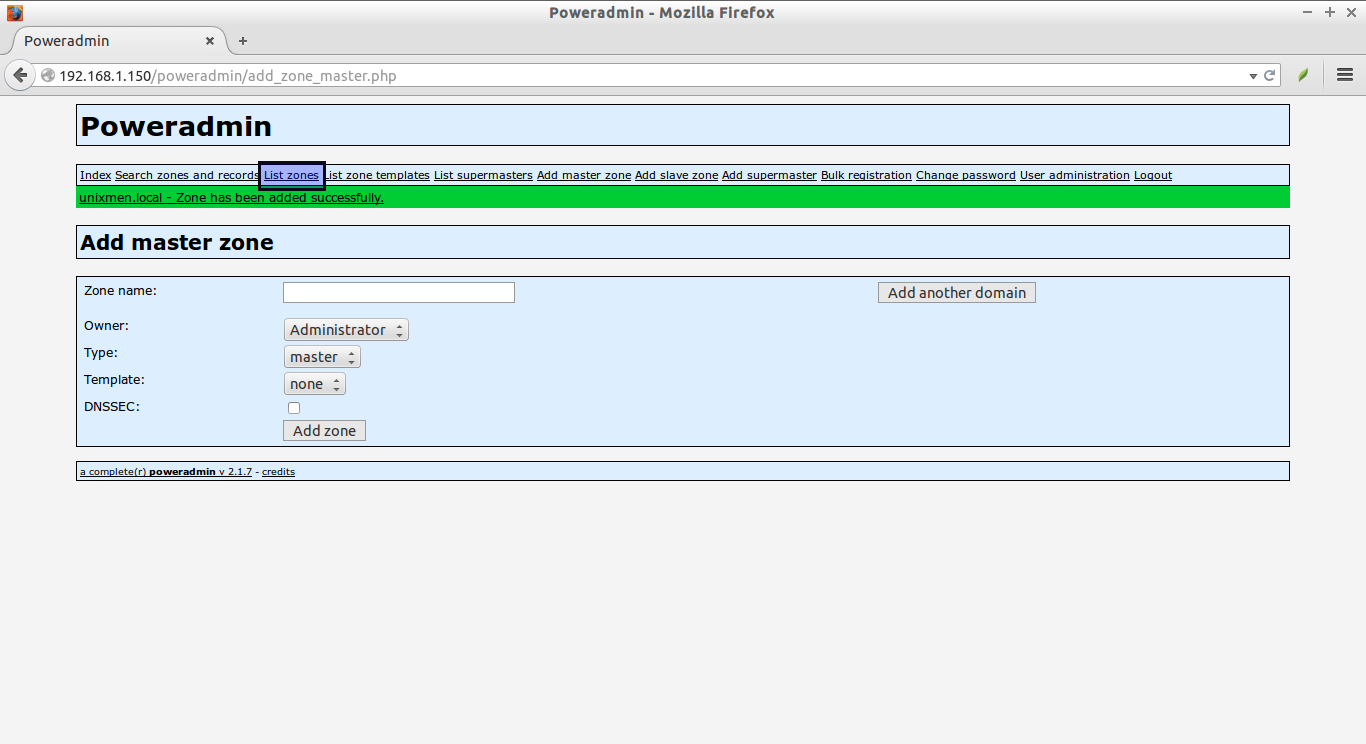
Let us create our first zone file. To do that, click Add master zone link in the Poweradmin dashboard.
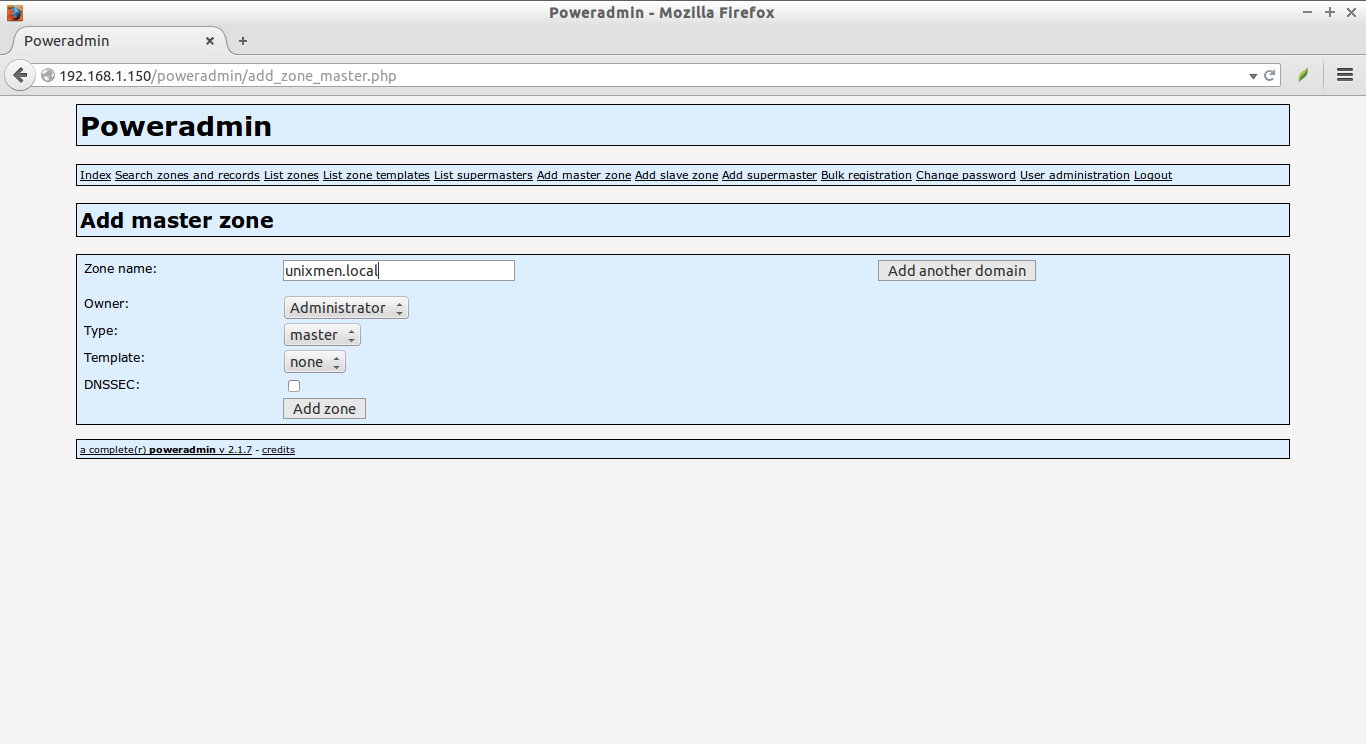
Here, we will name the forward zone as “unixmen.local”. Click Add zone to the new forward zone file.
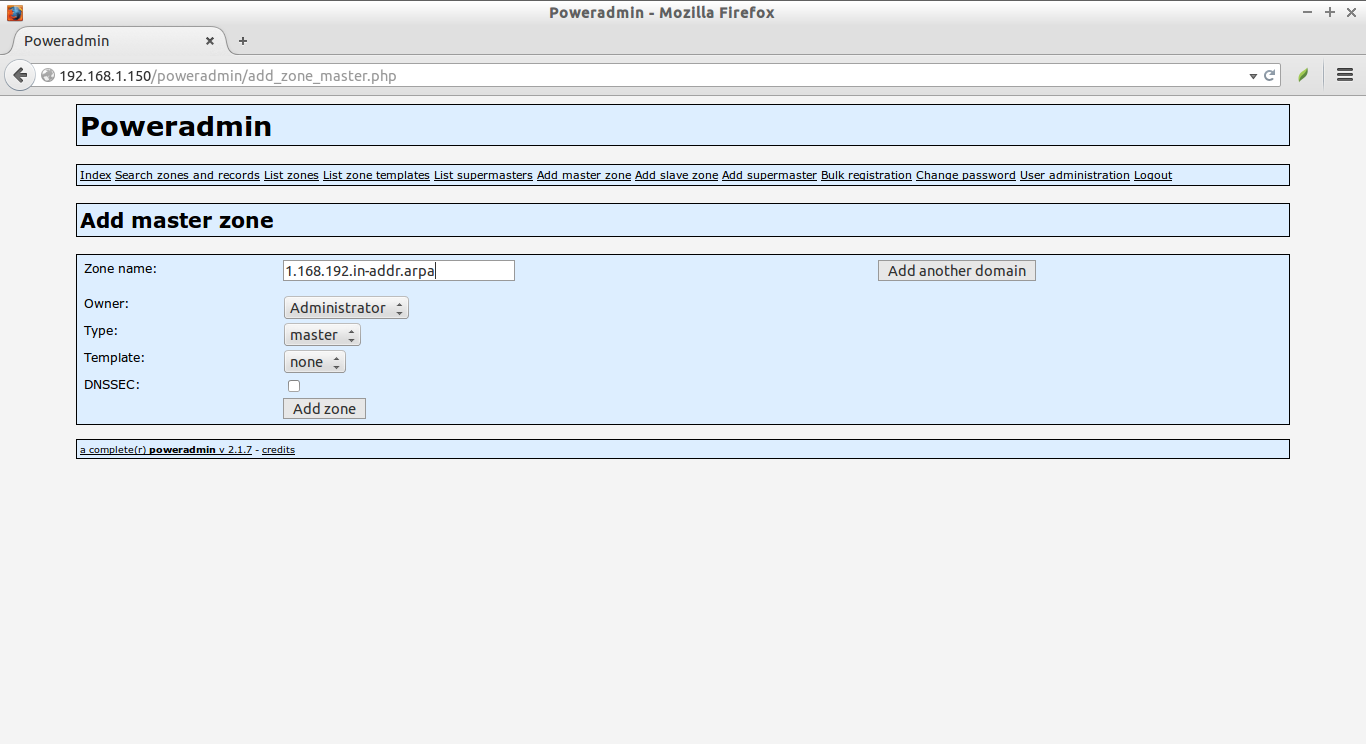
Then, create a reverse zone file. To do that, click on the Add master zone link again. Enter the reverse Zone file name. For example: 1.168.192.in-addr.arpa
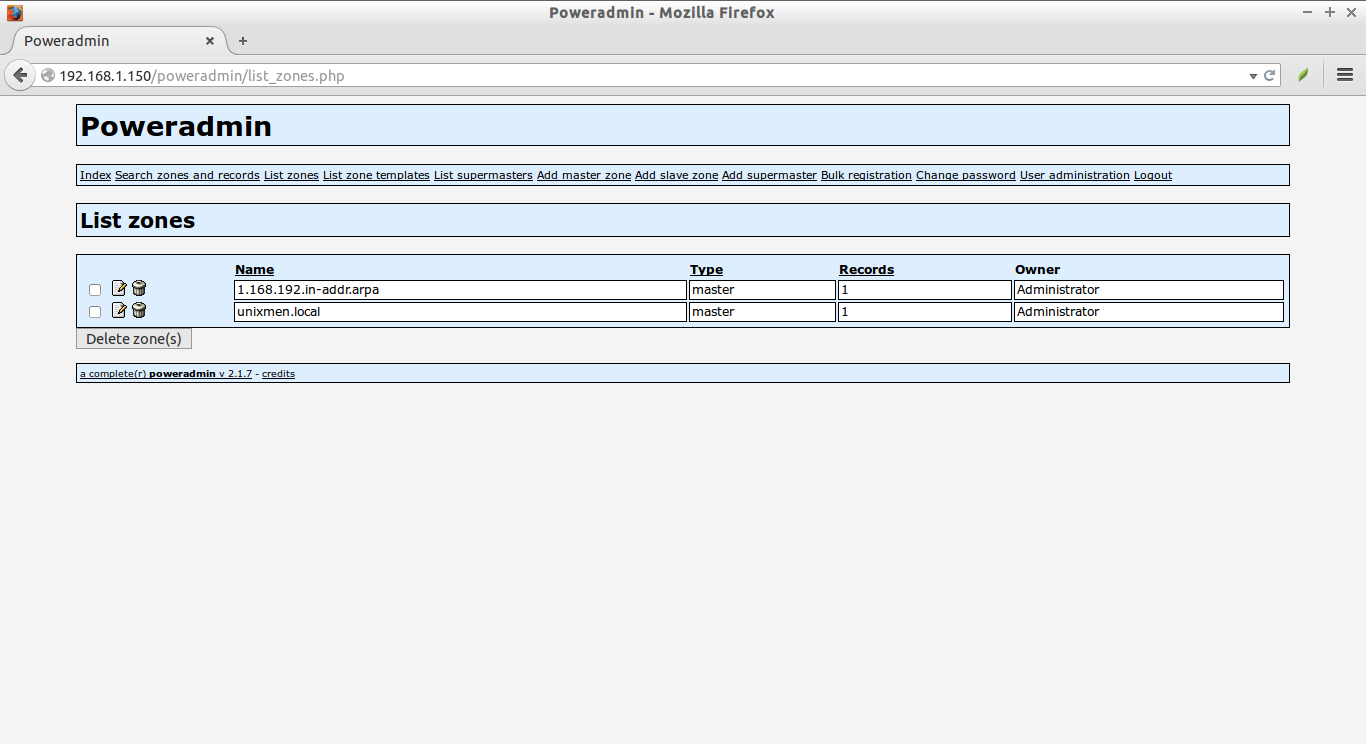
You can view the newly created Zone files in the List zones link.
As you see in the below screenshot, the new zone files are added.
Done! Next we will create DNS record types.
Add DNS Record types:
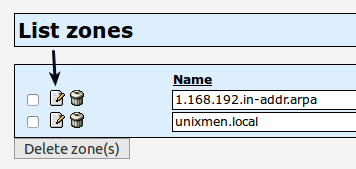
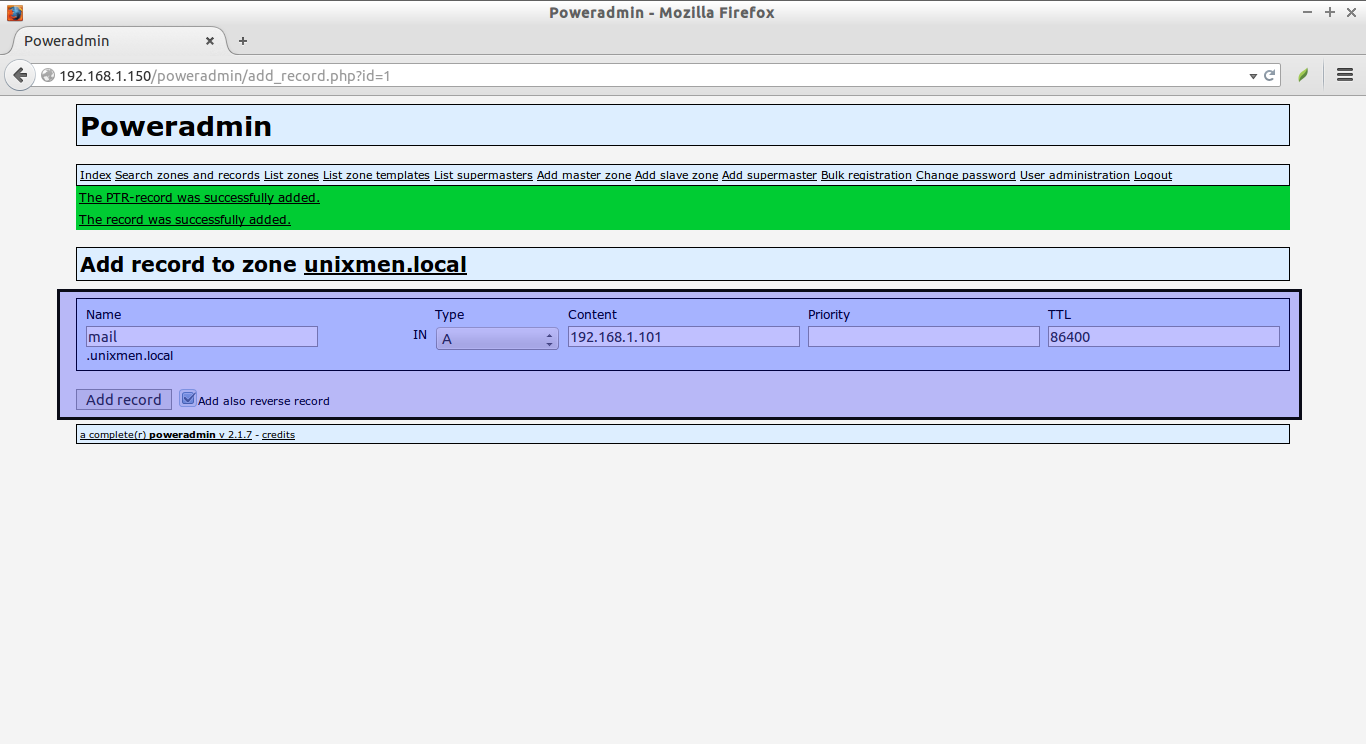
To add new Record click on the Edit button of the corresponding zone file.
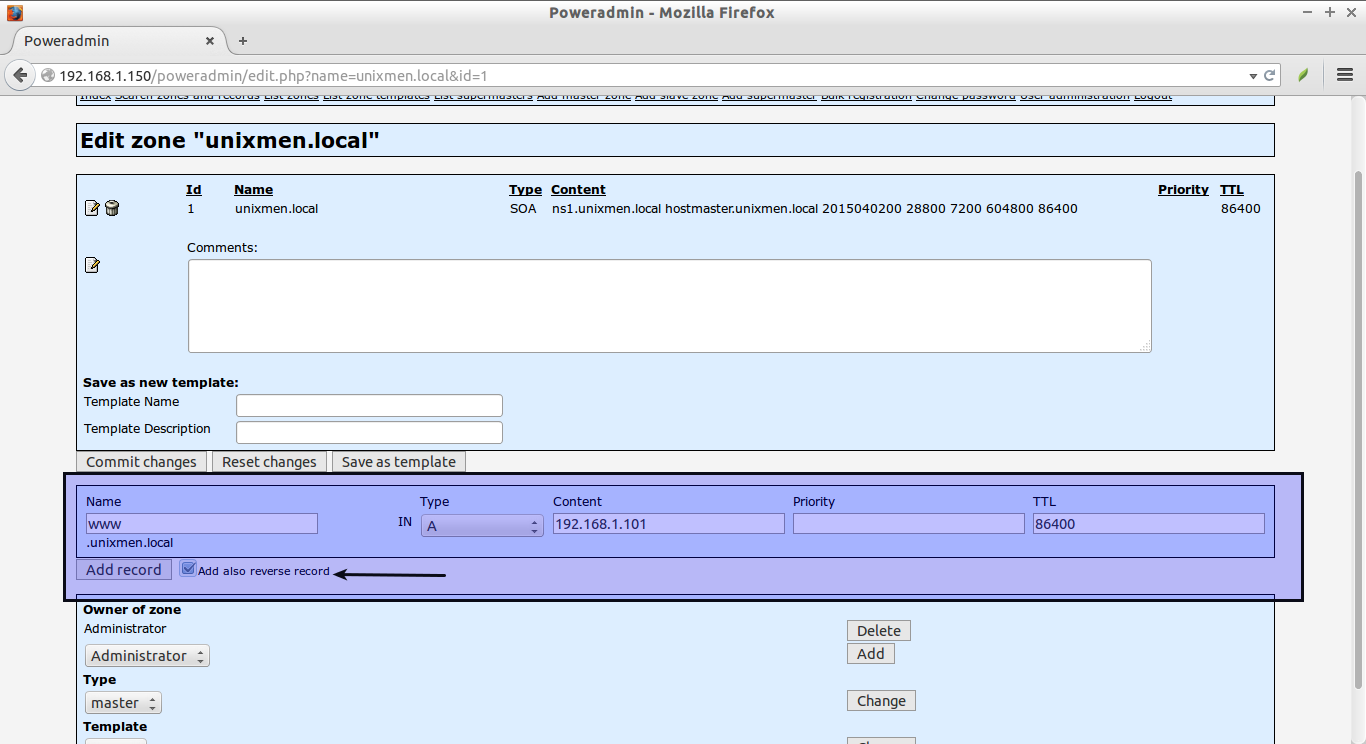
Enter name, Type, Content, TTL details. Refer the following screenshot. Then, Click Add record button.
Likewise, you can create any number of record types.
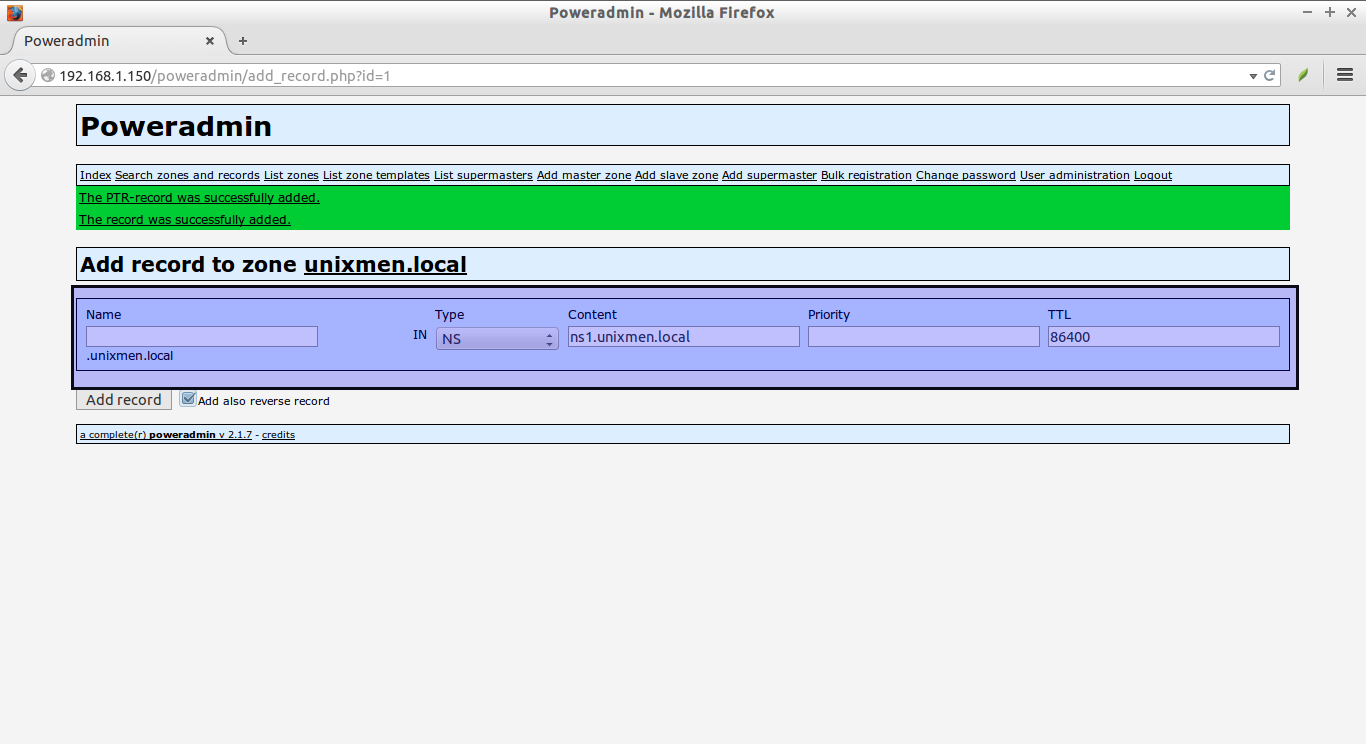
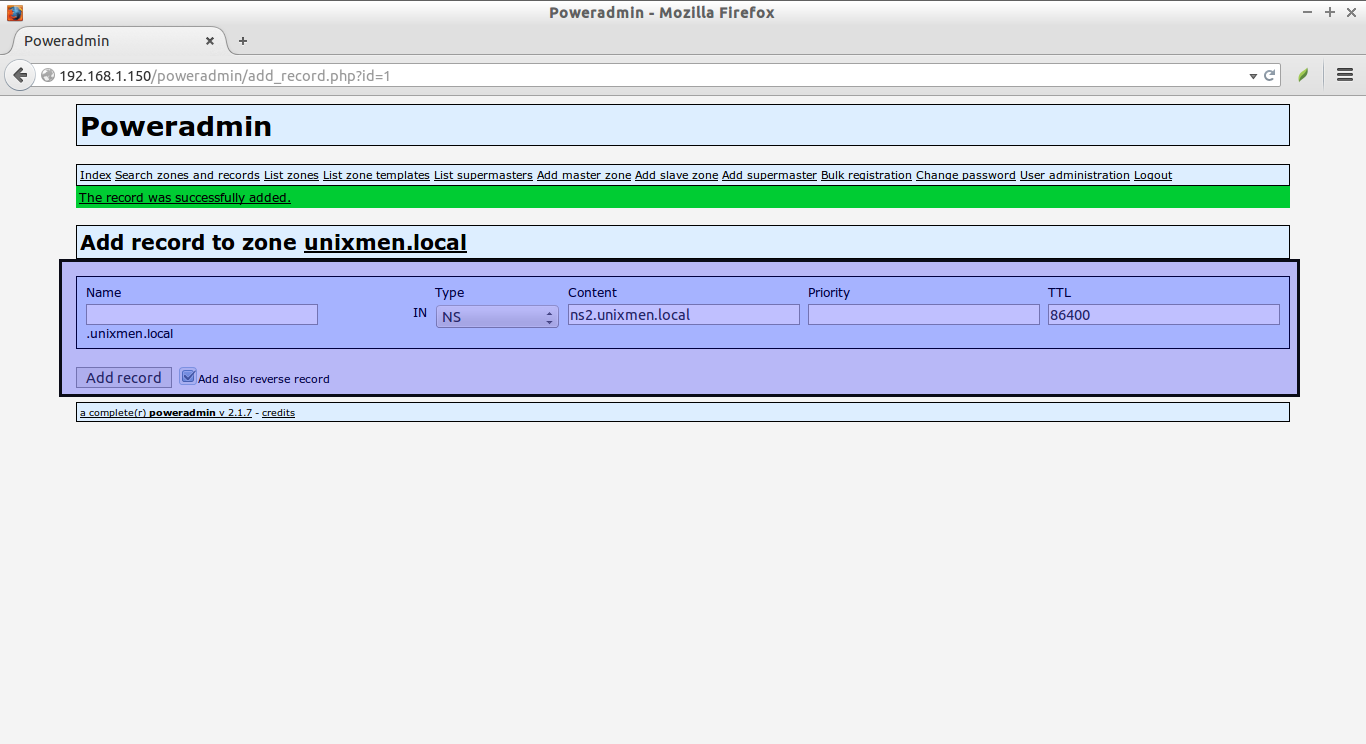
Also, you can change the Type of the records. For example, let us create a NS record. Leave name as empty. Check “Add also reverse record” to create a reverse record automatically.
ns2.unixmen.local record:
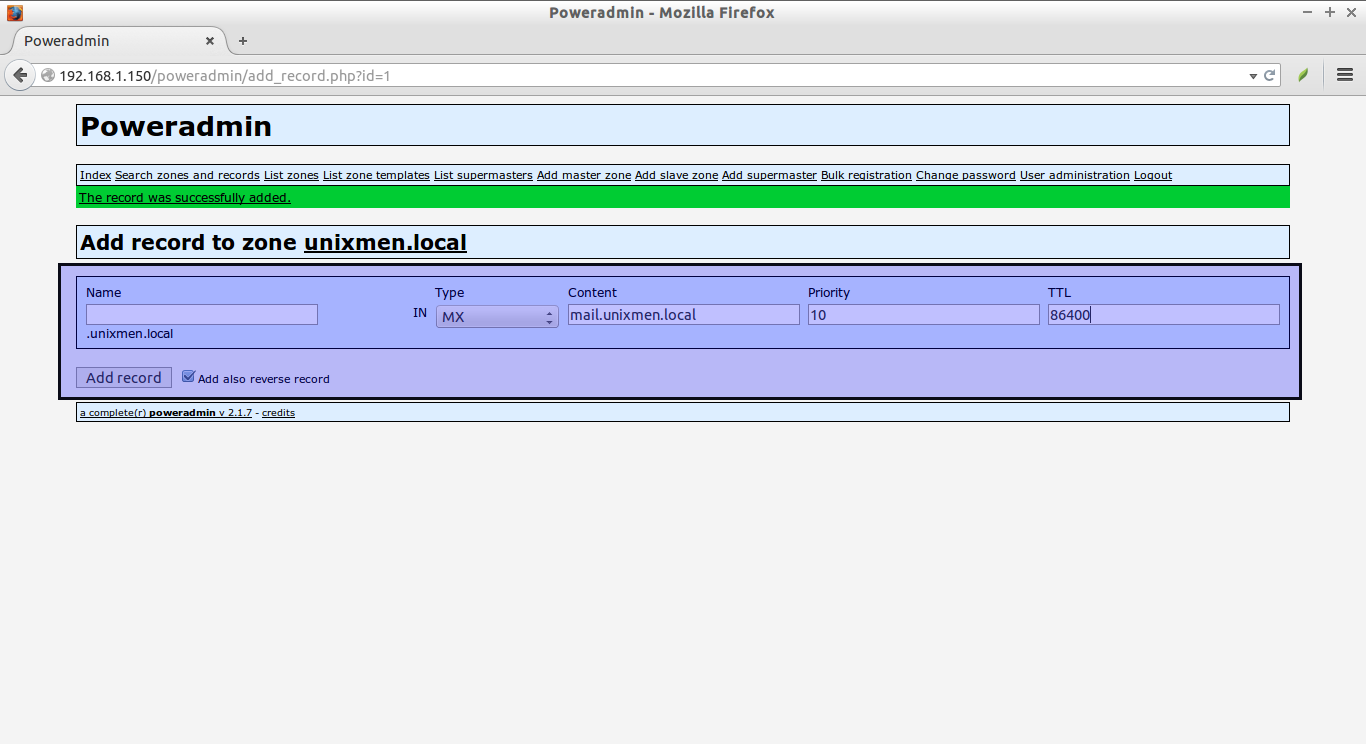
MX record:
Similarly, create Record types for the Reverse Zone too. Do you remember? We have created PTR records automatically in the previous steps.
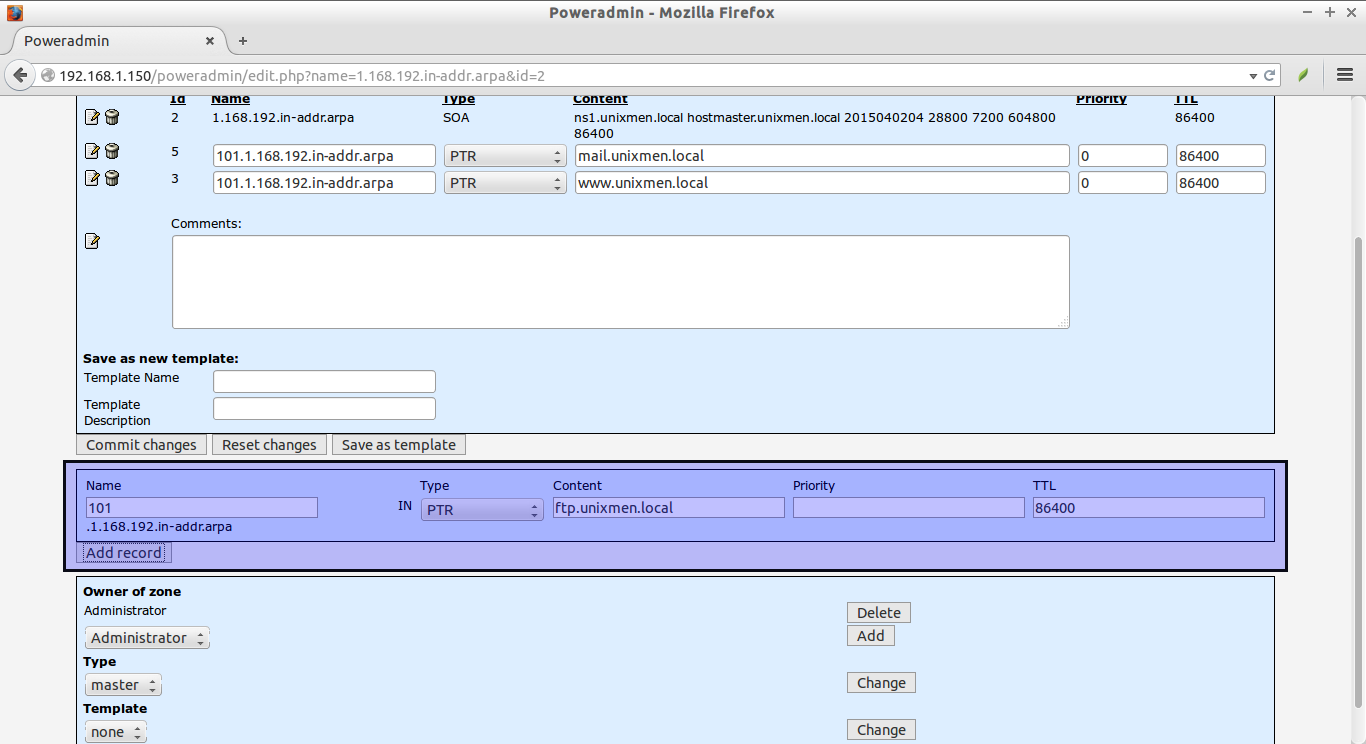
Let us create another PTR record. Click on the Edit button on the Reverse zone files.
That’s it. We have created sample Zone files and Record types.
Now, we will test whether it’s working.
Testing DNS Records
Example 1:
dig ns unixmen.local @localhost
Sample output:
; <<>> DiG 9.8.2rc1-RedHat-9.8.2-0.30.rc1.el6_6.2 <<>> ns unixmen.local @localhost
;; global options: +cmd
;; Got answer:
;; ->>HEADER<<- opcode: QUERY, status: NOERROR, id: 45575
;; flags: qr aa rd; QUERY: 1, ANSWER: 1, AUTHORITY: 0, ADDITIONAL: 0
;; WARNING: recursion requested but not available

;; QUESTION SECTION:
;unixmen.local.            IN    NS

;; ANSWER SECTION:
unixmen.local.        86400    IN    NS    ns1.unixmen.local.

;; Query time: 28 msec
;; SERVER: 127.0.0.1#53(127.0.0.1)
;; WHEN: Thu Apr  2 17:23:56 2015
;; MSG SIZE  rcvd: 49
Example 2:
dig A unixmen.local @localhost
Sample output:
; <<>> DiG 9.8.2rc1-RedHat-9.8.2-0.30.rc1.el6_6.2 <<>> A unixmen.local @localhost
;; global options: +cmd
;; Got answer:
;; ->>HEADER<<- opcode: QUERY, status: NOERROR, id: 26512
;; flags: qr aa rd; QUERY: 1, ANSWER: 0, AUTHORITY: 1, ADDITIONAL: 0
;; WARNING: recursion requested but not available

;; QUESTION SECTION:
;unixmen.local.            IN    A

;; AUTHORITY SECTION:
unixmen.local.        86400    IN    SOA    ns1.unixmen.local. hostmaster.unixmen.local. 2015040204 28800 7200 604800 86400

;; Query time: 16 msec
;; SERVER: 127.0.0.1#53(127.0.0.1)
;; WHEN: Thu Apr  2 17:25:29 2015
;; MSG SIZE  rcvd: 82
Example 3:
dig MX unixmen.local @localhost
Sample output:
; <<>> DiG 9.8.2rc1-RedHat-9.8.2-0.30.rc1.el6_6.2 <<>> MX unixmen.local @localhost
;; global options: +cmd
;; Got answer:
;; ->>HEADER<<- opcode: QUERY, status: NOERROR, id: 56456
;; flags: qr aa rd; QUERY: 1, ANSWER: 1, AUTHORITY: 0, ADDITIONAL: 1
;; WARNING: recursion requested but not available

;; QUESTION SECTION:
;unixmen.local.            IN    MX

;; ANSWER SECTION:
unixmen.local.        86400    IN    MX    10 mail.unixmen.local.

;; ADDITIONAL SECTION:
mail.unixmen.local.    86400    IN    A    192.168.1.101

;; Query time: 4 msec
;; SERVER: 127.0.0.1#53(127.0.0.1)
;; WHEN: Thu Apr  2 17:26:05 2015
;; MSG SIZE  rcvd: 68
Example 5:
dig MX unixmen.local @192.168.1.150
Sample output:
; <<>> DiG 9.8.2rc1-RedHat-9.8.2-0.30.rc1.el6_6.2 <<>> MX unixmen.local @192.168.1.150
;; global options: +cmd
;; Got answer:
;; ->>HEADER<<- opcode: QUERY, status: NOERROR, id: 12673
;; flags: qr aa rd; QUERY: 1, ANSWER: 1, AUTHORITY: 0, ADDITIONAL: 1
;; WARNING: recursion requested but not available

;; QUESTION SECTION:
;unixmen.local.            IN    MX

;; ANSWER SECTION:
unixmen.local.        86400    IN    MX    10 mail.unixmen.local.

;; ADDITIONAL SECTION:
mail.unixmen.local.    86400    IN    A    192.168.1.101

;; Query time: 1 msec
;; SERVER: 192.168.1.150#53(192.168.1.150)
;; WHEN: Thu Apr  2 17:26:36 2015
;; MSG SIZE  rcvd: 68
Conclusion
That’s it. What we have seen so far is PowerDNS installation and configuration on RPM and DEB based systems, Installation and configuration of PowerDNS’s web-based administration tool “Poweradmin, and how to create Zone files and Record types using Poweradmin. But, the fact is we just have covered the basic part. There are plenty of things yet to be learned. I recommend you to read PowerDNS official comprehensive guide to know more about PowerDNS.
Cheers!


